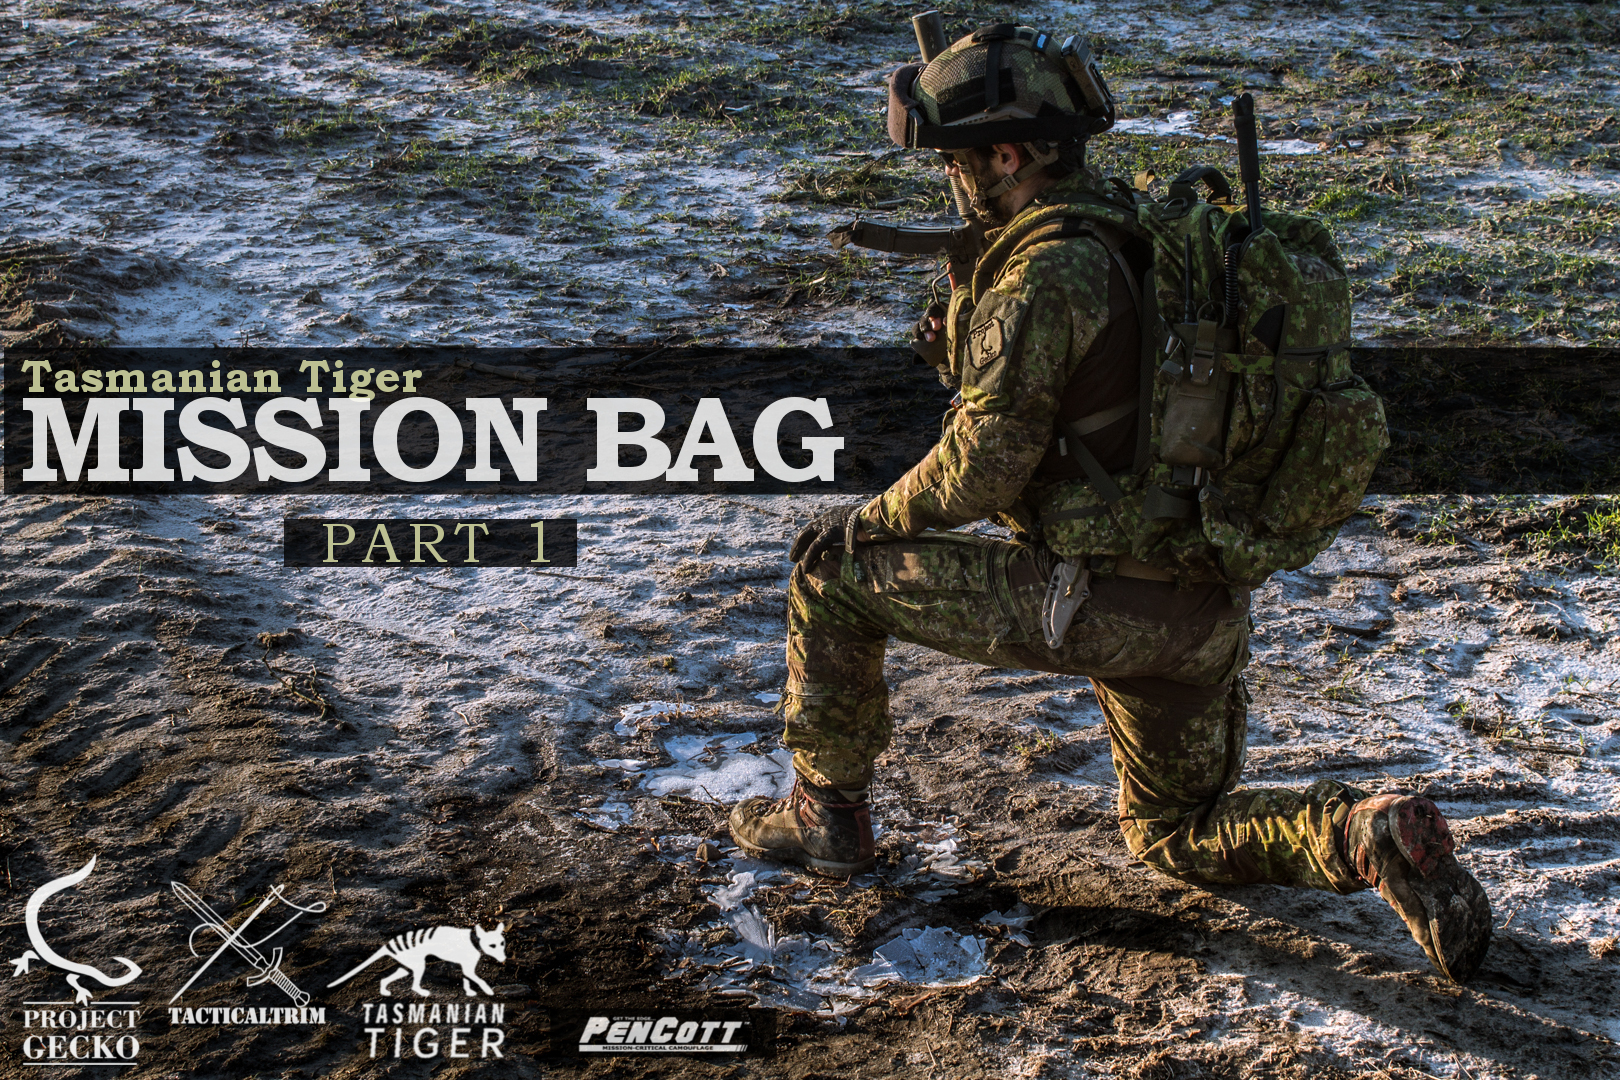


UF PRO's SmallPac Monsoon rain suit - Part 1
Rain gear – The tactical value.
Writing a review about existing functions within a product is relative 'easy'. But applying a product in a mission...is something else. In this review I want to understand if this rain gear product is truly up to date technologically, and if it is really effective.
-Prologue-
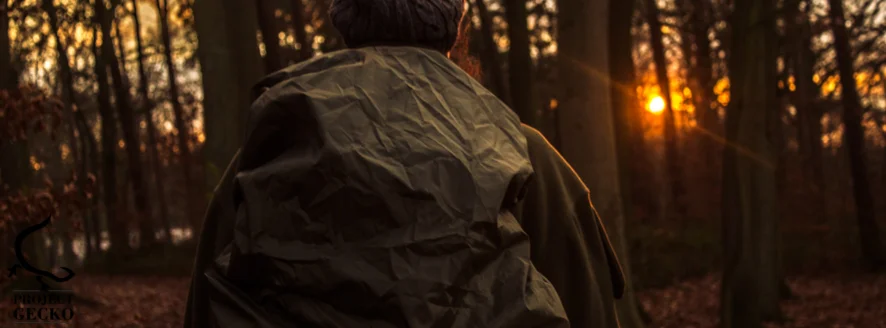
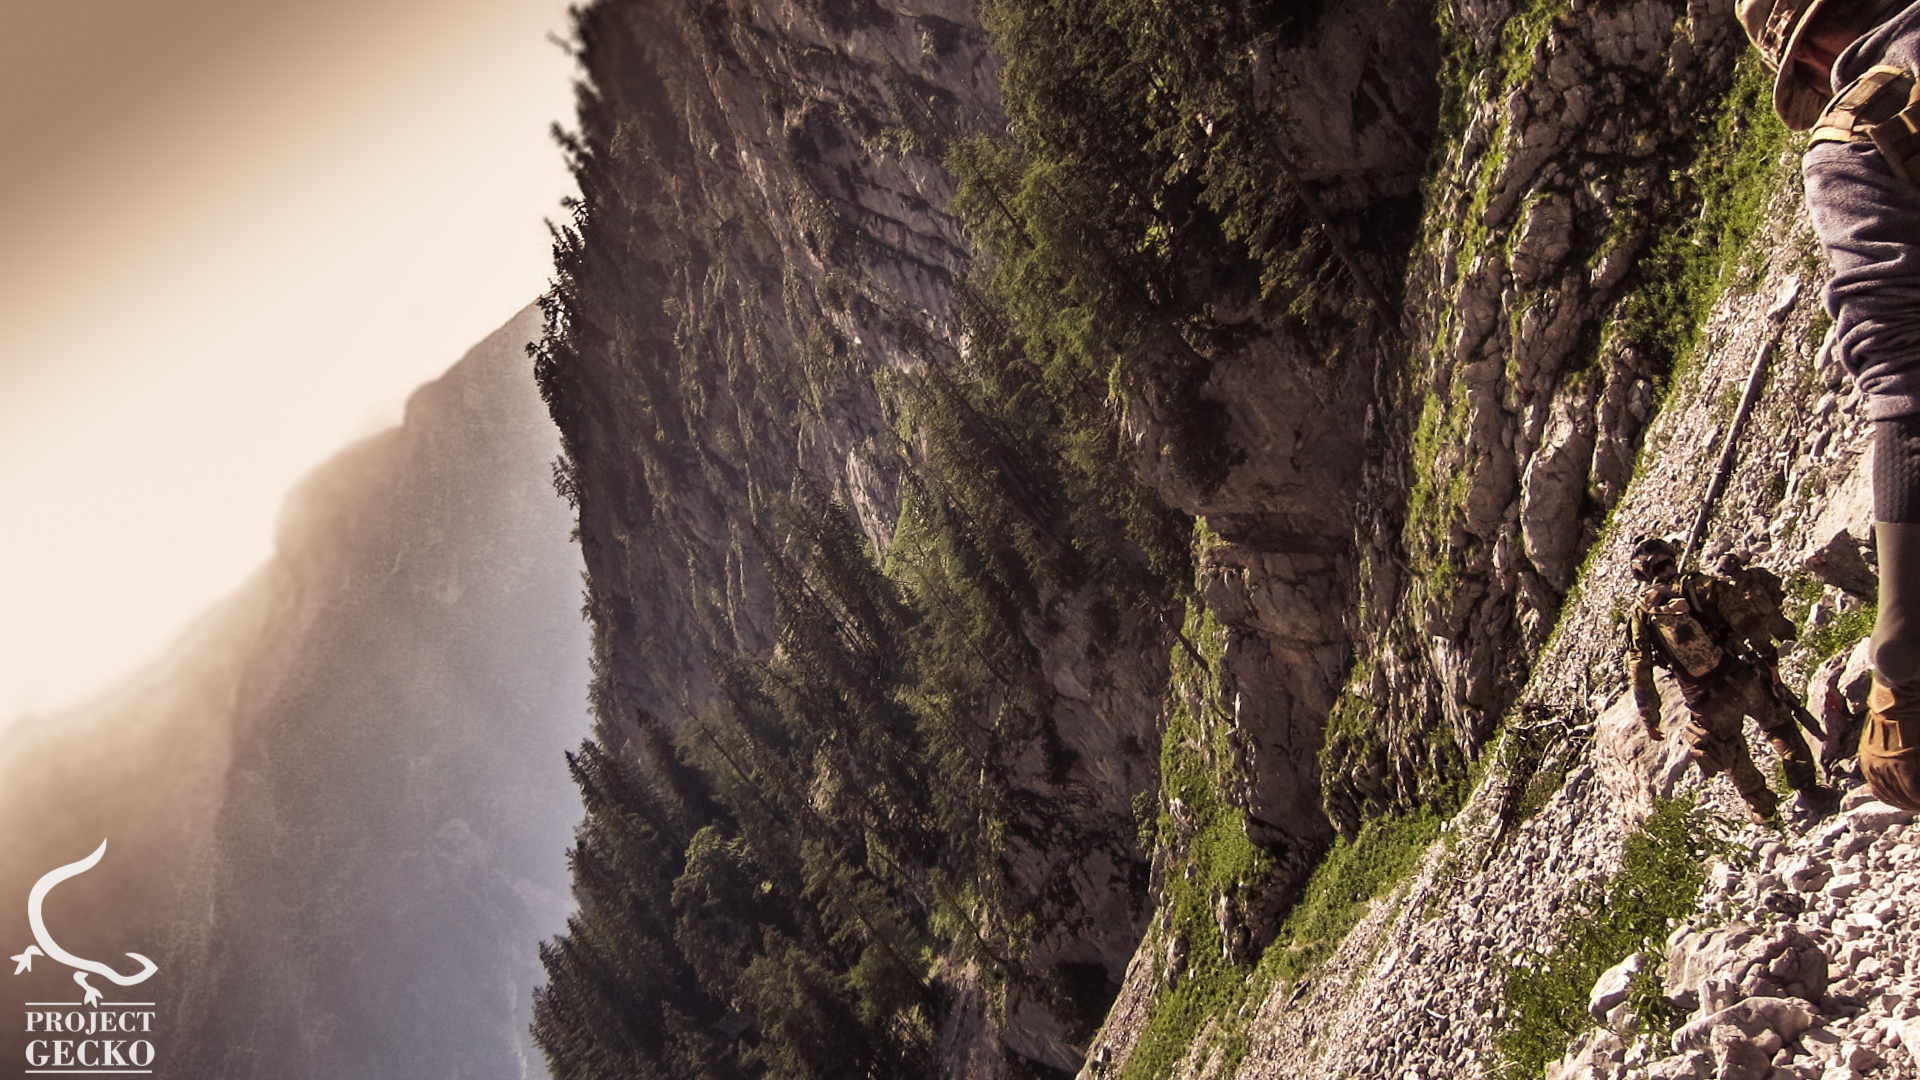
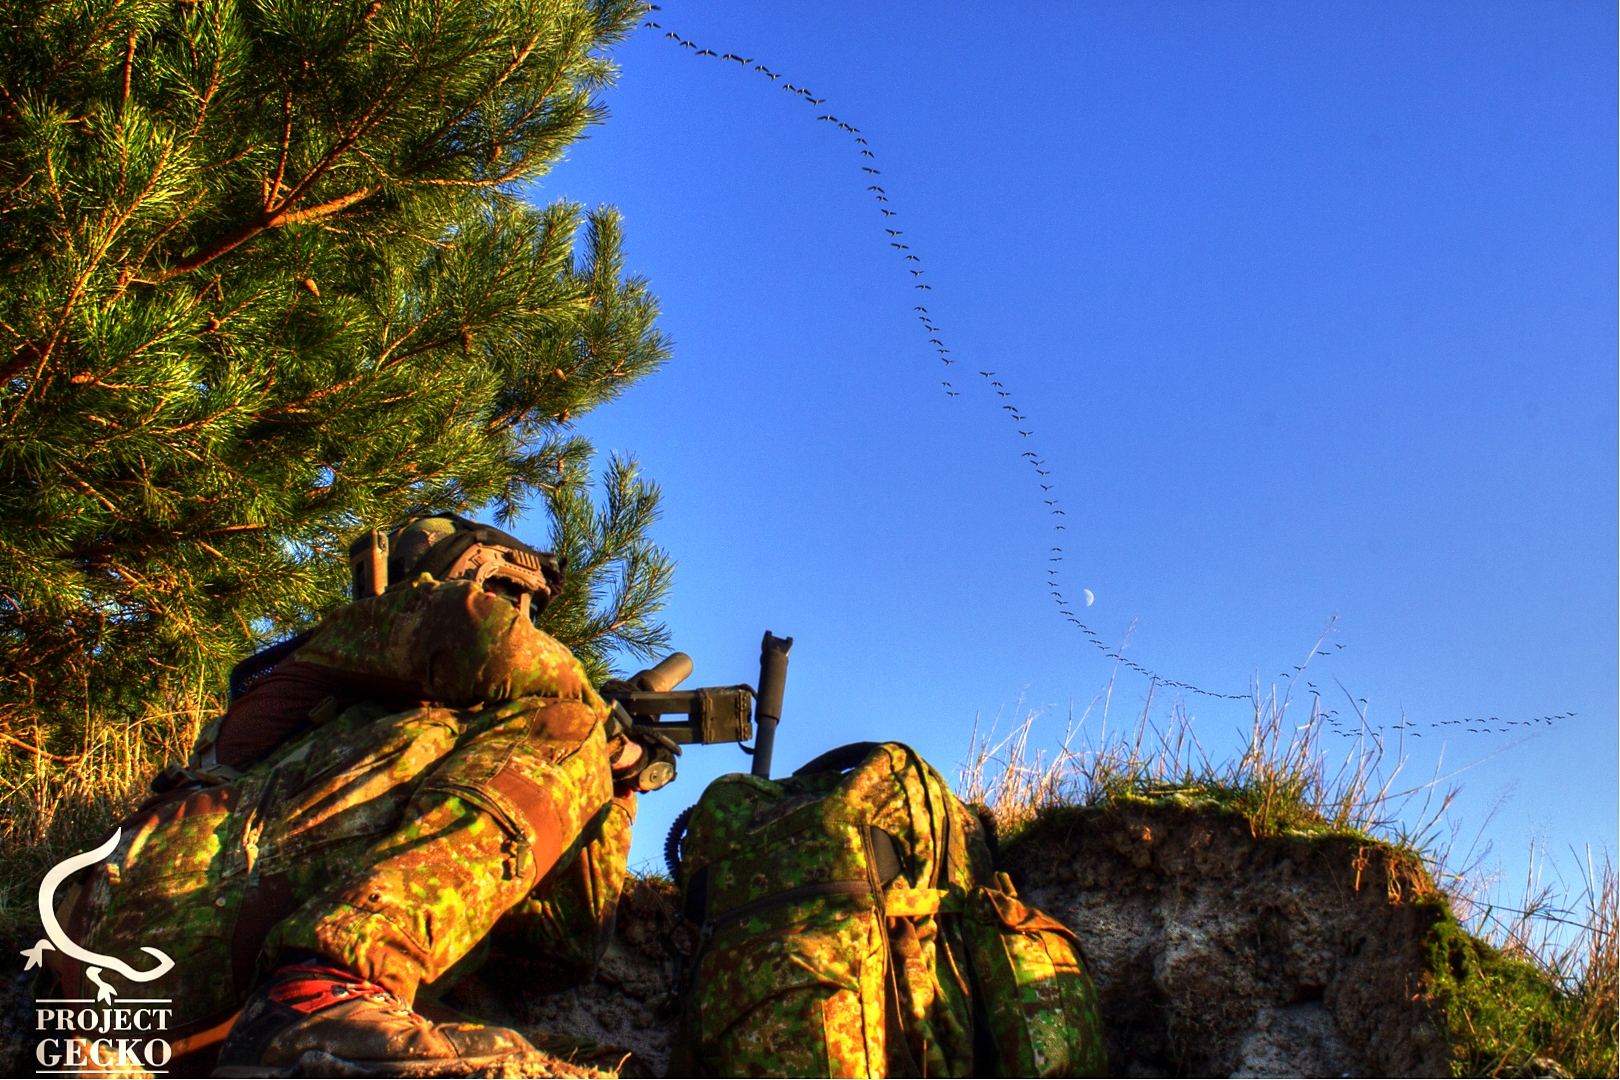
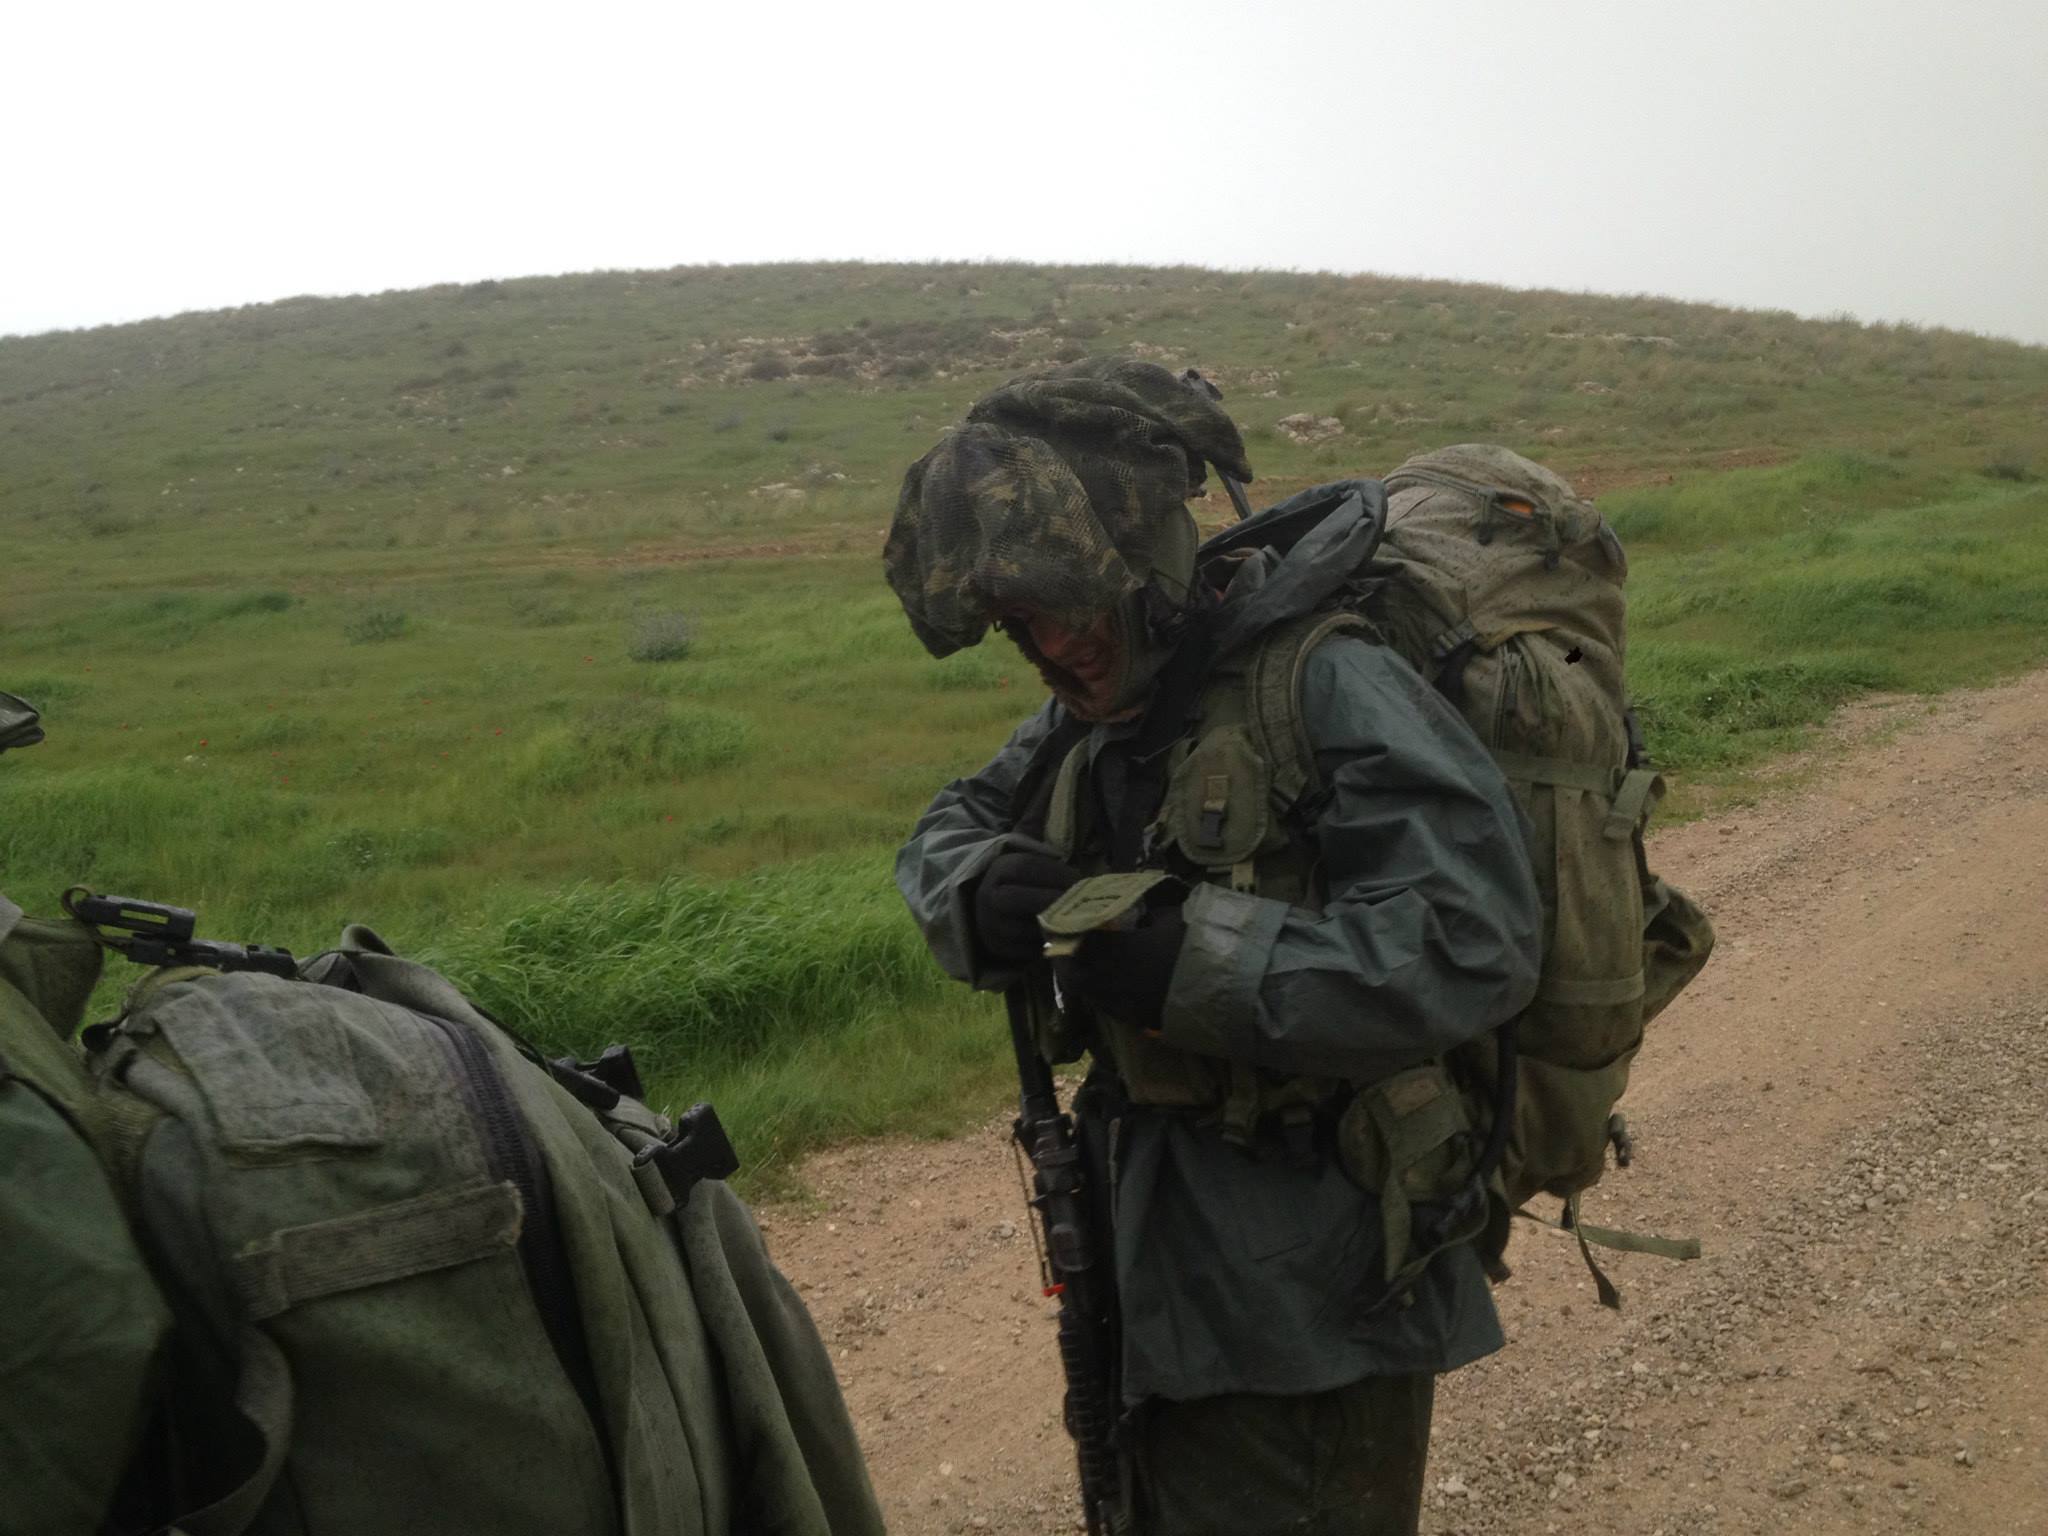
It´s winter 2010 - my team and three others conducted a SR training in the valley of Ella (Israel). The training focus was on infiltration and the usage of advance camouflage 'solutions' which are OPSEC. Mission requirement was, to approach during the night up to 100 -150 meters from our objective and to deploy our 'things'. The 'thing' was a concealment method which allowed a specific team to be present in hostile area without thermal \ visual detection.
My role was what we call in the IDF 'a builder' . Without writing too much, i´ll make it simple: We were specialized in fooling enemy counter surveillance capabilities ( active & passive). By doing so, we could ensure our team the ability to remain present in an AO, concealed and undetected up to 14 Days. With that being said, often some of our way to 'collect data' was to remain static most of the day in close distance within our objective for a long period of time. That reality has 3 layers of exposure factors : your gear, the environment (weather, animals, etc) and the team level of discipline & professionalism.
Back to the story. – The entire infiltration, long range movement and approach to our OP, took us around 3-4 hours. 1 Hour after infiltration, Murphy laws 'served' us with a lot of rain, bitchy winds & muddy ground. All of a sudden we faced a different reality (which taught us a strong long lasting lesson on weather assessment & considerations as a part of our mission plan). So since we still did some kind of a hasty weather assessment, we had our rain gear with us.

One of my team mates during EOD course. Note the rain gear.
Typical IDF Rain gear, very lose and weak.
So my team leader gave the sign and 10 minutes later we were all dressed up in our shining rain gear.
The area was full of 'enemy' (OPFOR) patrols and it was quite difficult to maneuver in our rain gear without making that 'plastic' rubbing noise. The rain actually provided us sort of a nice natural screen from visual, smell or sound. But it had it´s own obvious disadvantages as well.
Our movement was relative slow the closer we got. Once we finally arrived at our 'Jumping point' (last point before the main position), most of us were wet, some looked like they just took a swim and some looked like they just peed the ocean in their pants. The most fucked up part was, that it felt like we are being cooked alive – I will get back to this later.
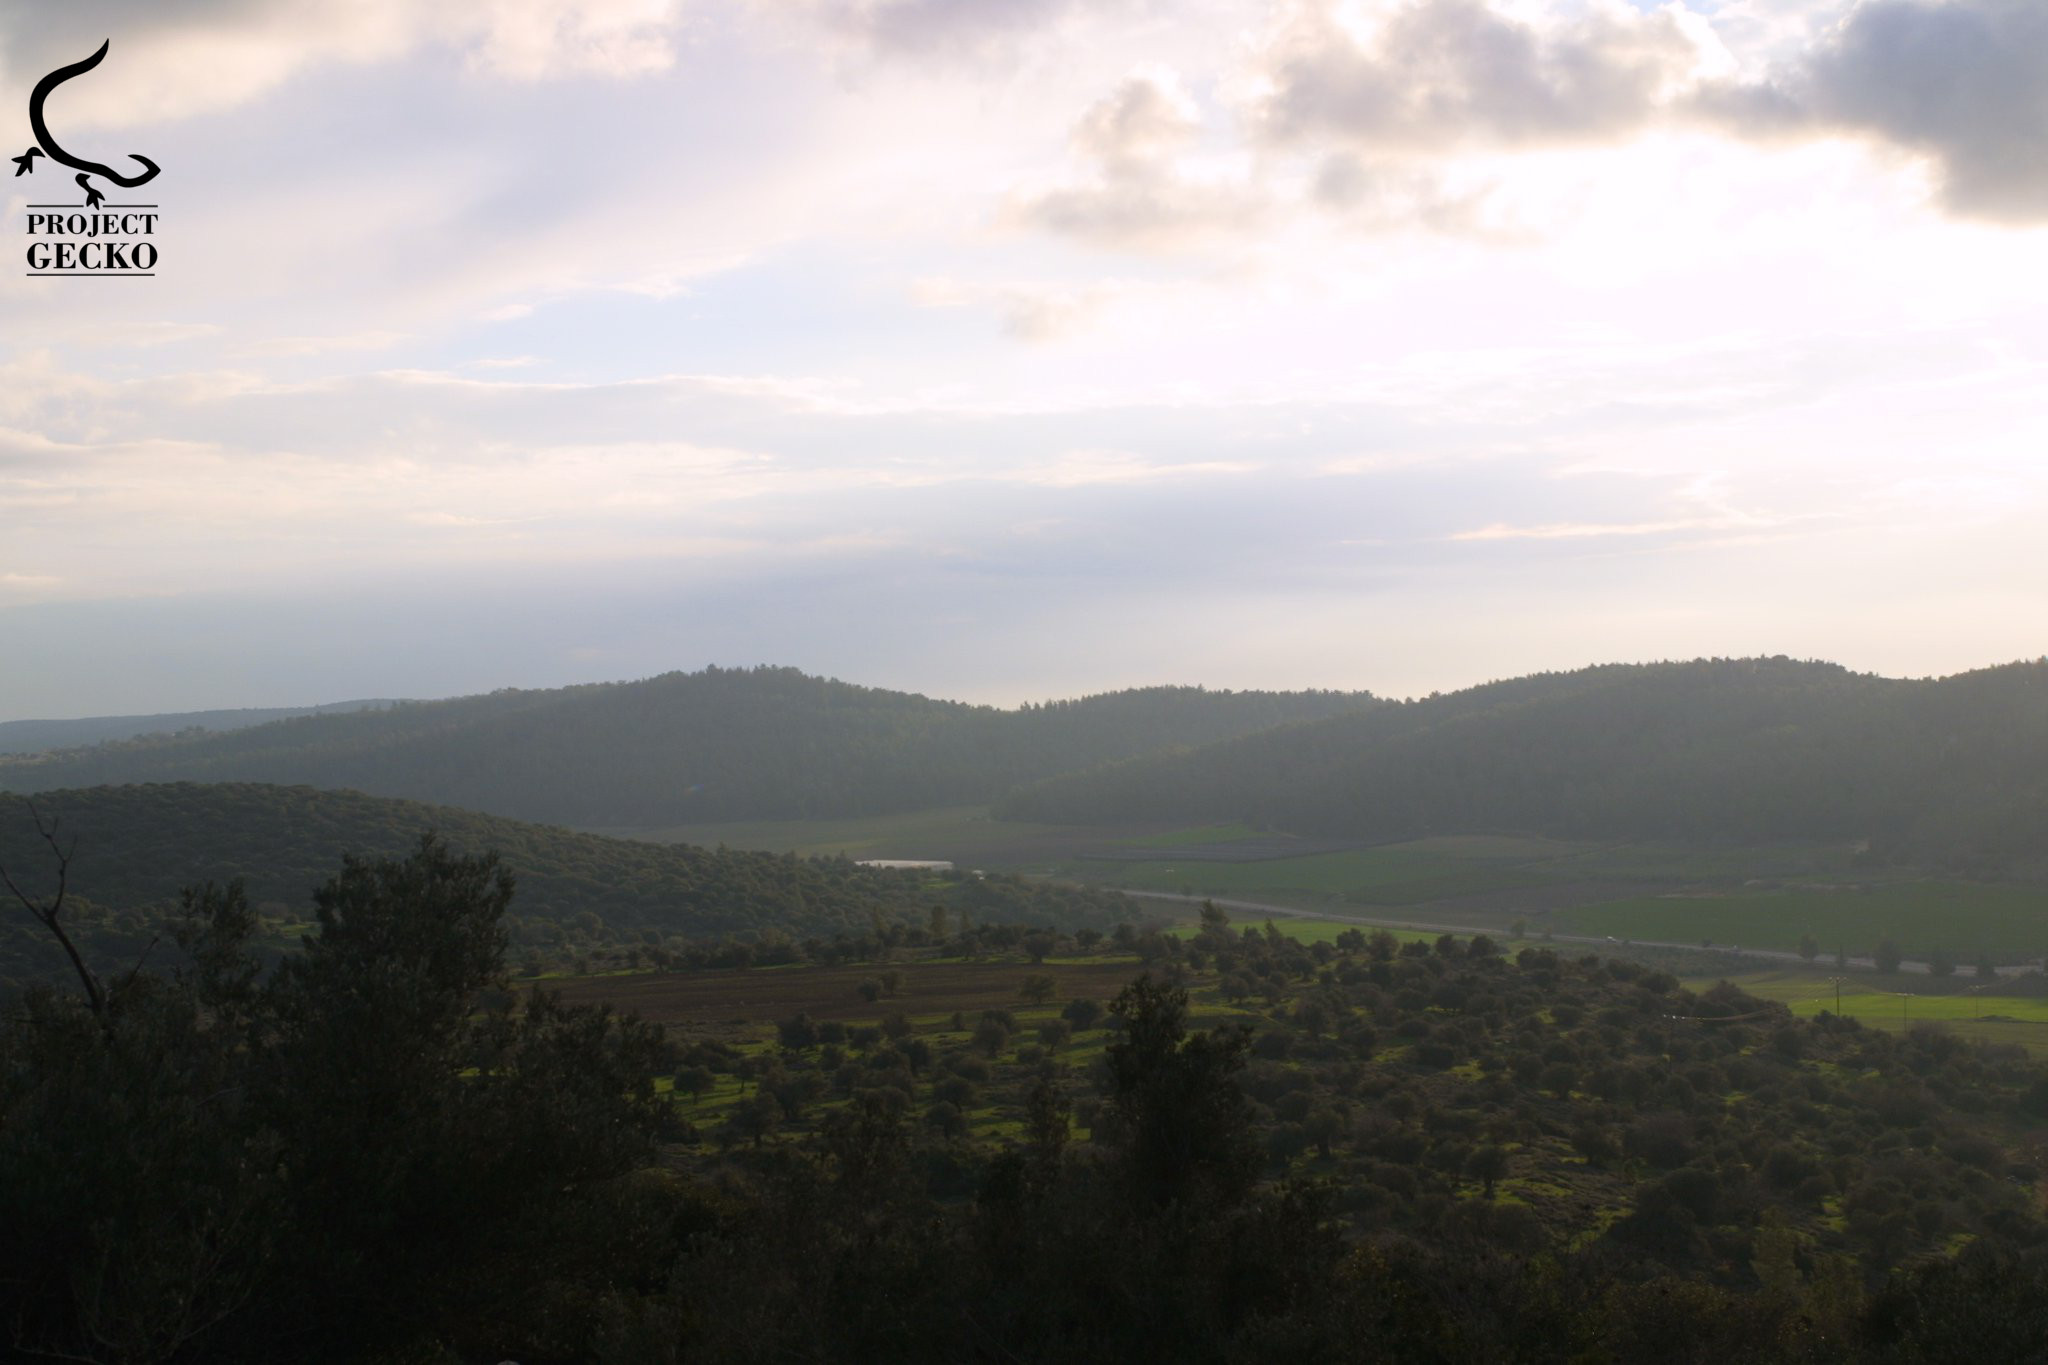
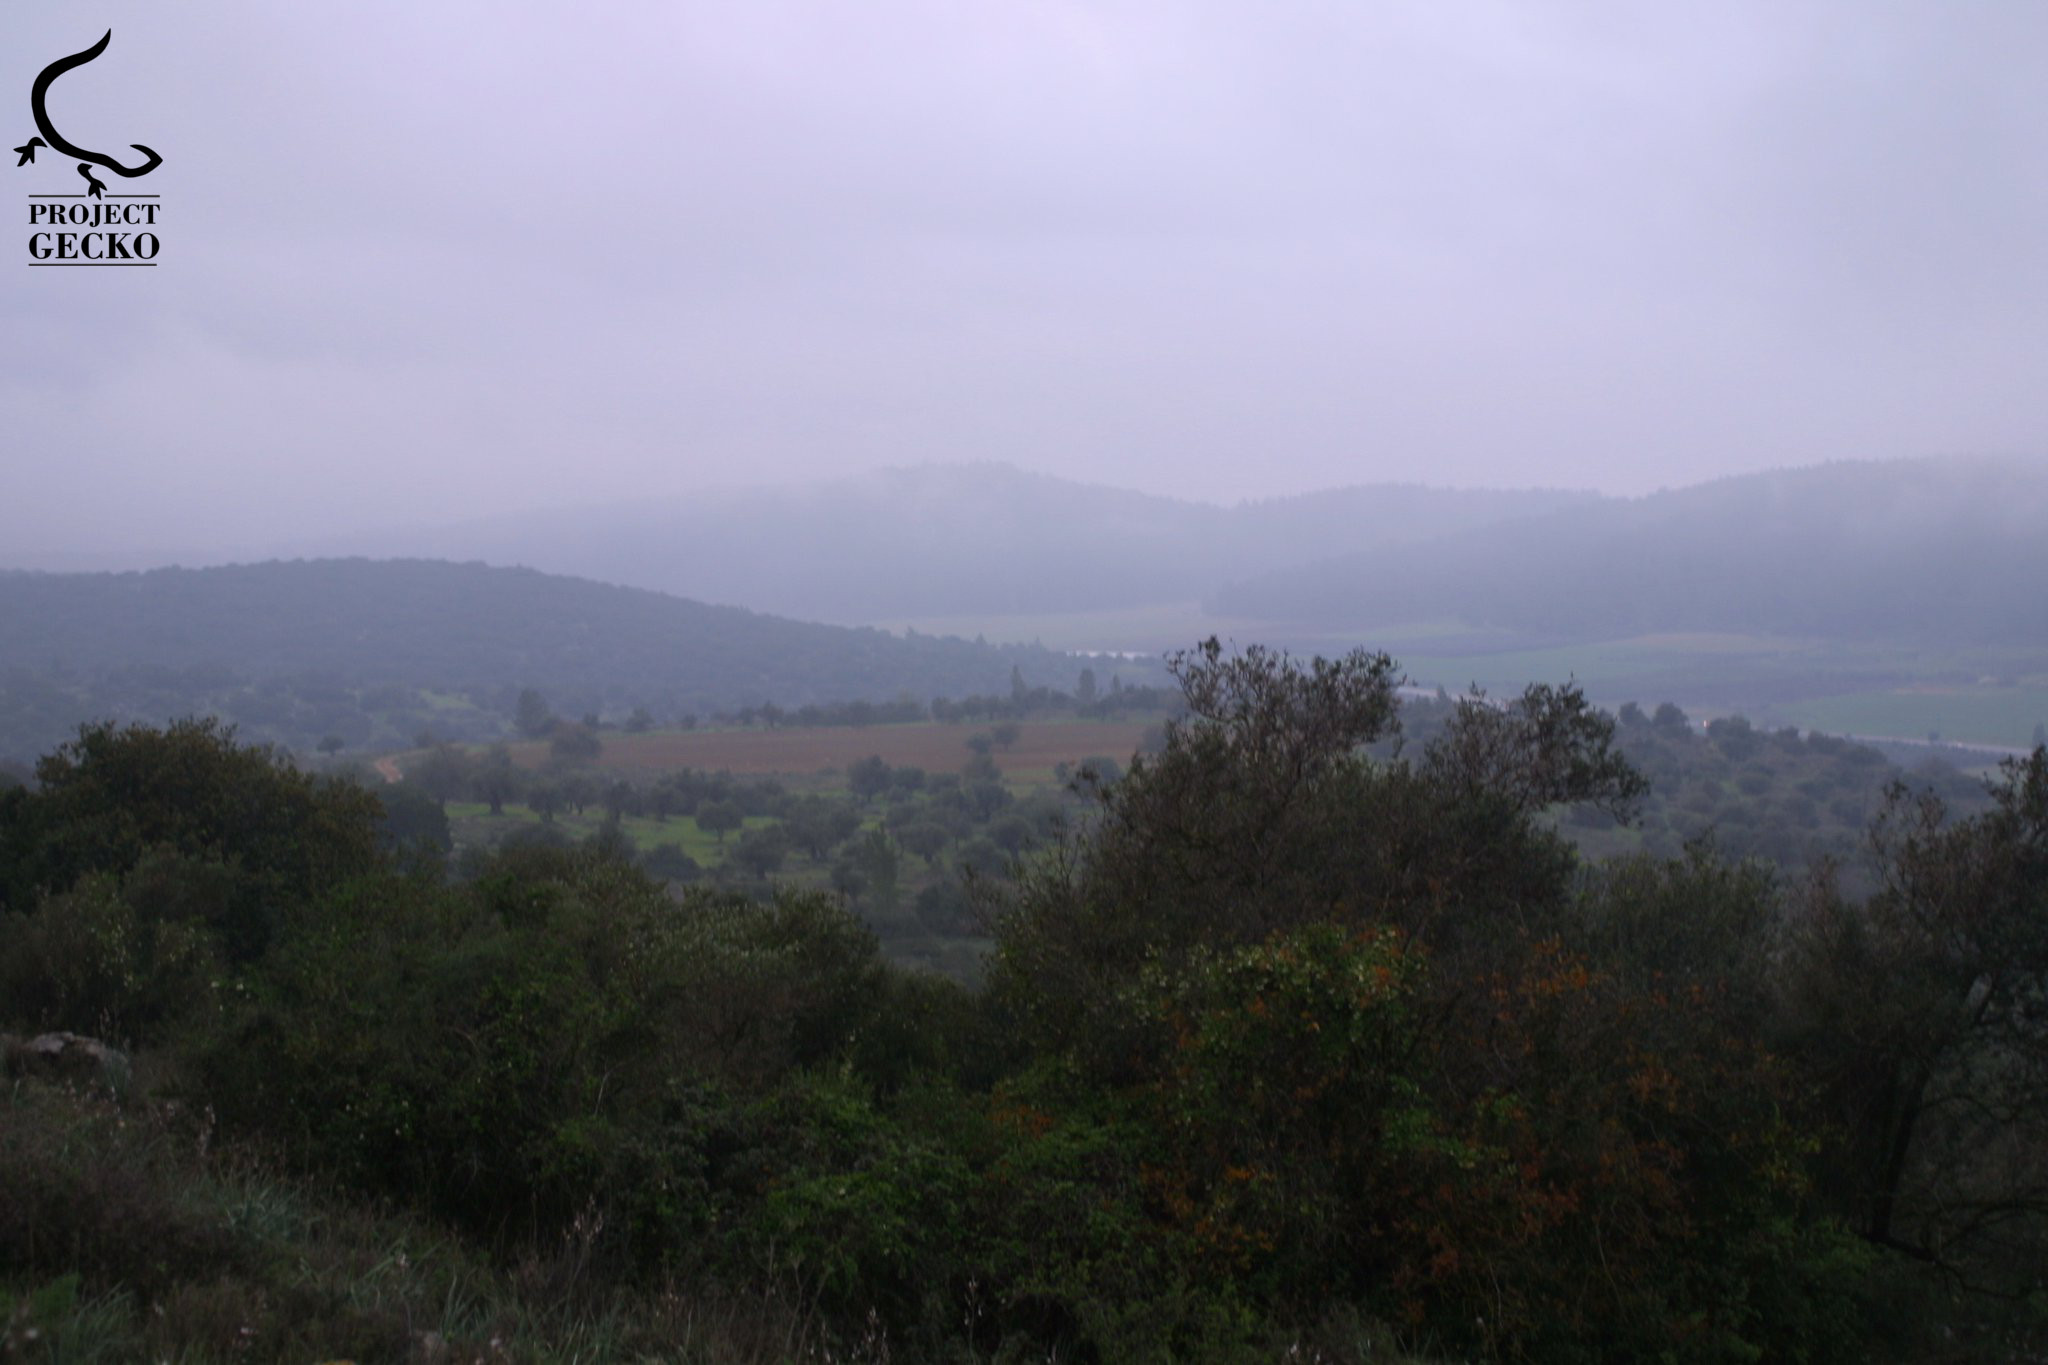
AO Valley of Ellah before & after 'awesome' weather -
I conducted a POS assessment or in other words – reality check, whether the main POS in reality (not based on imagery \ maps) actually fits in our mission requirements. Long story short, after something like what, 1 hour and 15 minutes (or so, I am not sure) the POS was ready and it was our new home for the next 48 hours.
Its safe to say that from the moment the rain started, things got edgy in a way which risked the entire team, and the somewhat the mission itself – a classic mistake every team goes through during its development.
Without expanding to much over this matter, most of our rain gear was just inefficient for movement, and was durable as a paper ship. We made ton of noise with each movement, all of us were sweating like pigs and in the same time felt like we are getting cooked in our suits. Some of us ripped \ damaged the rain suits only in the process of actually getting to the AO (most damaged areas were around the crotch, knee areas and shoulders).
So based on that situation and other problems in the past with different rain gear, I got the following important questions to my SmallPac monsoon -
Will I sweat \ swelter inside?
Will it keep me completely dry, or partially dry?
Will it limit my mobility?
Can it handle hard use?
Will it expose me?
Will it be heavy and too big for storage?
Can I still efficiently access my 1st & 2nd lines?

The SmallPac Monsoon Jacket - More than just protection?
The SmallPac Monsoon Jacket seems to be 'just another' jacket at first glance – but quickly has proven me wrong. The jacket combines reality and up to date features, which are based on the typical high end user UF PRO normally sells to. For an instance, the shoulders do have arm compartments, something that I personally never had in my typical military rain suits, or that awesome Hood/Harness configuration included. But ok, the question remains: Does it really make sense to blend into your rain suit some of those motives you would see within...lets say BDU jackets? Well fuck yeah.
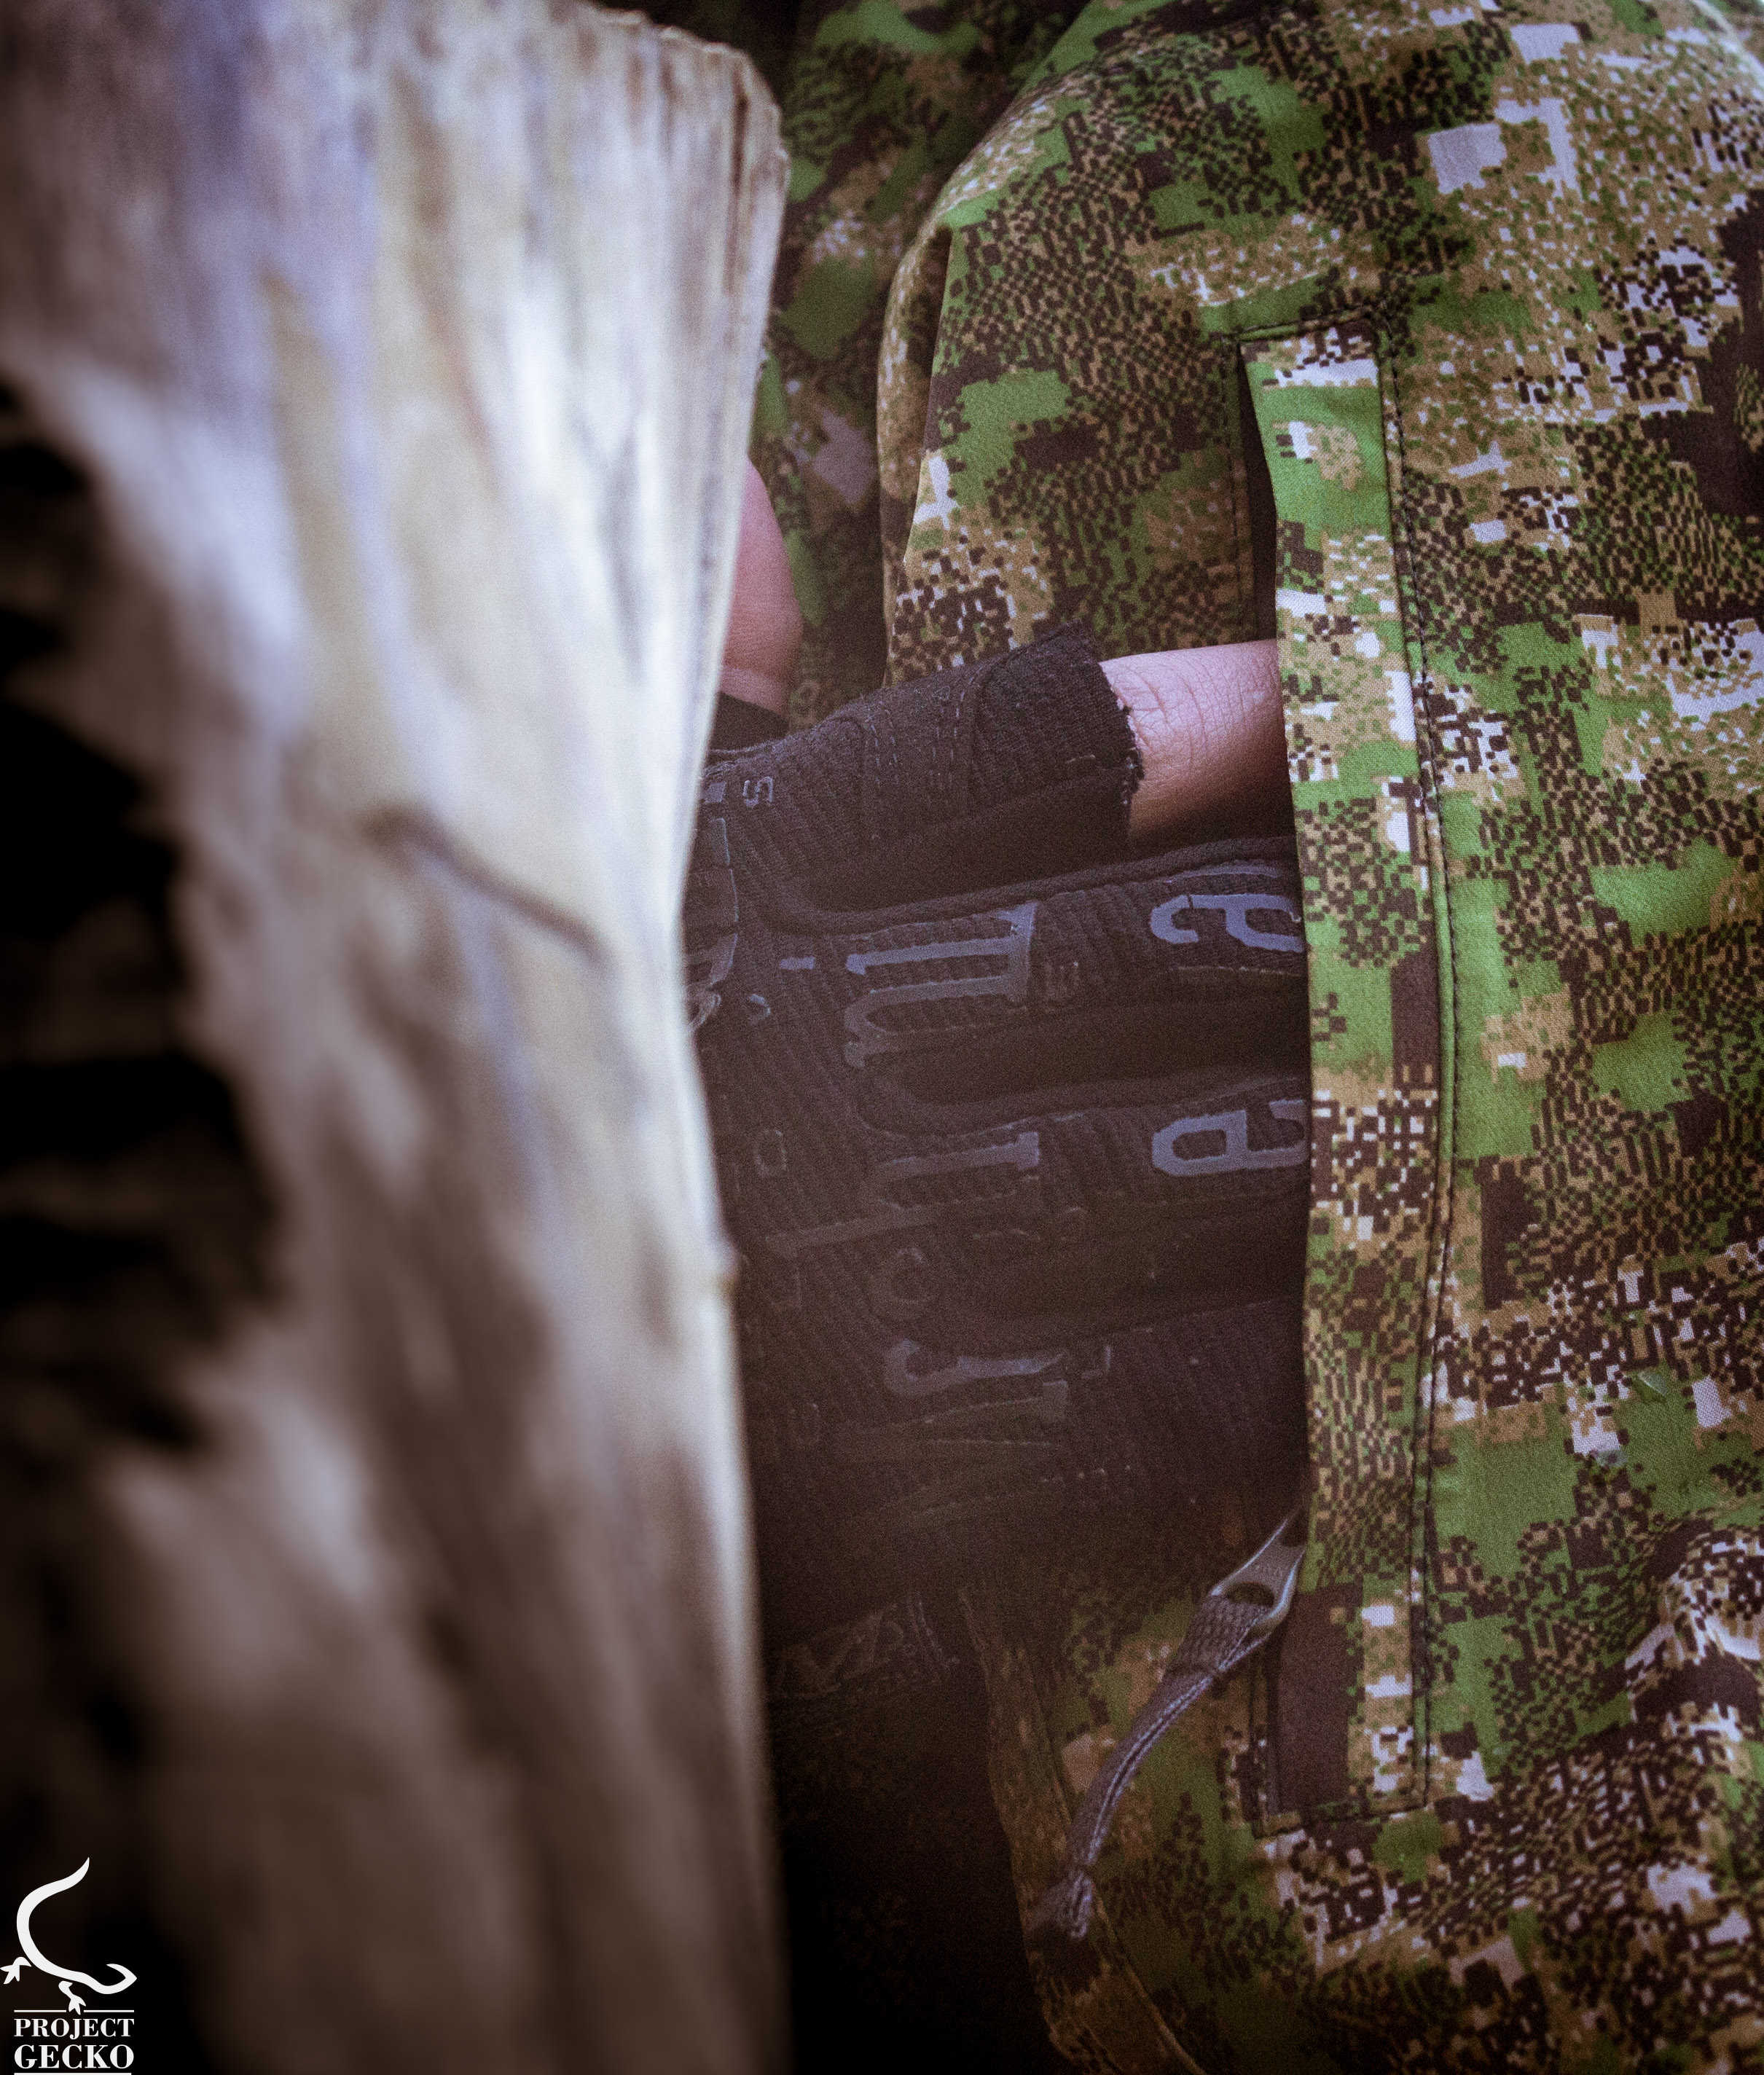
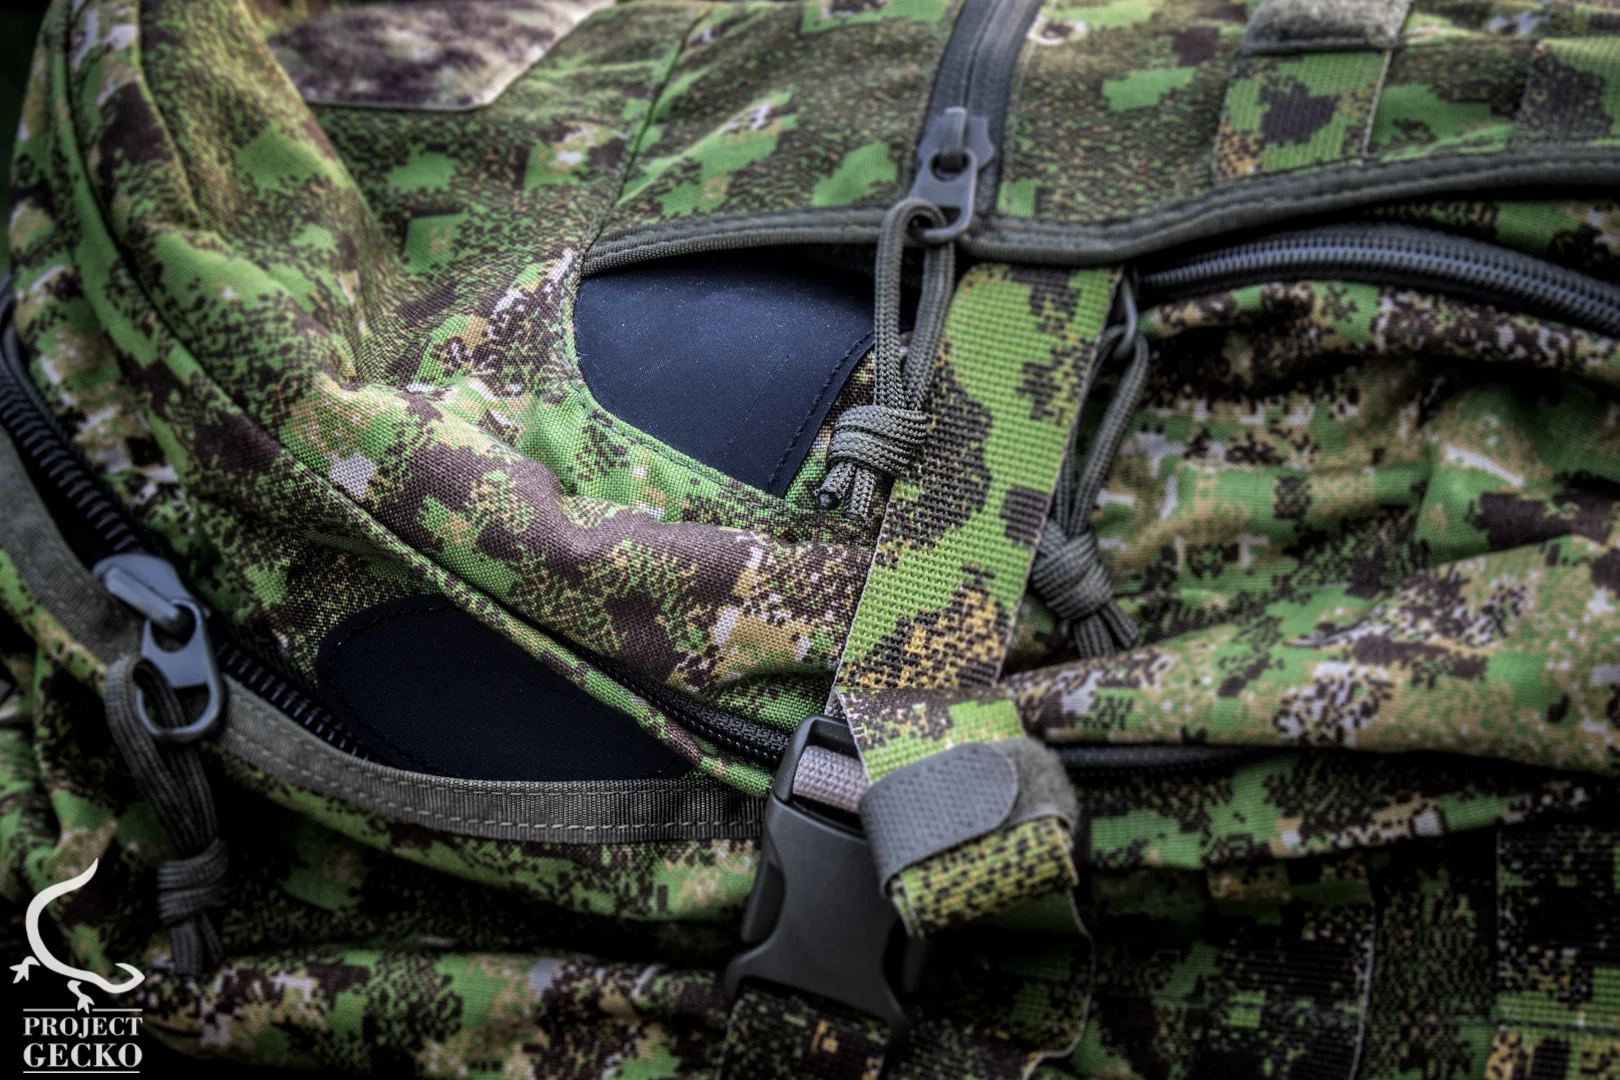
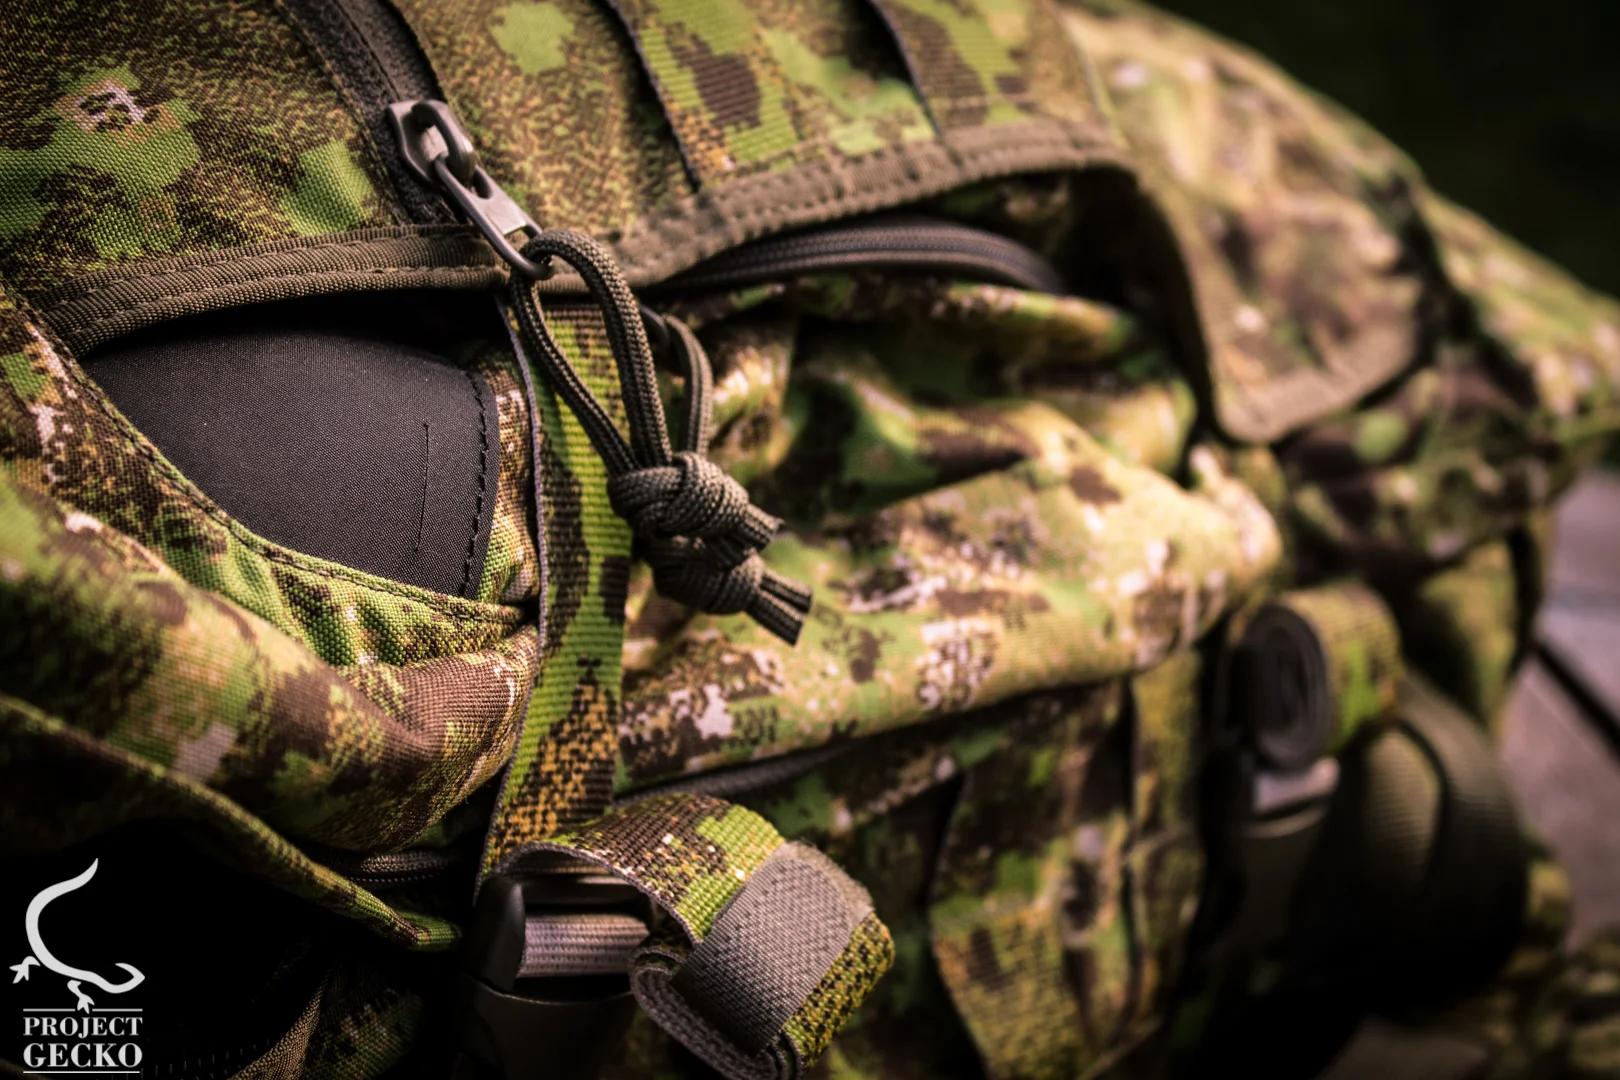
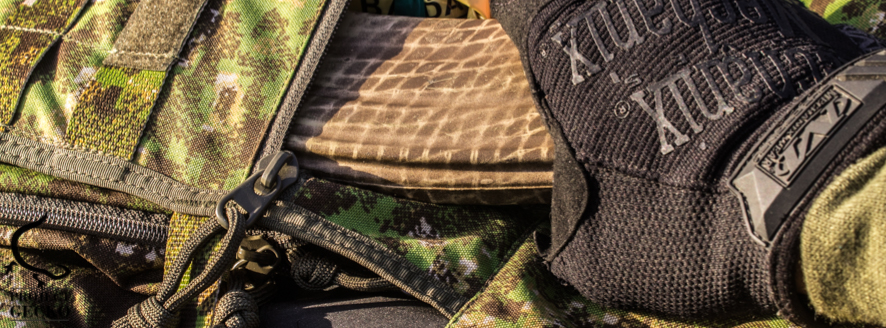
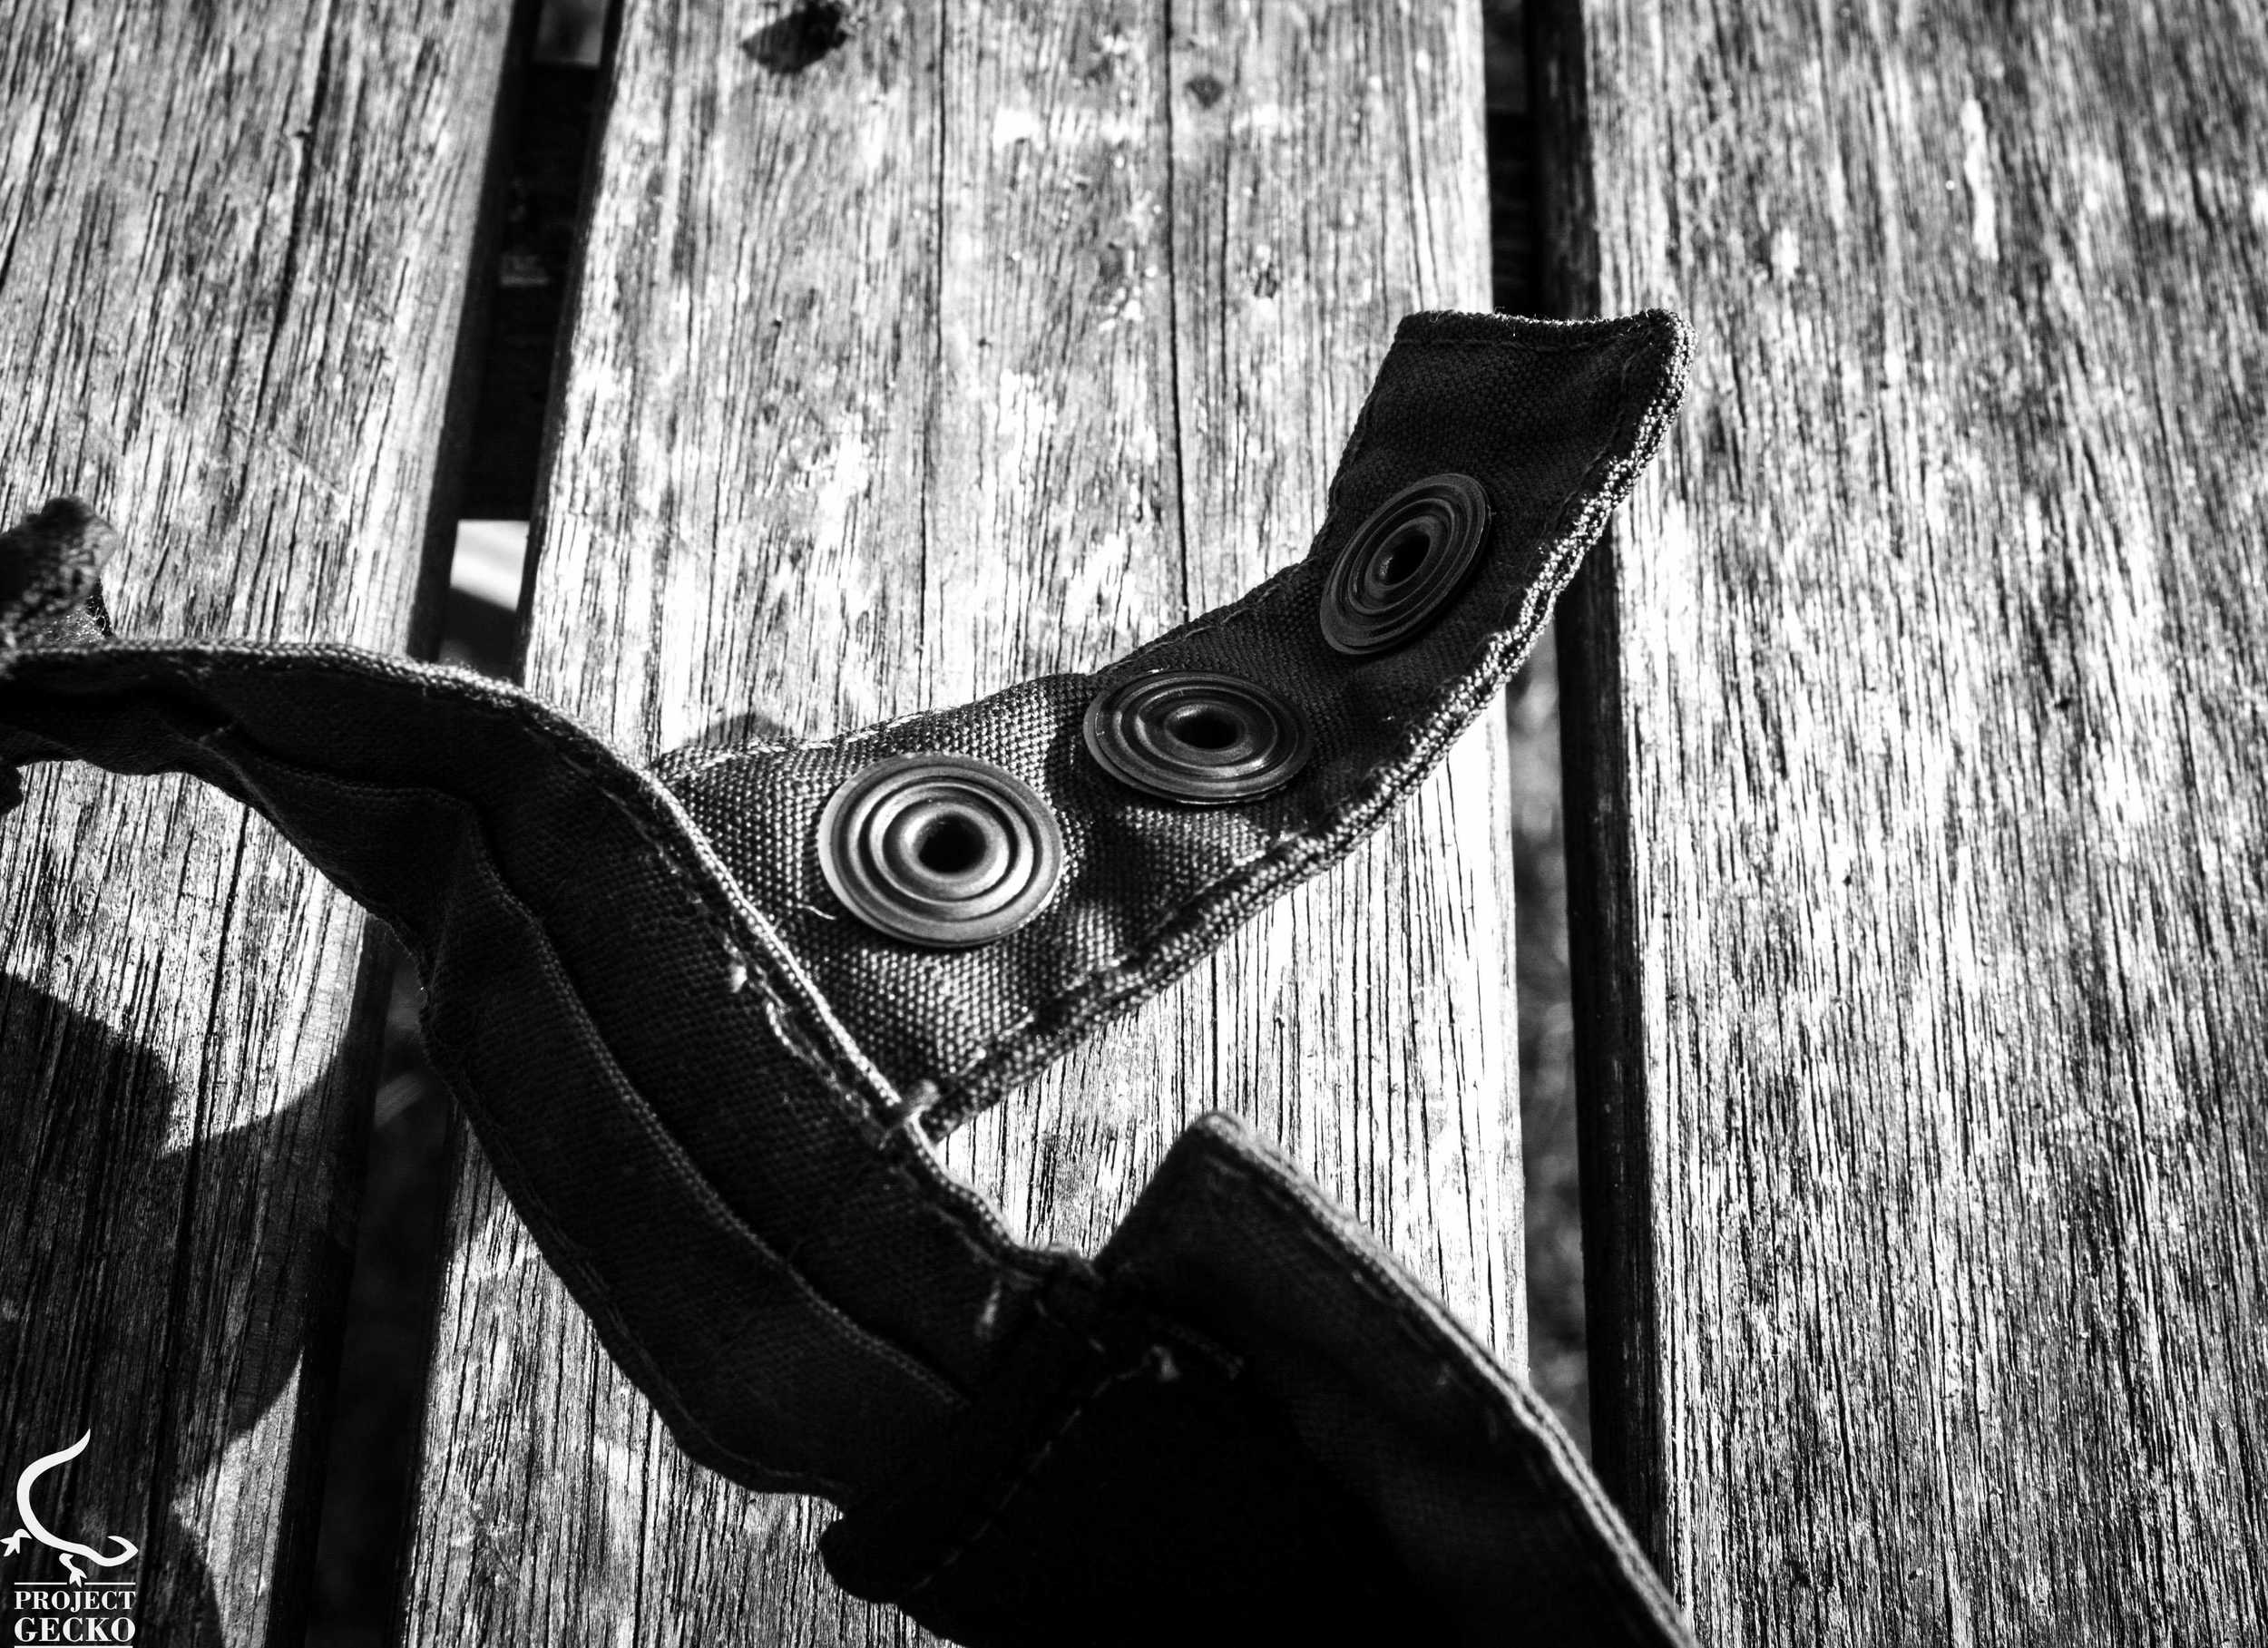
Shoulder compartments.
Normally I tend to store more essential stuff on my 1st line (uniform) than on my 2nd line (vest \ PC). I do that due to the fact I don’t want to be entirely depended on my plate carrier \ rig in case something happens. In most rain suits you can forget about it, as automatically the suit acts as a barrier between your vest and the uniform below. With those 2 arms compartments, I have the ability to access some of the stuff I still want to have available under intense rain shower. Might sound a bit ridiculous...but that´s something you don’t see so often in rain gear.
Hood – A Gimmick or an actual advantage?
Designing such a suit is a challenge by itself. The question is - does it really works?
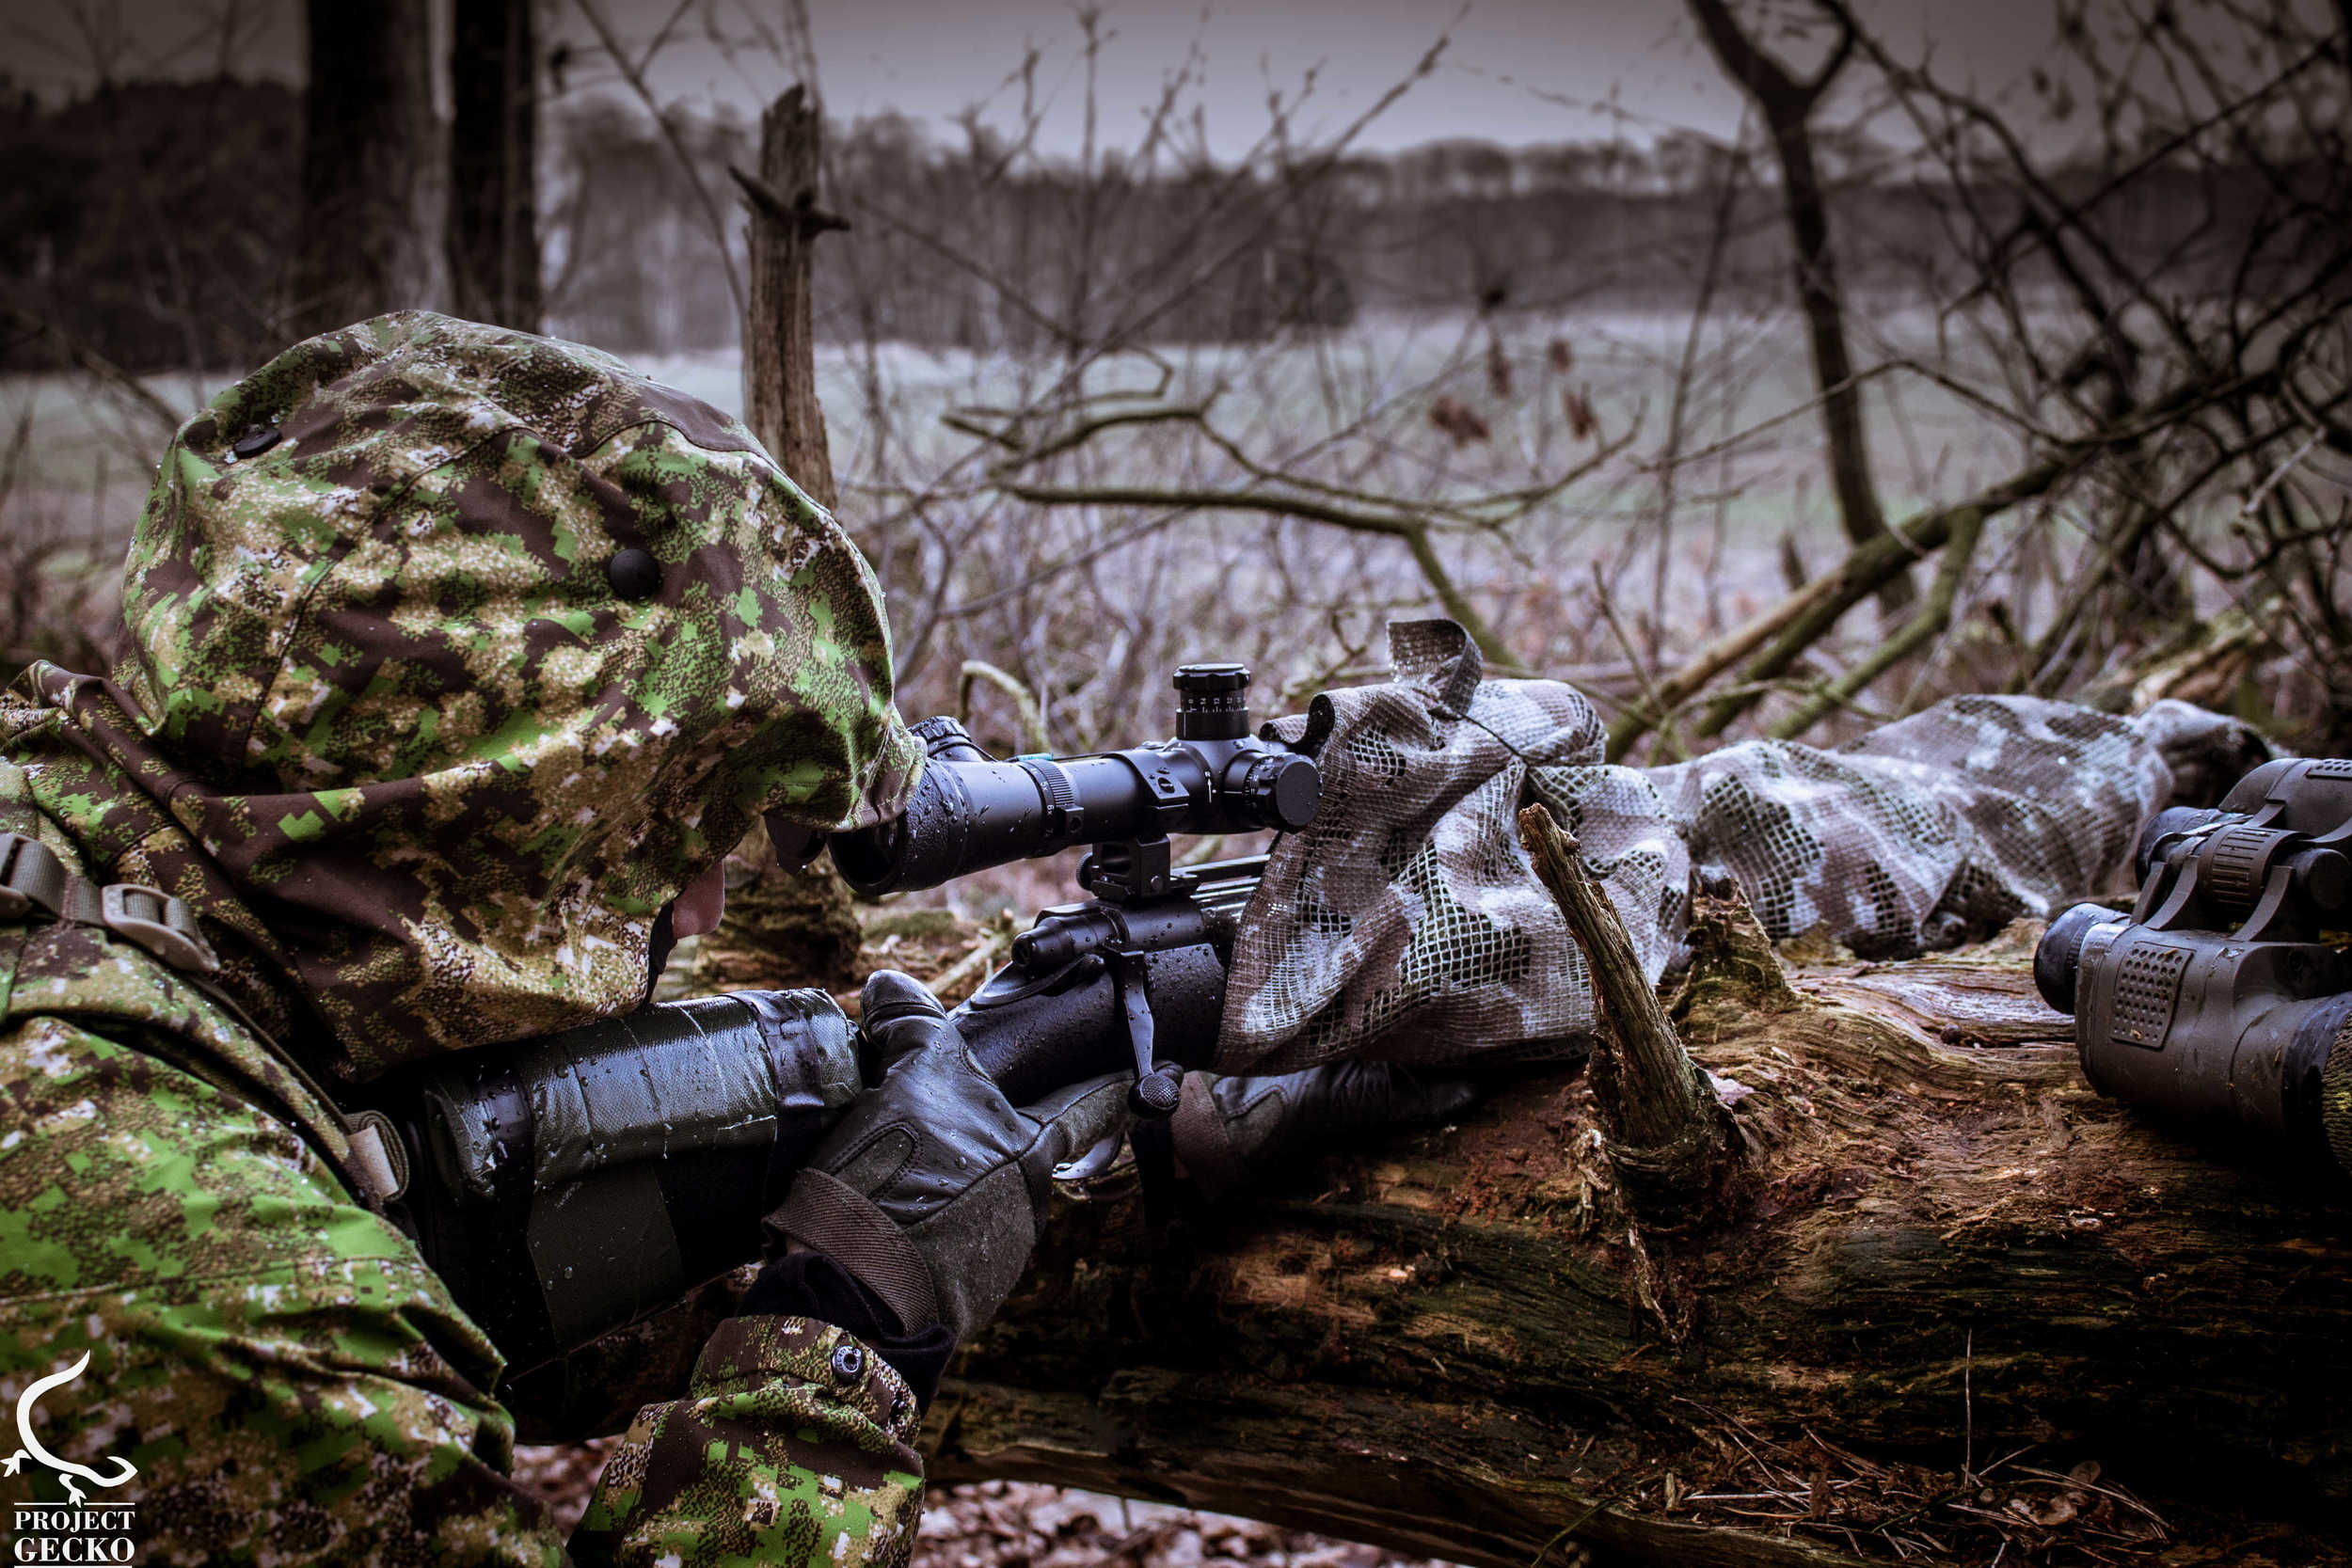
Two answers: Yes, & surprisingly even more than yes.The thing is, the hoods I used before in the military had a very traditional hood design (folding). Since the hoods have been just hoods, without nothing inside to control its shape or texture, often in different angles of movement \ shooting the hood kind of collapsed into my face. Sometimes I felt I looked like Kenny from South park and sometimes, especially in prone position – I simply didn’t take the shot once on target as I had a very narrow field of view.
Common problem in most Hood designs.
Prone behind cover or shooting from an uncomfortable position –that is what normally happens in reality of engagement & combat. Those are also the moments of truth, and its for those moments when you really know if the gear you wear is giving you an advantage or disadvantage. The rain suits I used during my service in the IDF proved me to the limit quite often, in many ridiculous ways. -
- Wind \ running – Often the hood just slipped back from strong wind or when we took a run. Result was a wast on time on readjusting and by doing so losing awareness of the environment.
- Visual – As mentioned before, very limited due to the hood ability to easily collapse.
- Flexibility – The 'cave' effect – since there is no actual contact between your head and the hood, the hood would not change its shape in according to the heads movement which adds a great visual cost, and less comfort.

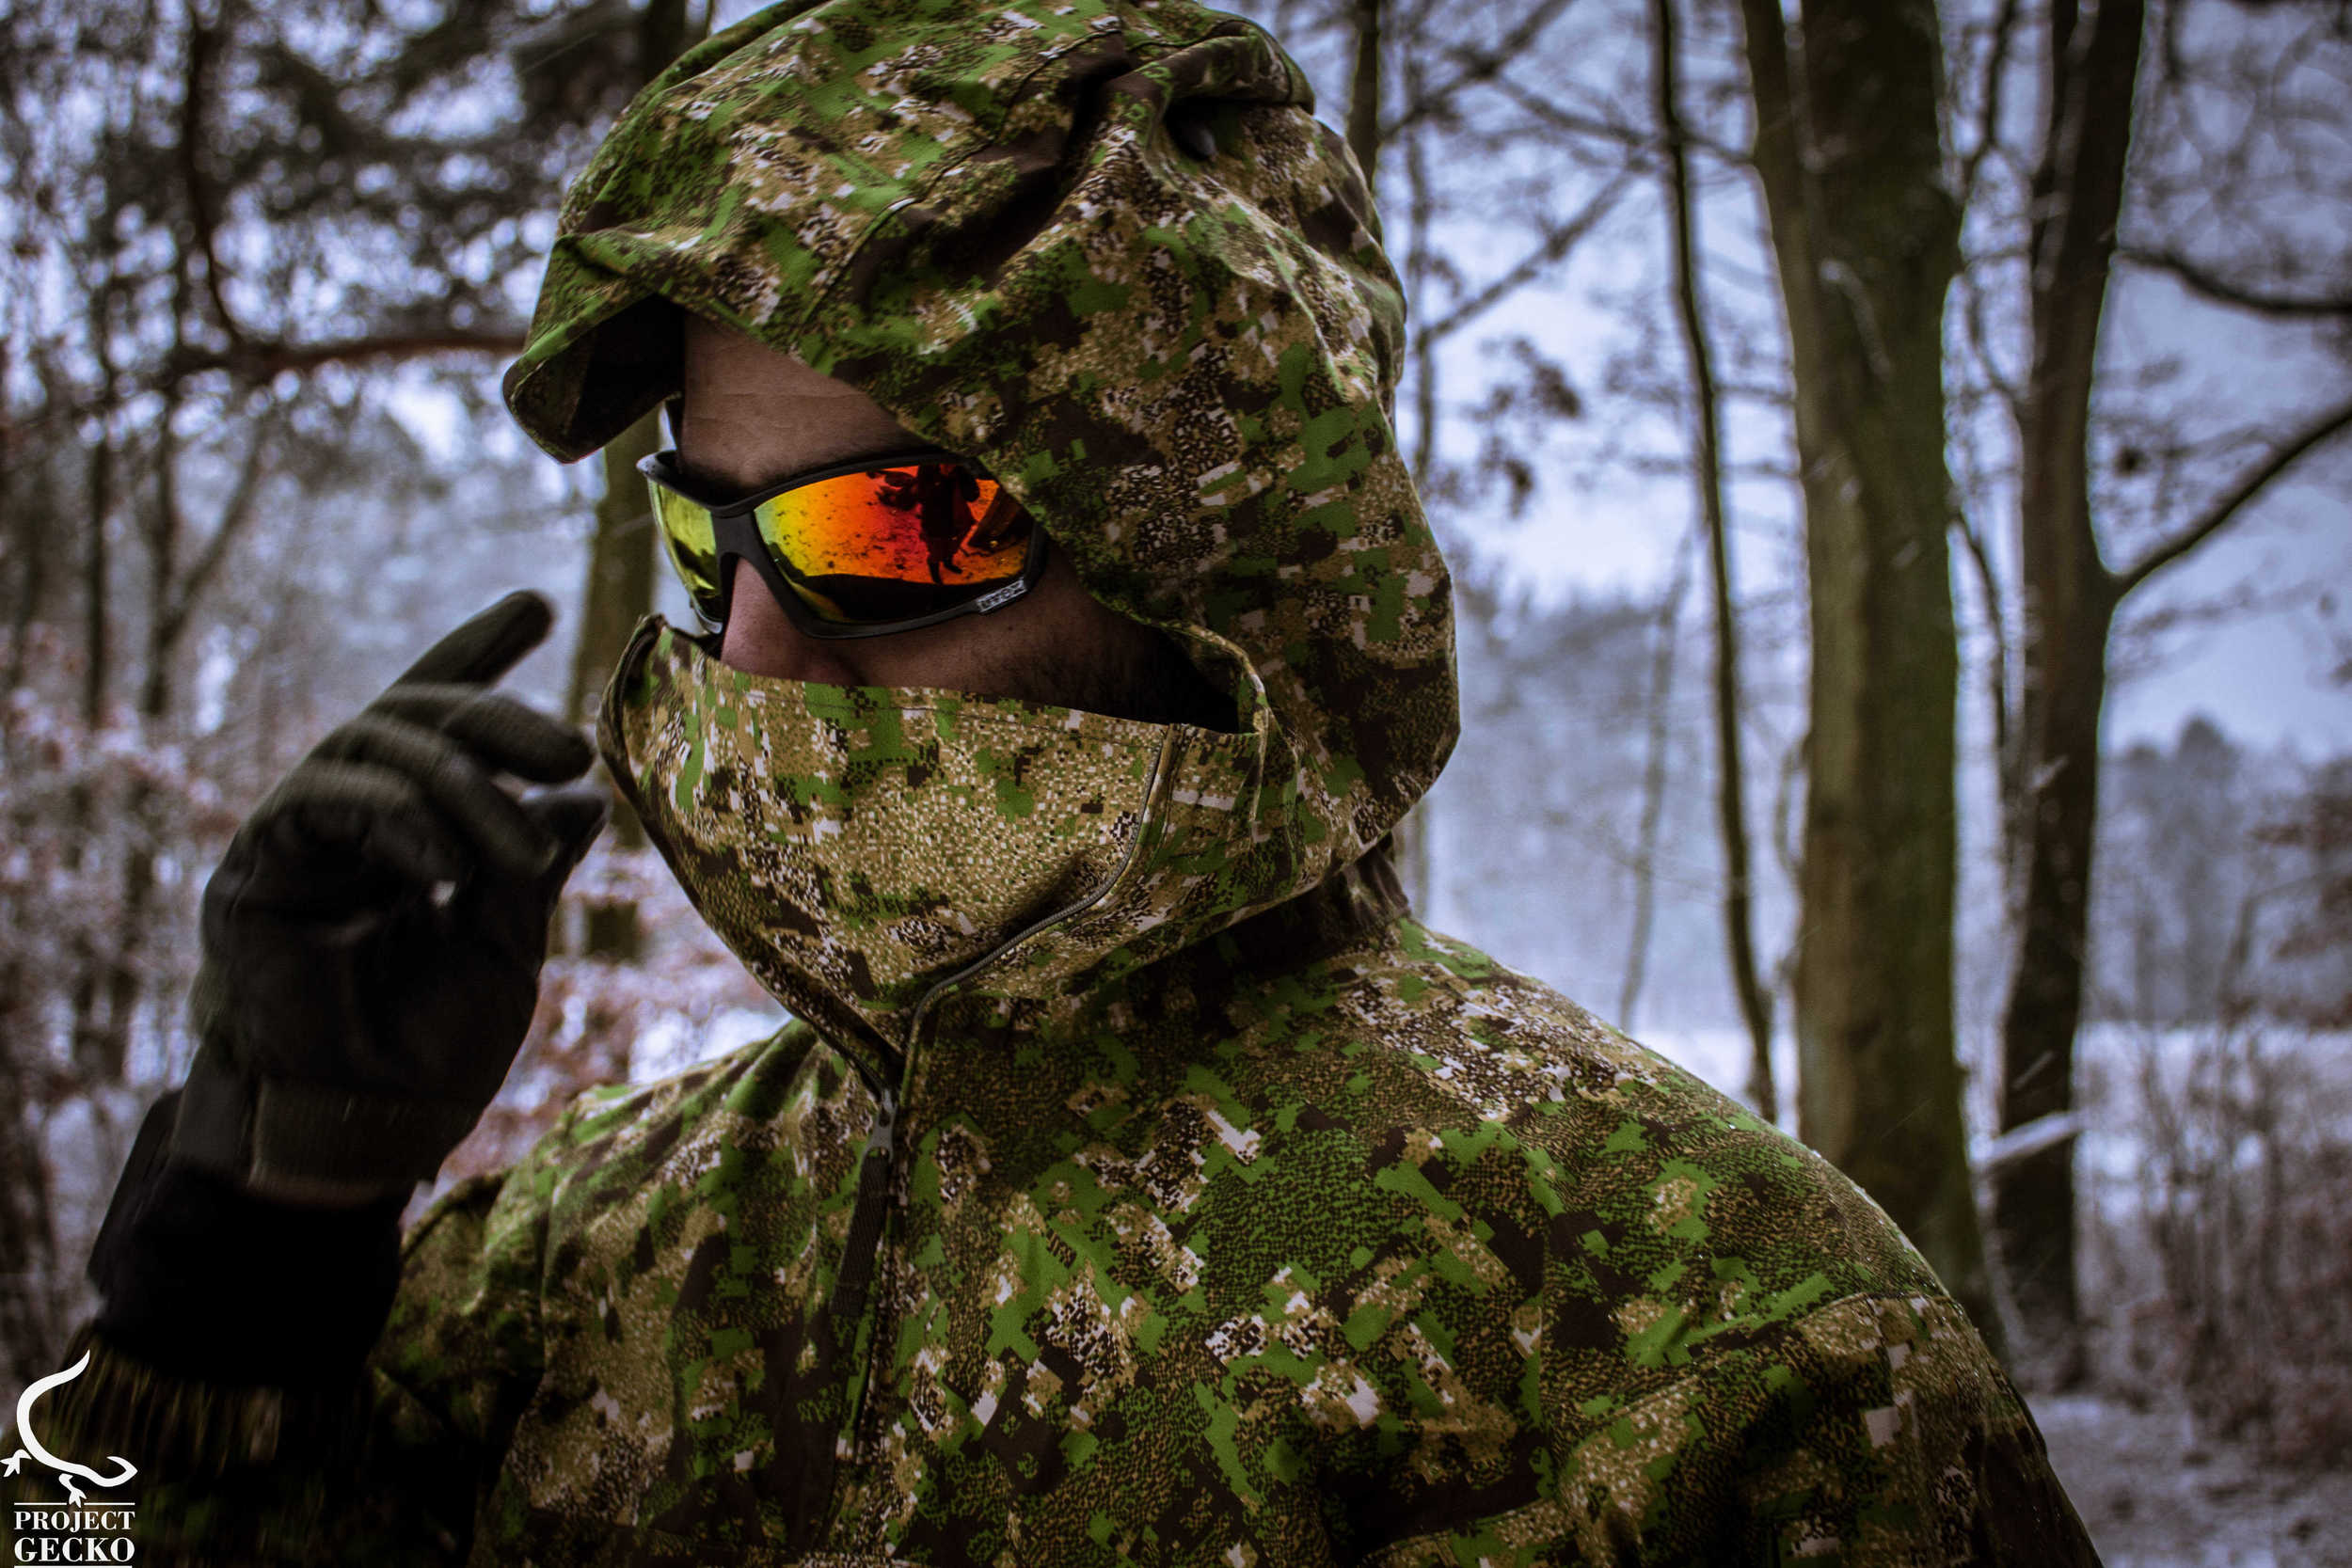
The Monsoon hood design - The perfect answer?
So after going through some of the problems I mentioned above, lets check out the hood of the UF Pro design.
The shape and its solution for any problems in the hood.
The ability of the hood to maintain a great 'light bulb' kind of shape (at least to me it looks like a bulb) gives the end user more flexibility and helps to overcome some of the problems mentioned above. There are two specific functions, which allow the end user to accomplish this little victory – and I will list it by priority.
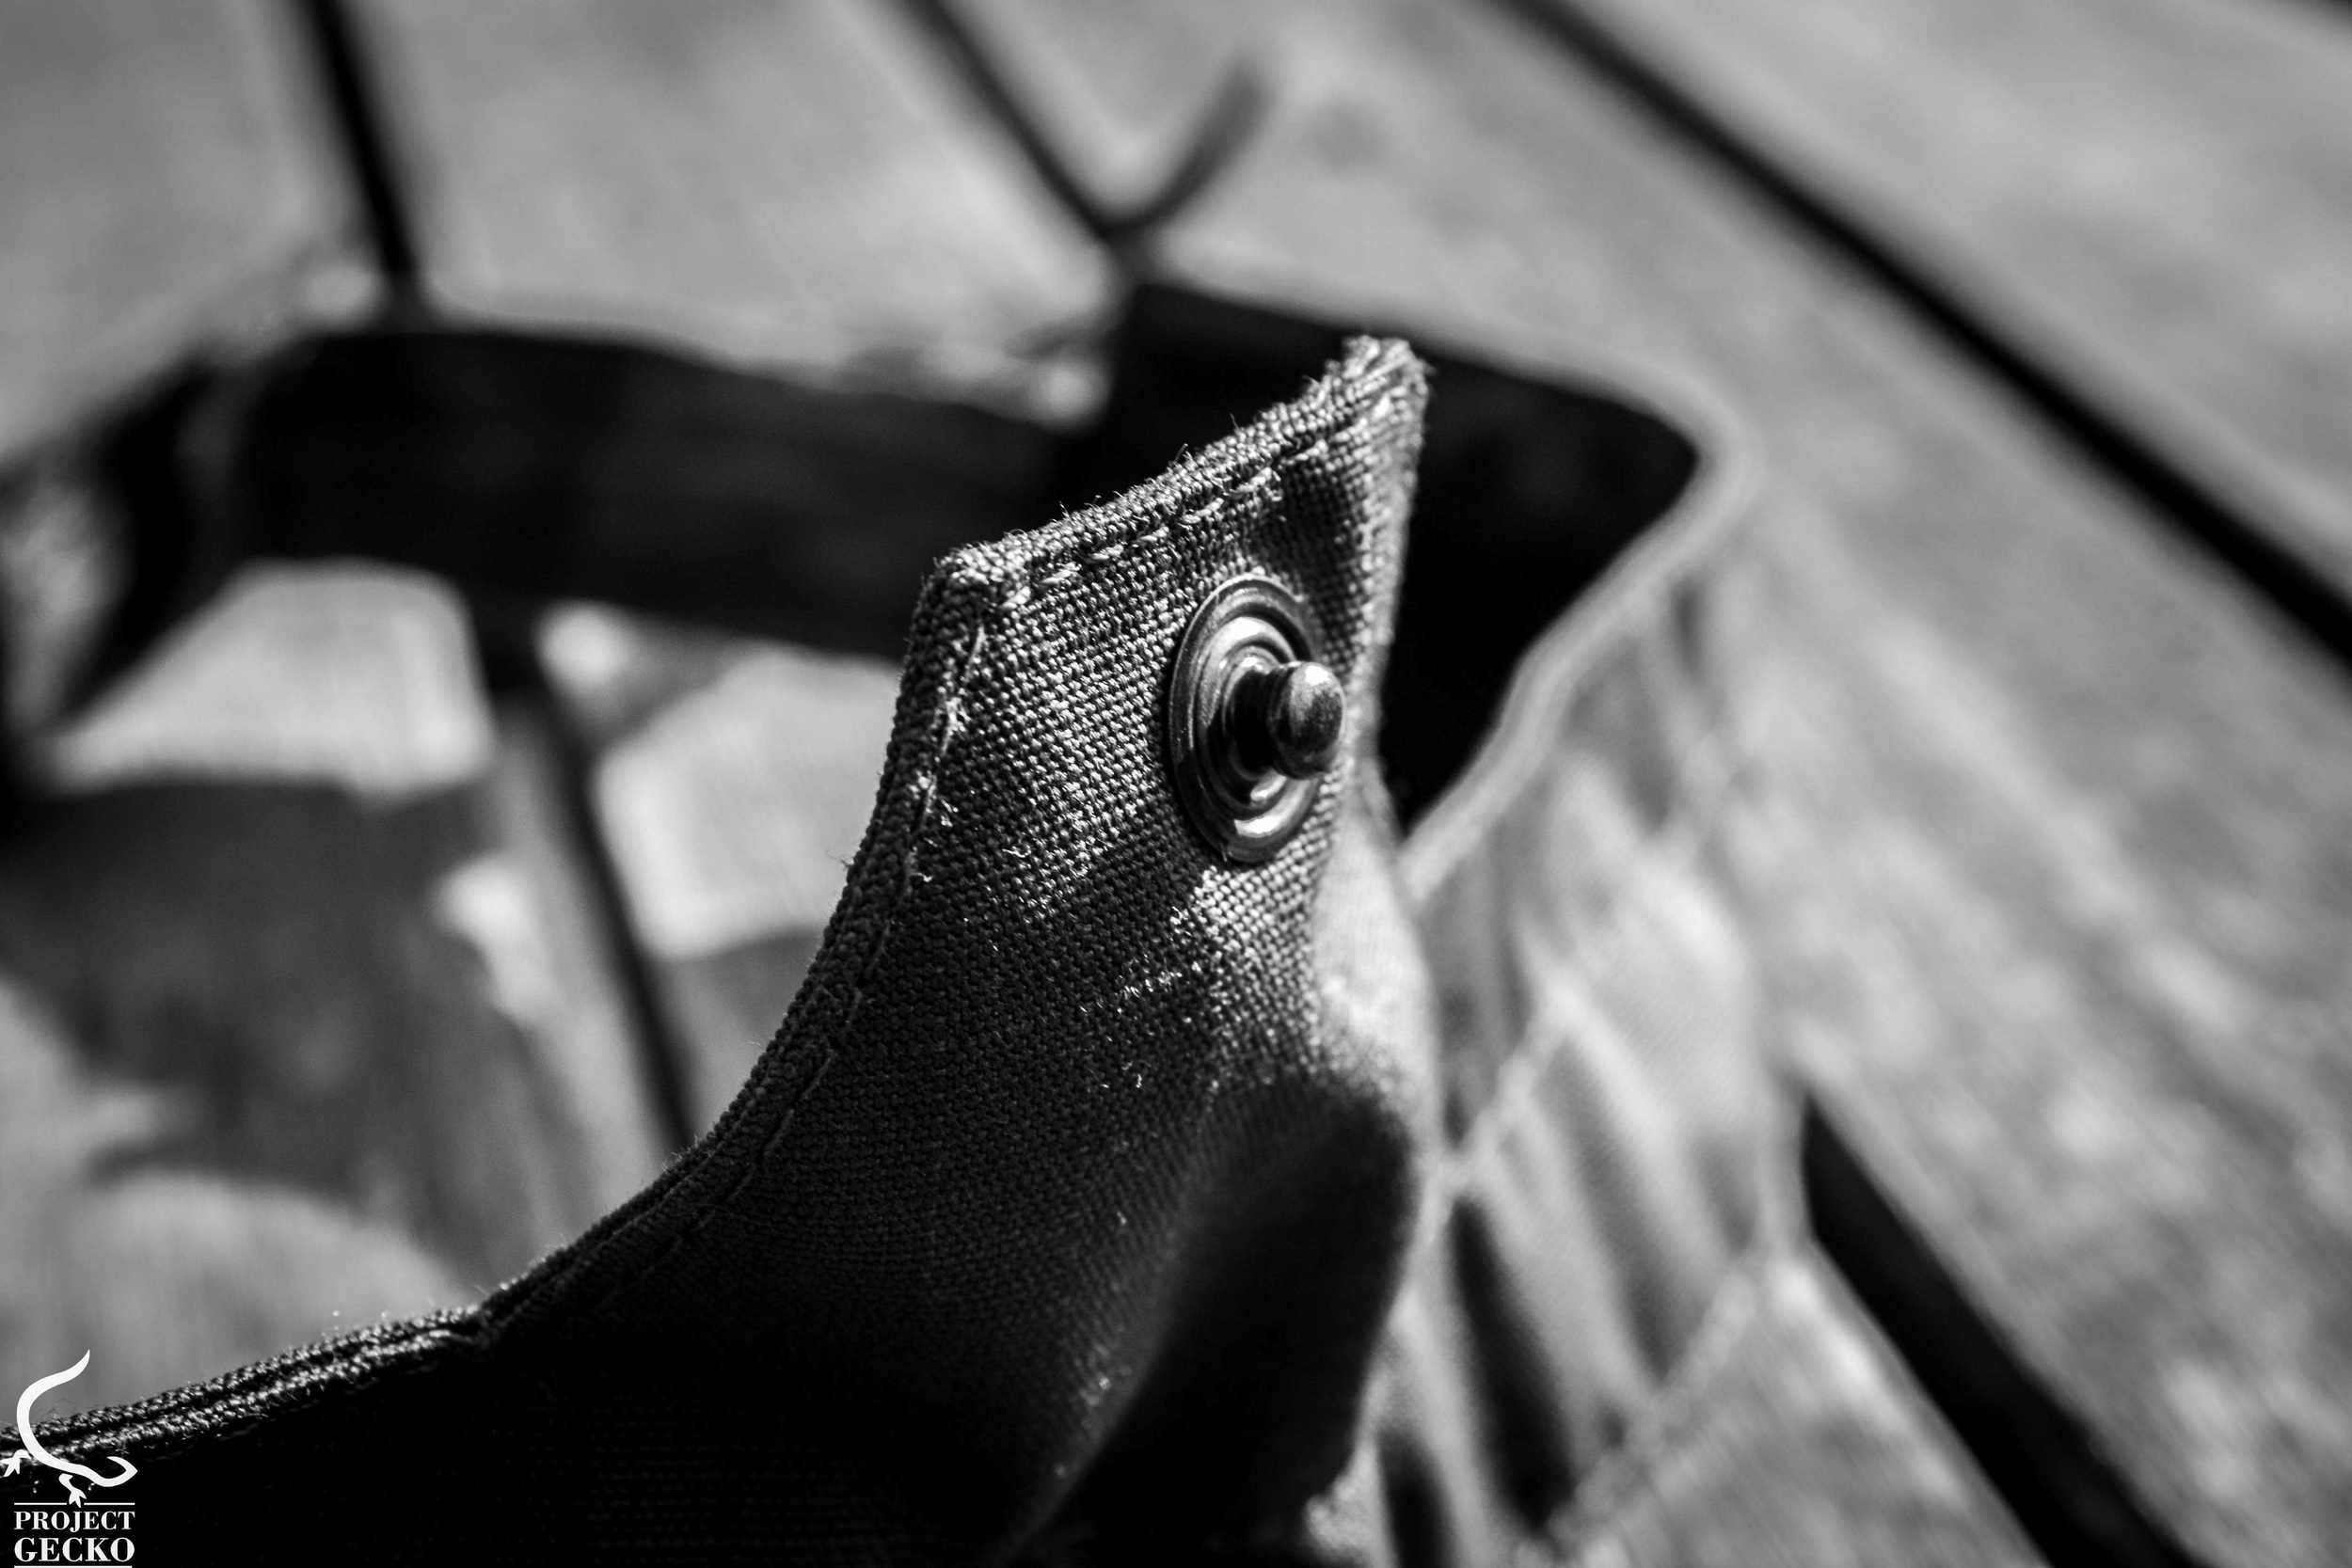
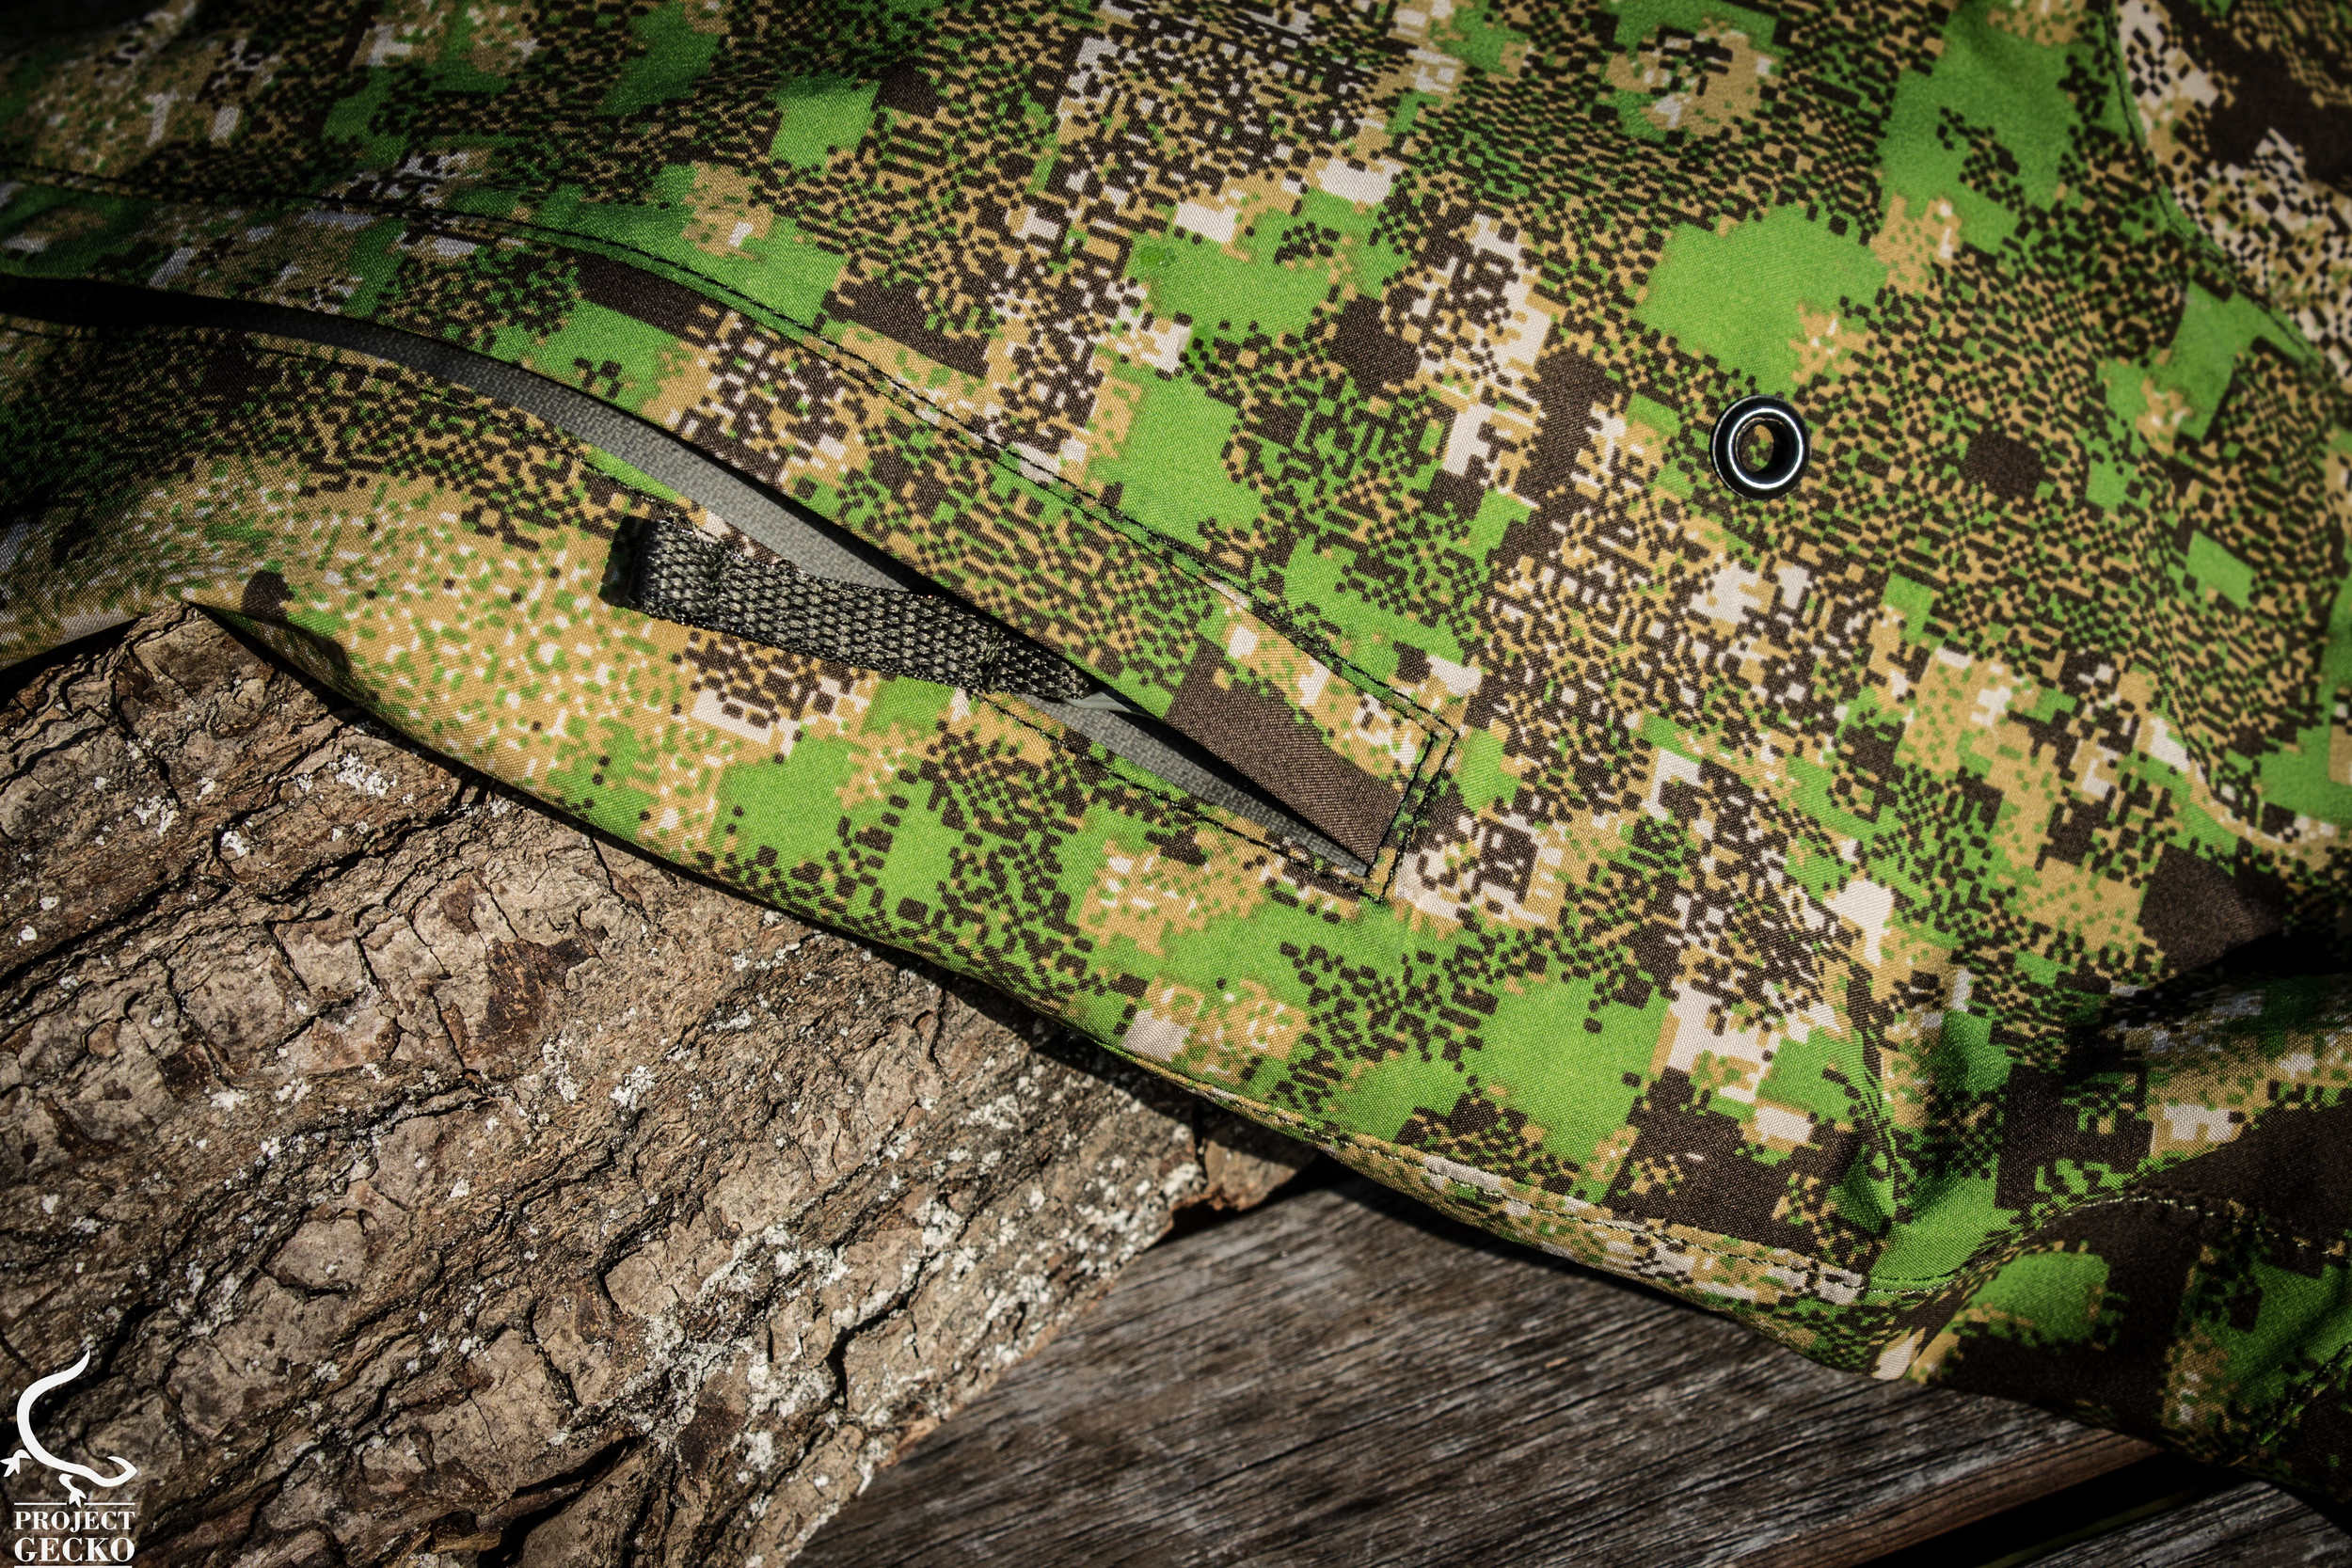
1. Visor \ Frame.
Just like in most Ghillie suits – the head piece is sewed together with a bonnie or a cap, so the head piece will get a user friendly shape. In our monsoon case you will find a visor instead. The visor has of course several adjustment possibilities (as seen below). Remarks : simply attach to the ports INSIDE the hood, for better adjustment & size.
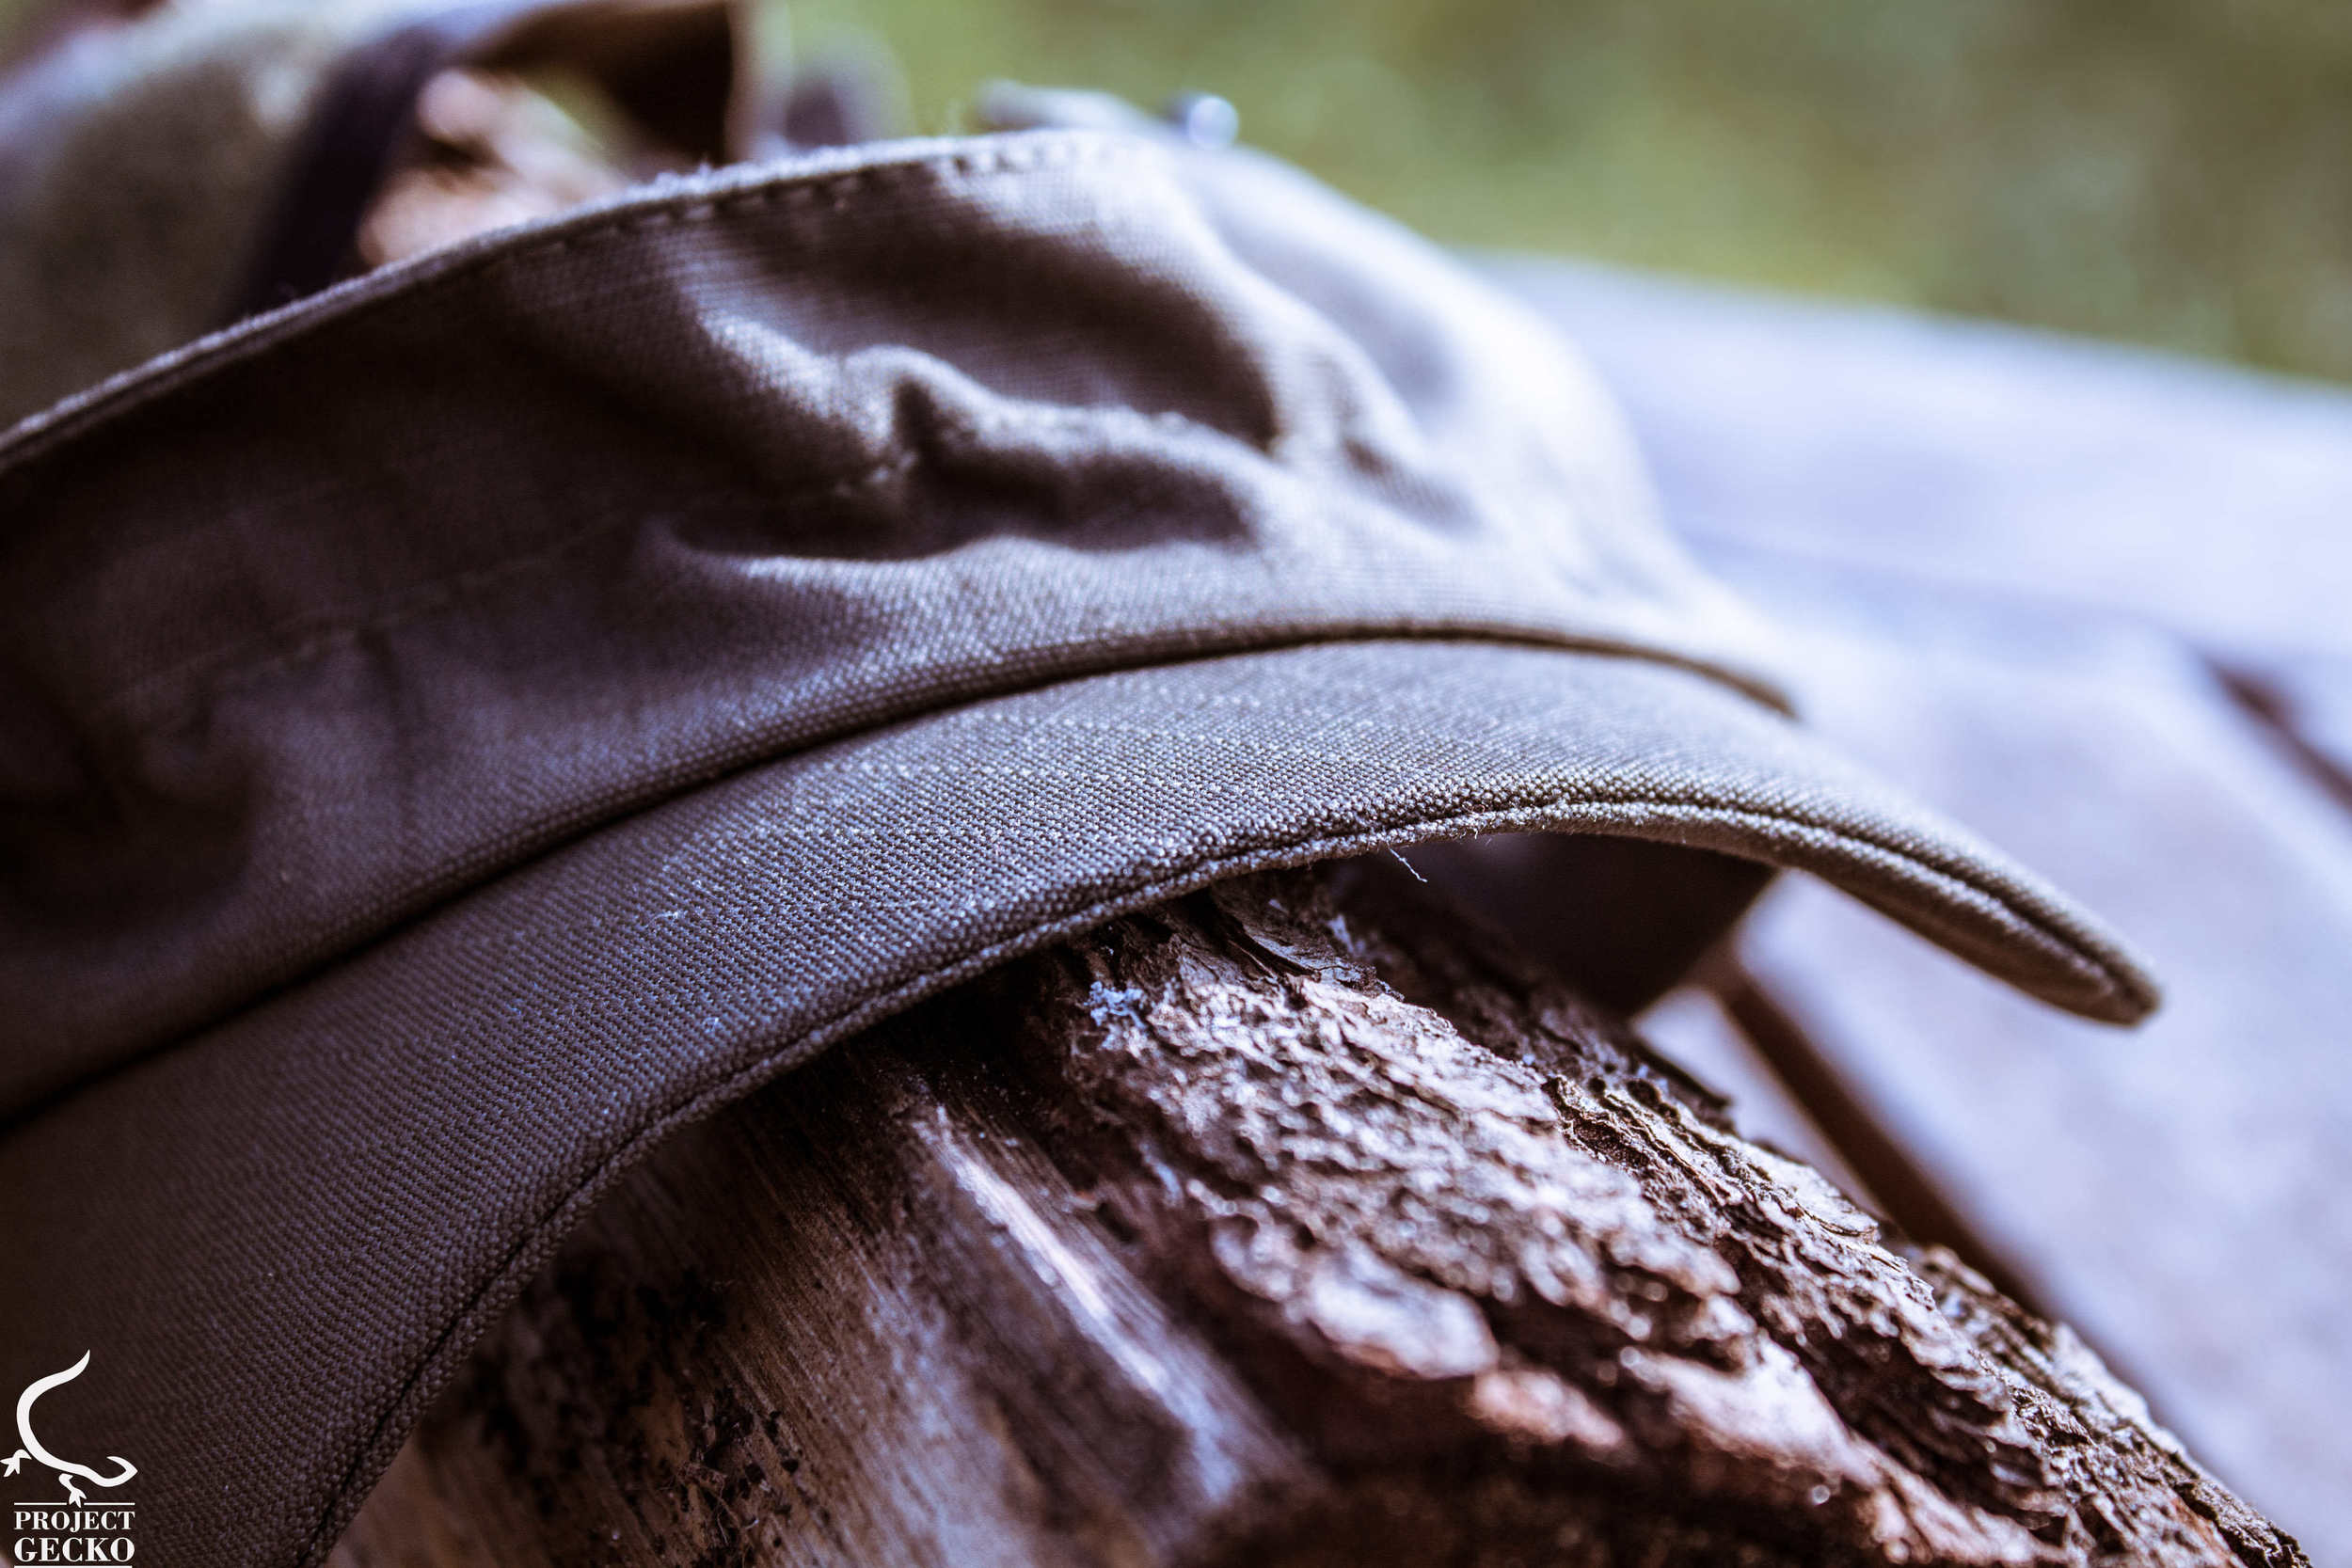

2.Flexible.
The guys at UF PRO sew a thin metal-like wire, which goes across the 'rainbow' of the hood (pic below). This little function allows the end user to not only achieve more out of his suit – but to literally use and shape somewhat its capabilities to his own surrounding.
This little function can be most useful for concealment, being static or struggling to look through a sniper scope during a fucked up weather without the hood falling \ getting in your way.

The UF PRO Design
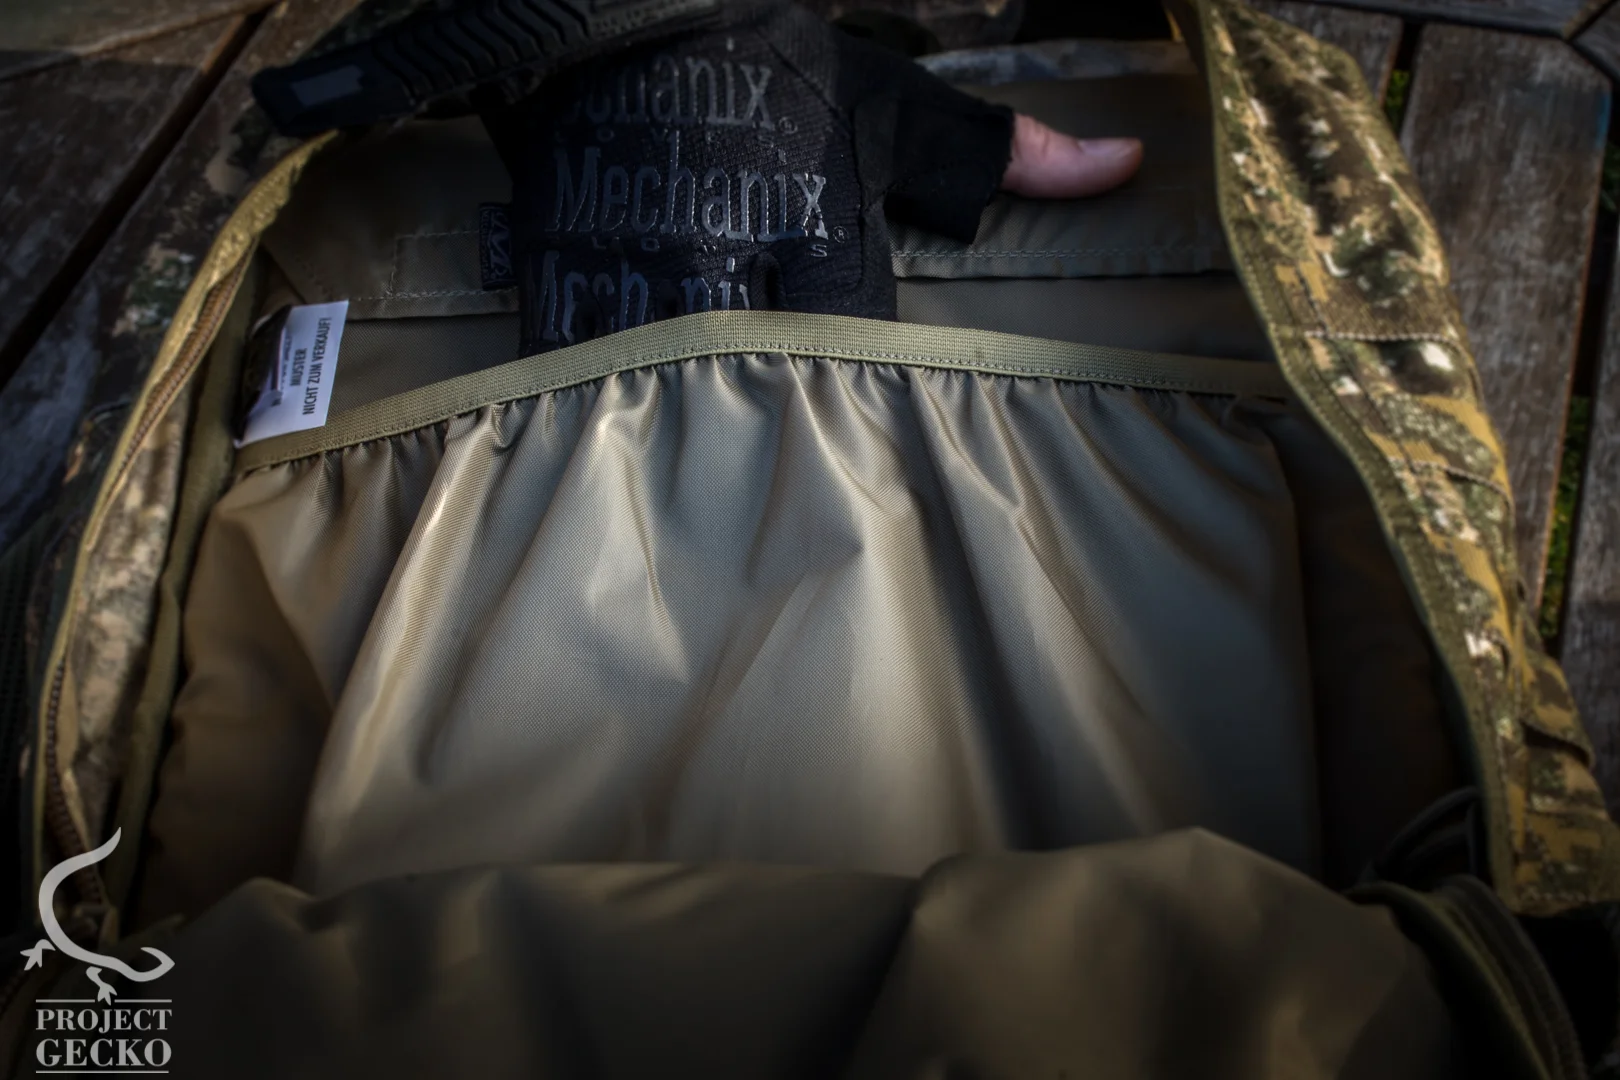
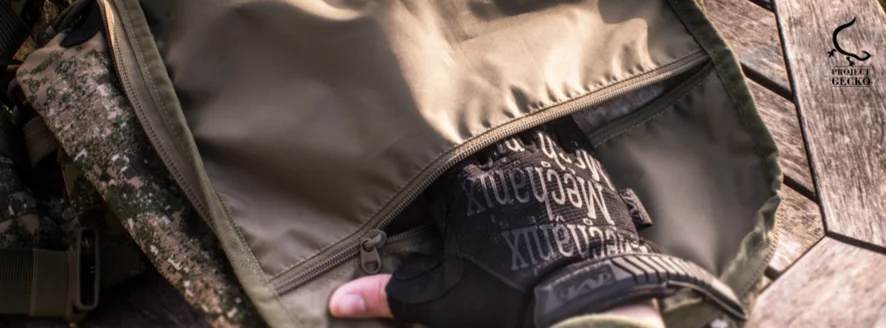
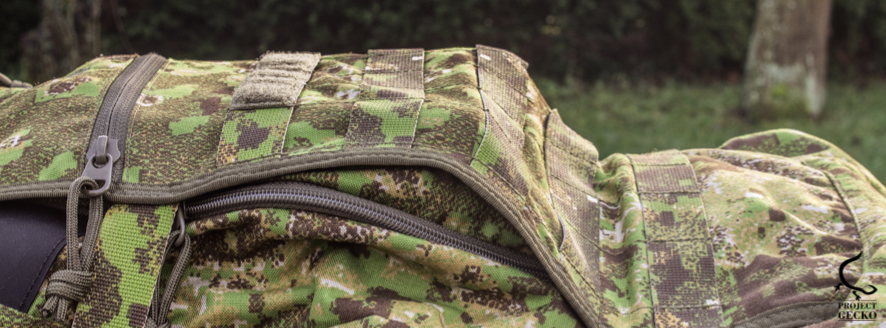
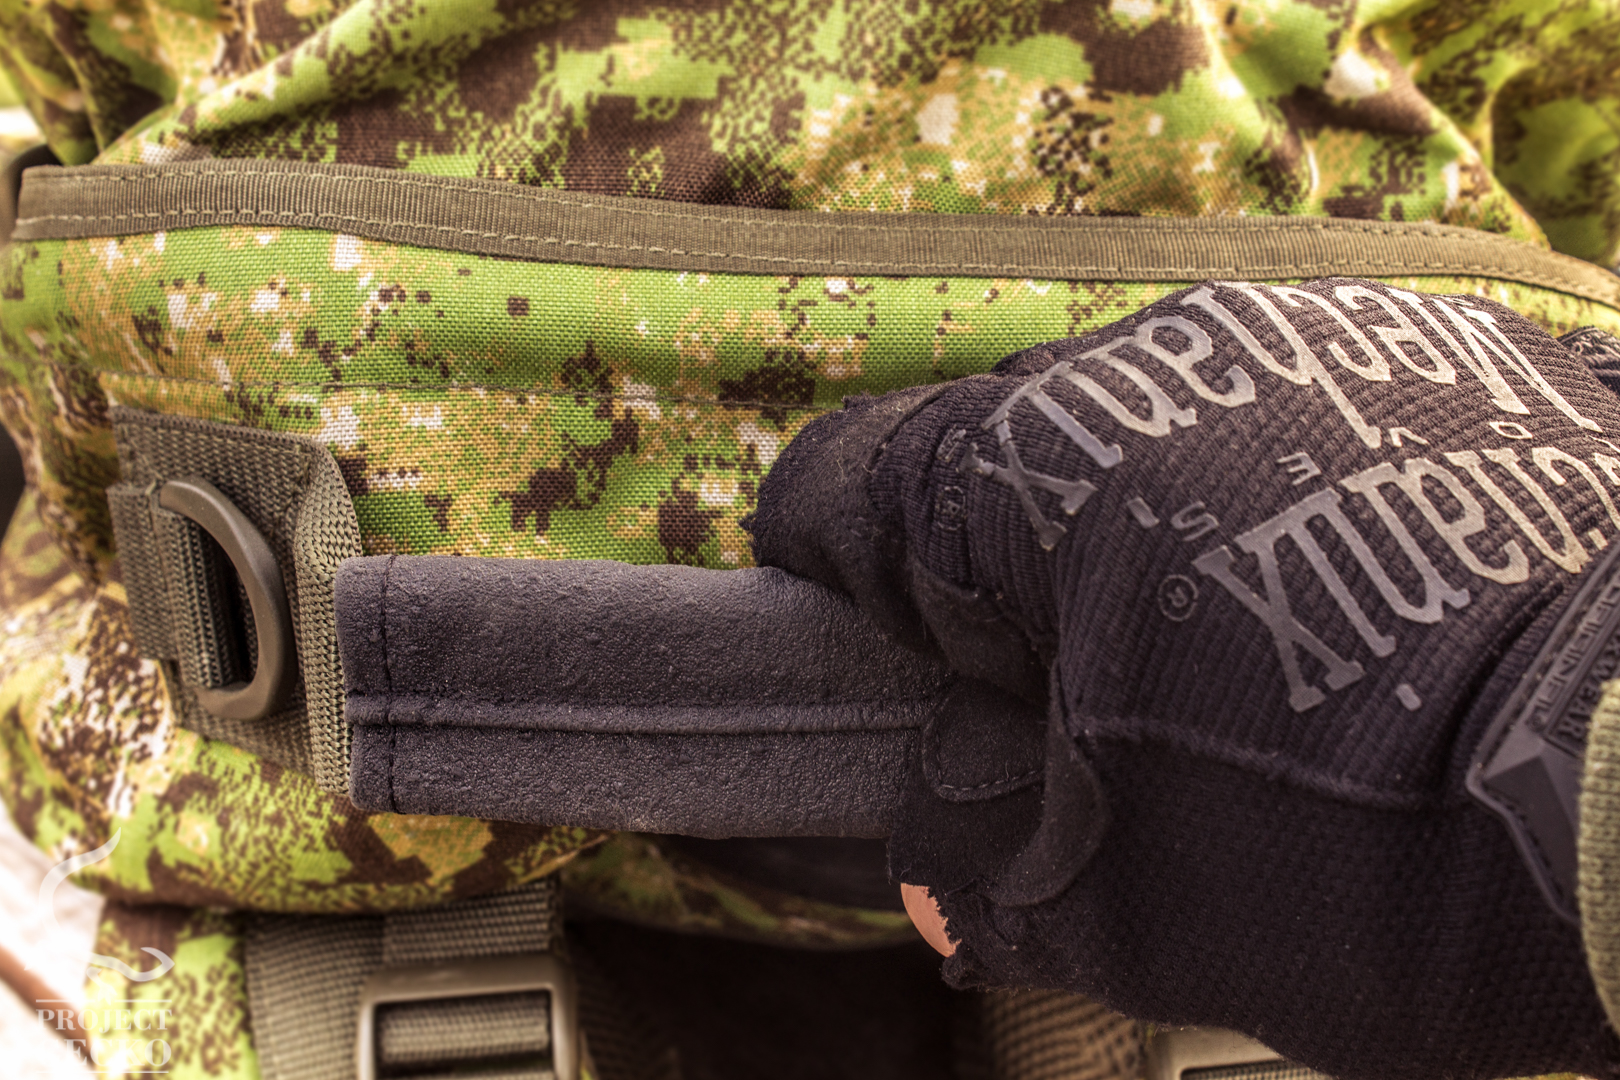
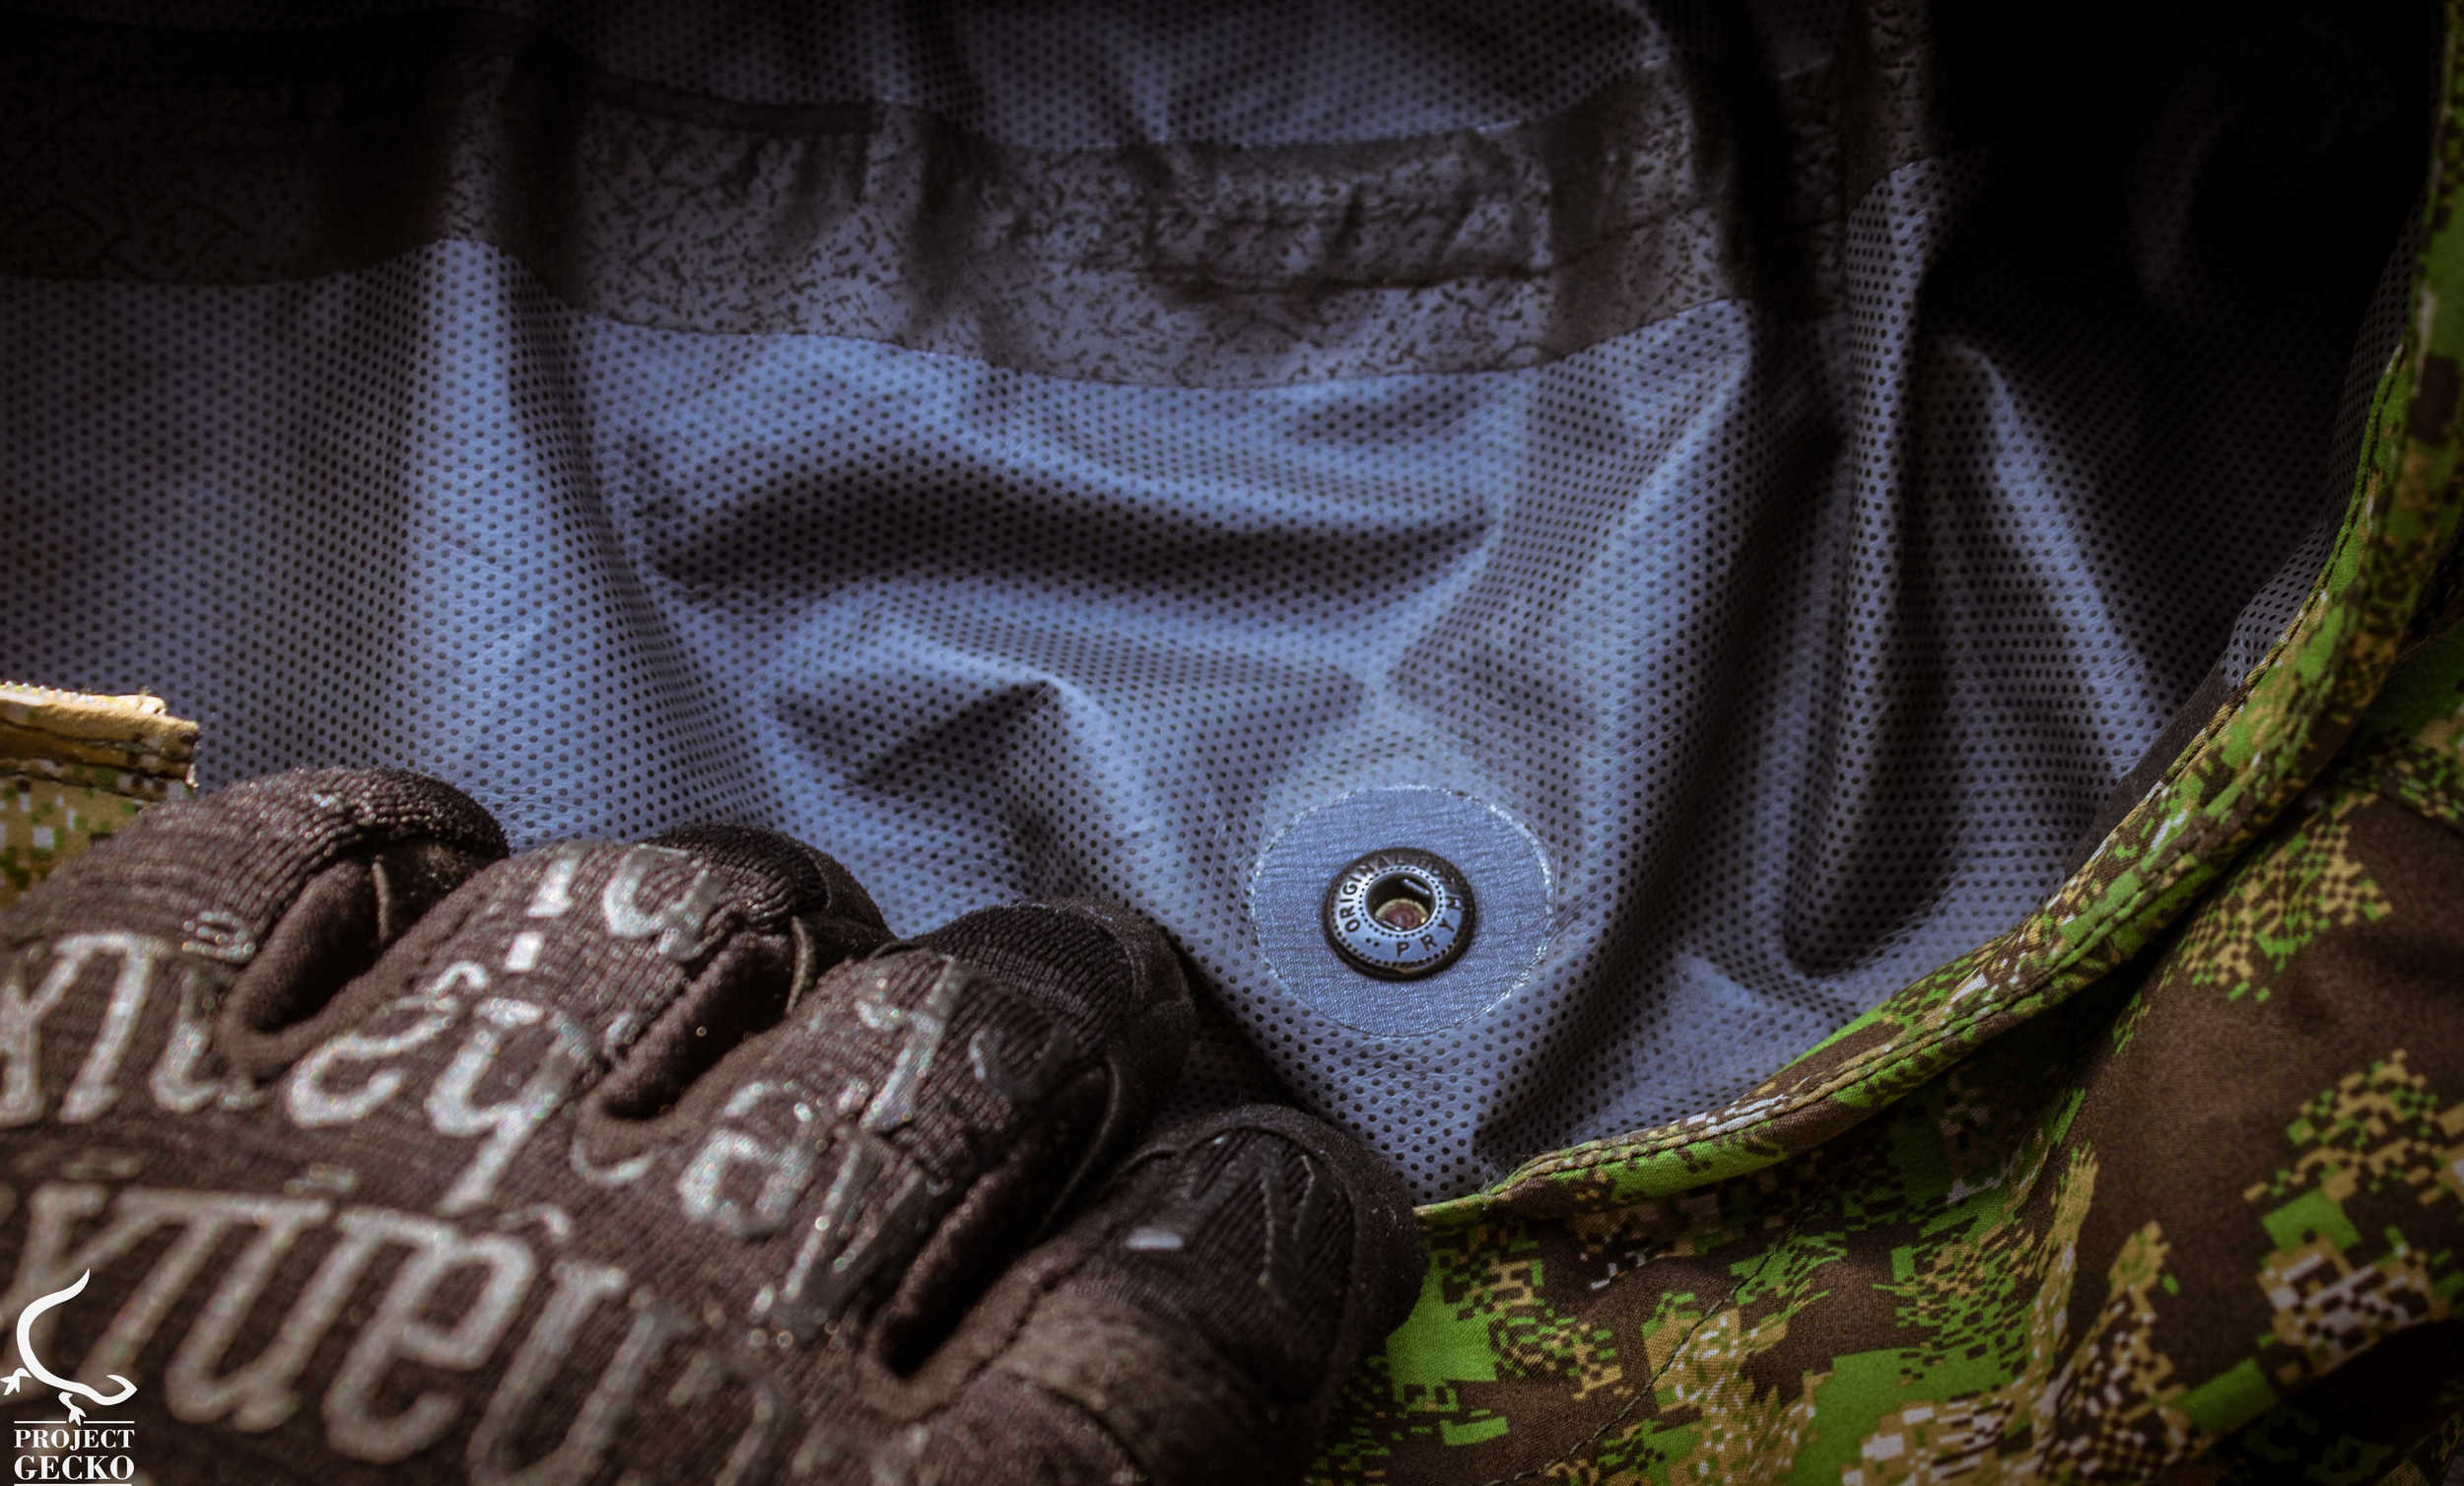
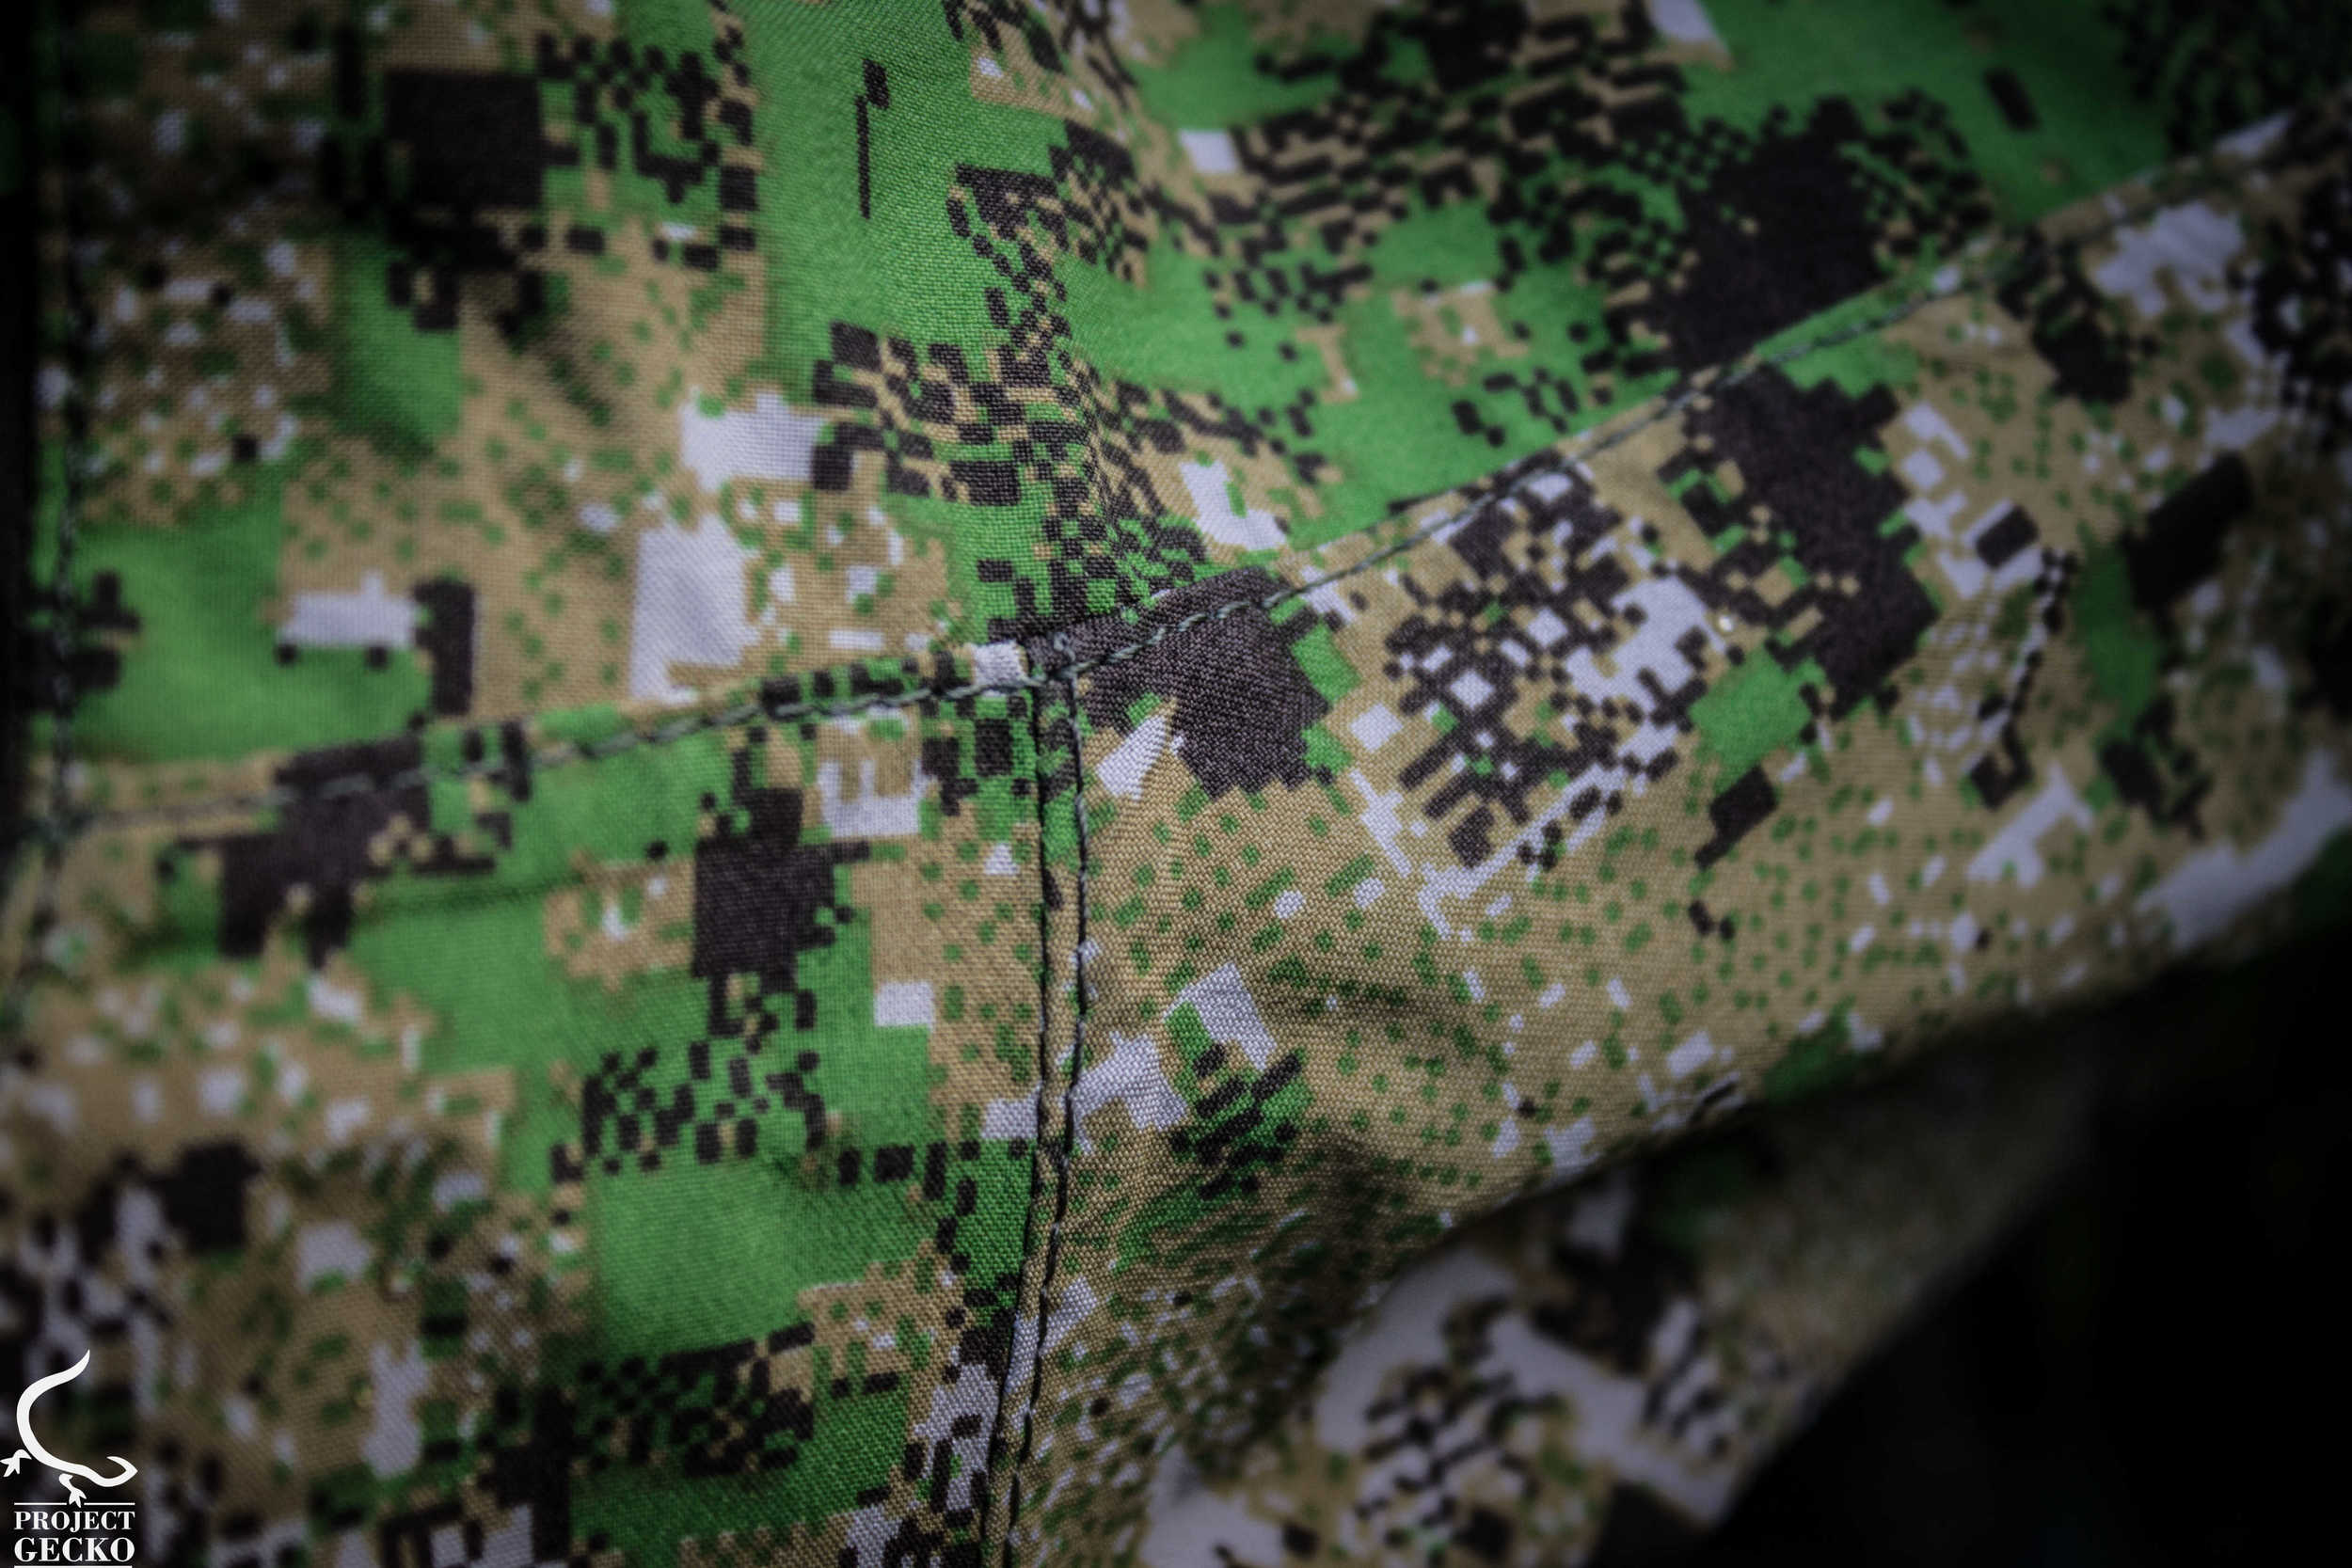
The cuts make a lot of sense, and you can see, someone made it while looking through the mirror of wildness. It´s modern, little bit out of the common box and delivers a strong sense of power and durability.For an instance, the design of the chest zipper is simply simple and yet outstanding. In most combat shirts, jackets or in our case – a rain suit – many gear designers just stick a zipper and that´s where it ends. If you like UF PRO, you´d notice that for them, that is where it all starts. They don´t compromise over comfort & efficiency. The zipper design is quite awesome and deserves a closer look.

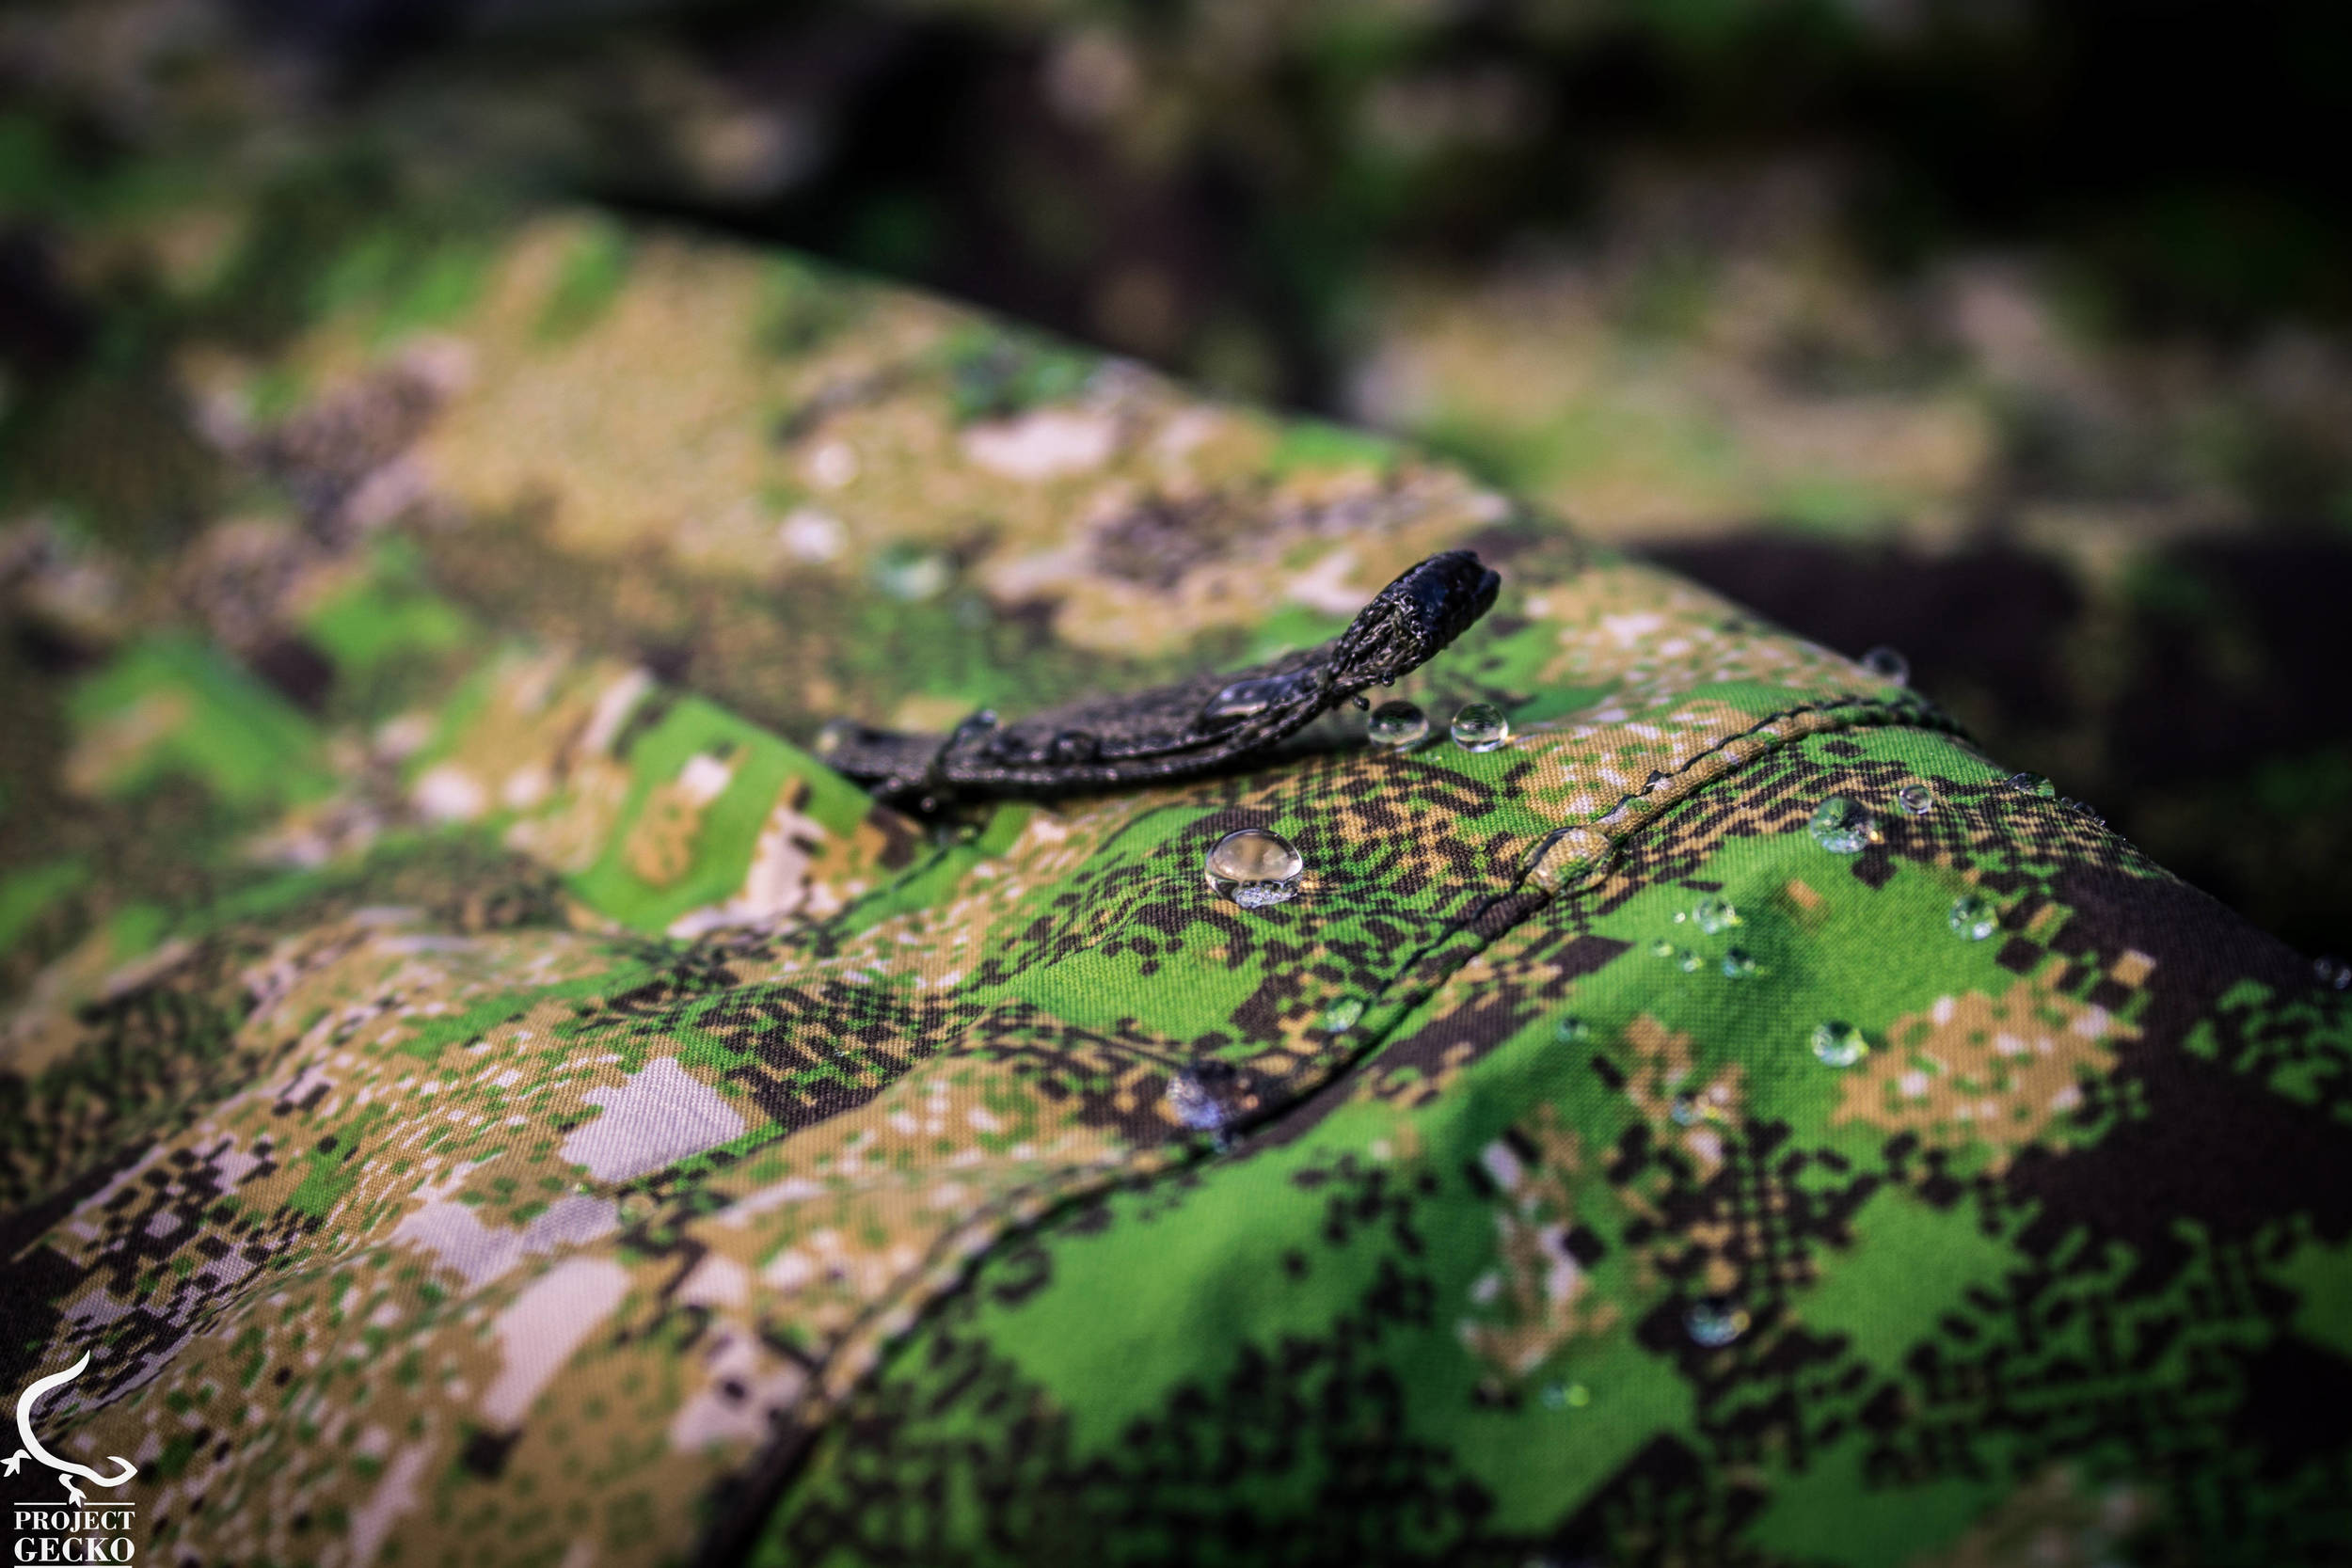

Note the zipper and its wide expanding opening angles.
It seems as UF PRO simply built the zipper as some kind of an 'extra' layer above an existing layer, which acts as a normal part of the shirt. Thanks to this design, the jacket will still be able to prevent water from coming in. This is awesome and most useful for people like me, who tend to heat up quick when moving around with heavy equipment, and tend to get crazy from tighten clothes. Further more, this design gives the user the ability to once again shape the suit for his needs without compromising its sole purpose – staying dry.
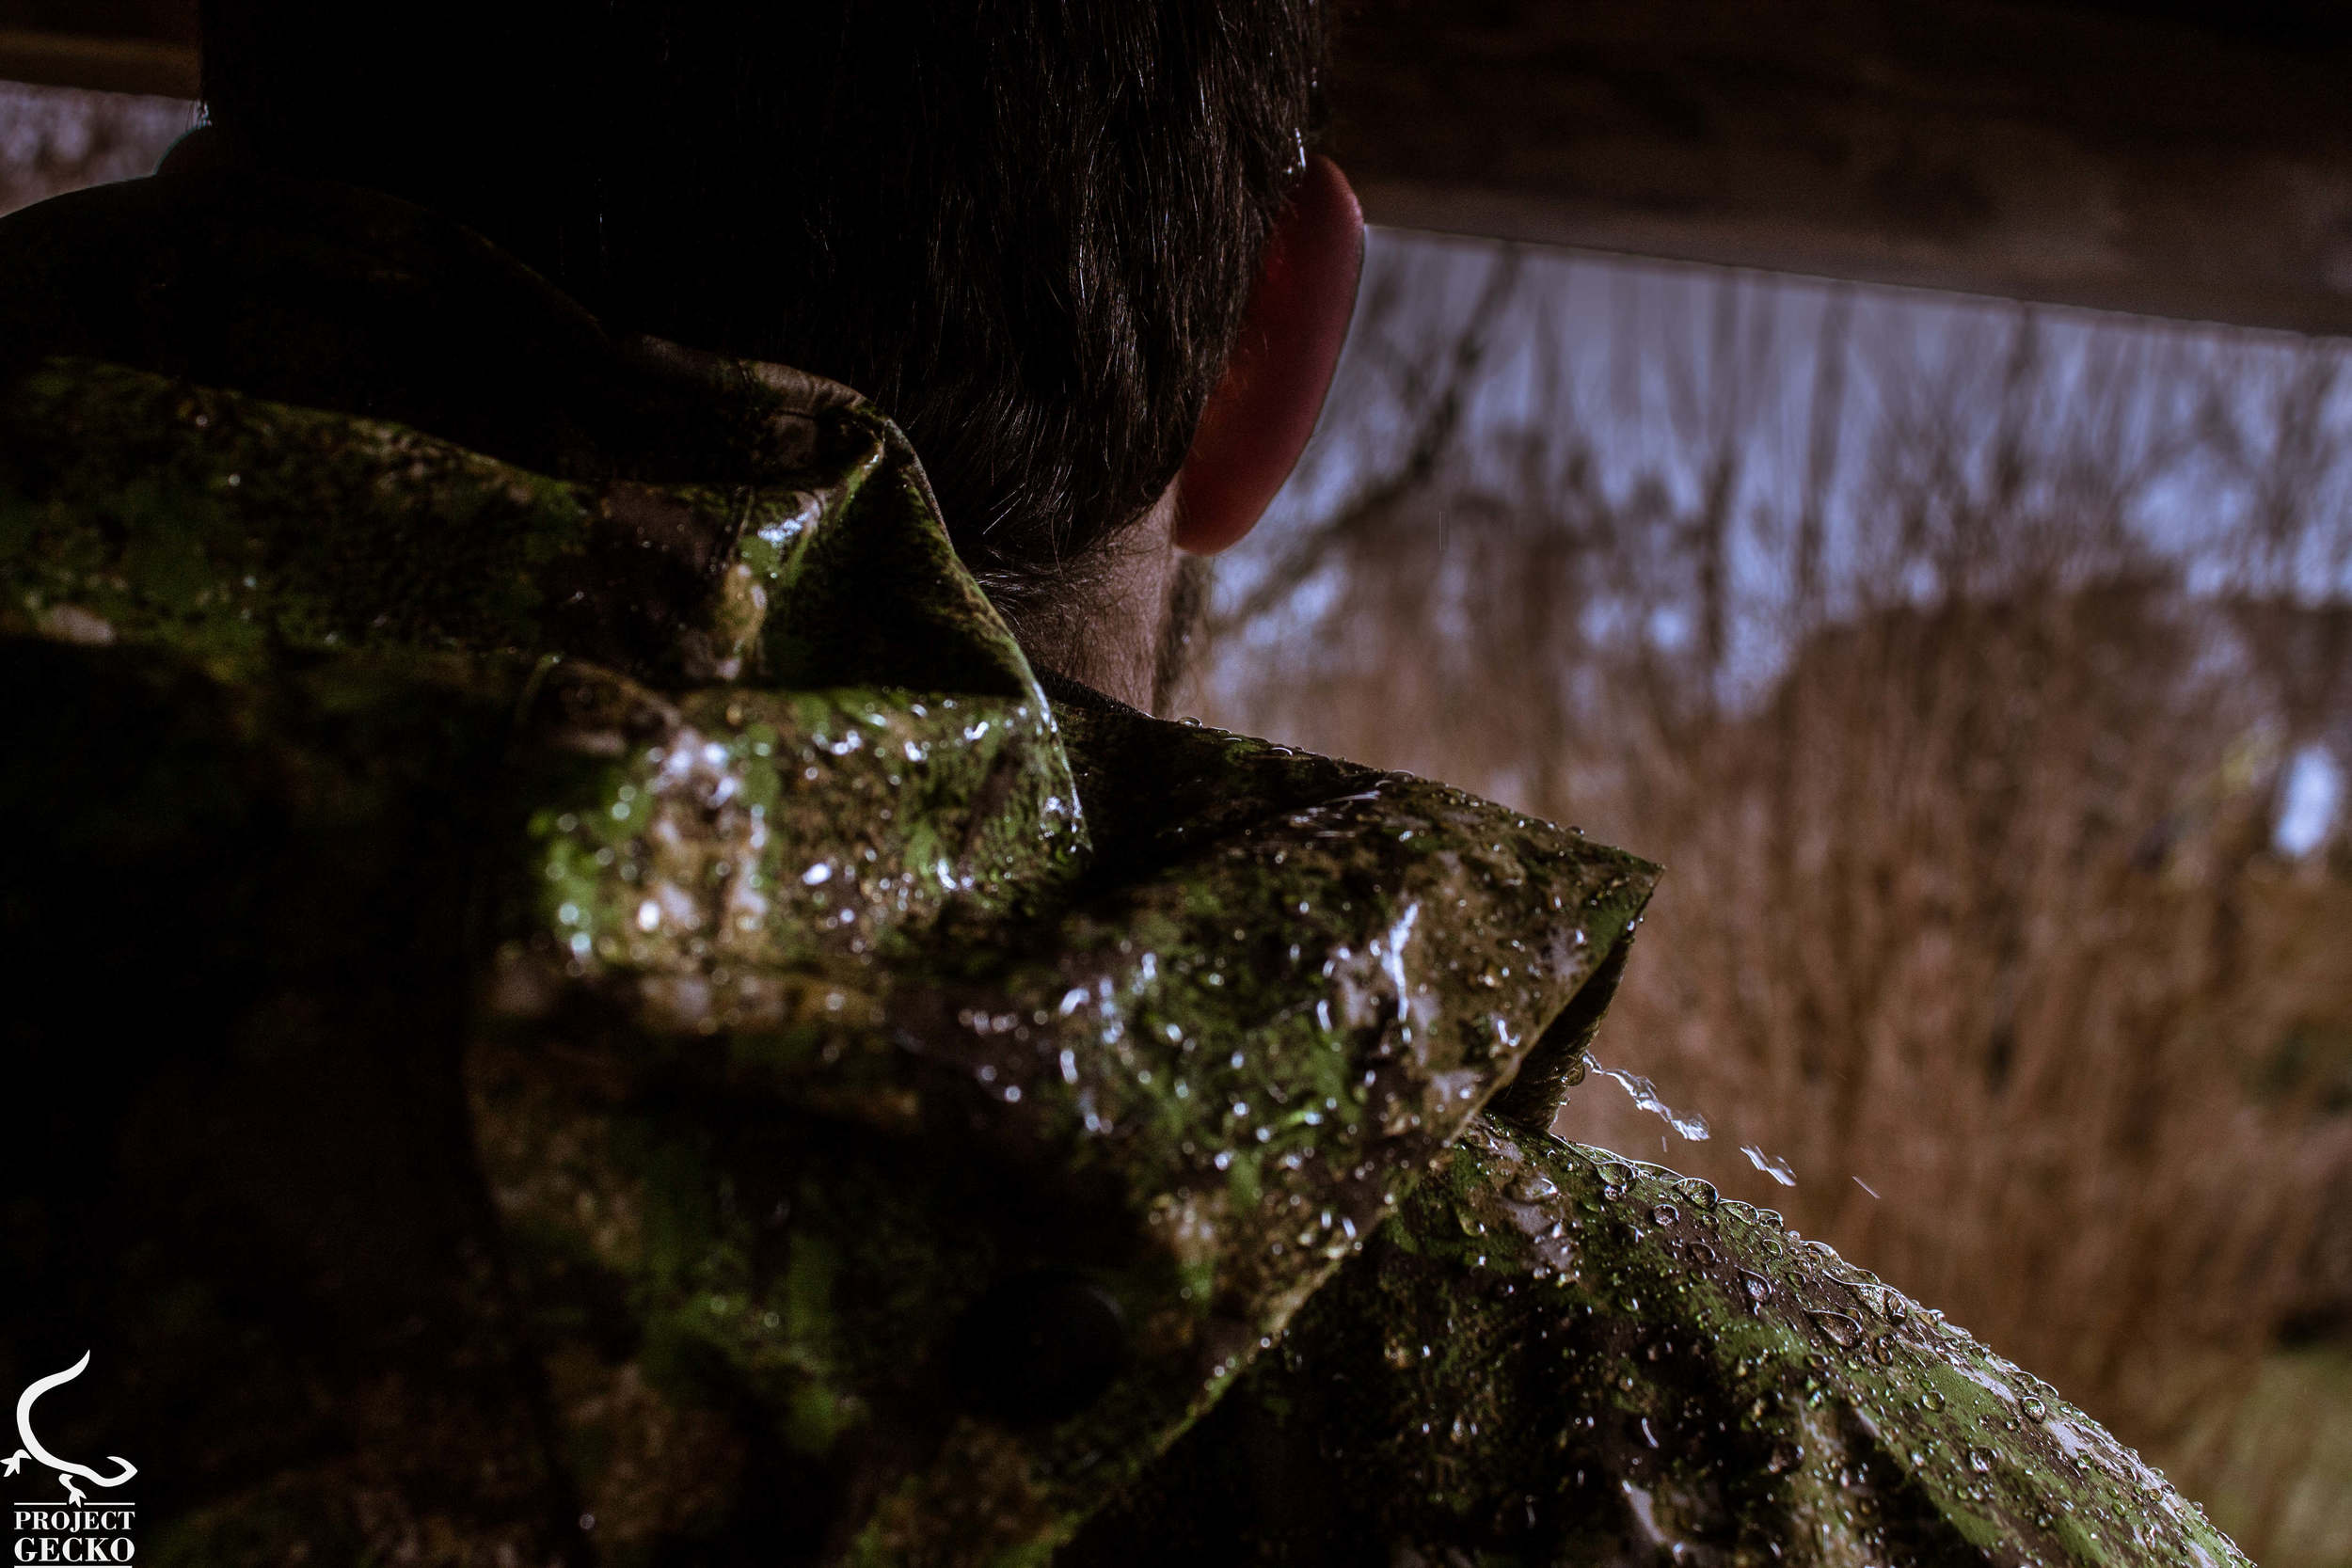
Speaking of staying dry ...
Will I sweat \ swelter inside?
Well, depends.
See, you will still sweat inside, at least that´s how it was for me during 2 hours CQB. While, from my point of view, there was a significant difference in its performance between the jacket & the pants – the Shirt caused me to sweat more, but compared to other Goretex suits, much less. Thing is, you can not expect a suit to be 100% breathable while you want it to sustain both rain & wind.
My tip is like this. – Think smart before you dress up. Every soldier with field experience knows how much the right configuration of clothing can help us to sustain. – Ensure you wear breathable clothes, which could circulate somewhat the heat and help you to decrease the heat level.

Mobility.
Mobility is essential in any kind of human activity. Mobility can set a clear difference between a successful and a complete disaster. While moving in a green side environment (outdoor) it requires a more general type of mobility. – I tried the Monsoon jacket in a CQB environment, which is more specific regarding movement and more hot than outside. Add the plate carrier, which is already becoming less comfortable under layers of clothing – and you´d get an interesting test.
''The full potential of labor can be utilized only if there is mobility in labor.,,
Paul Hoffman
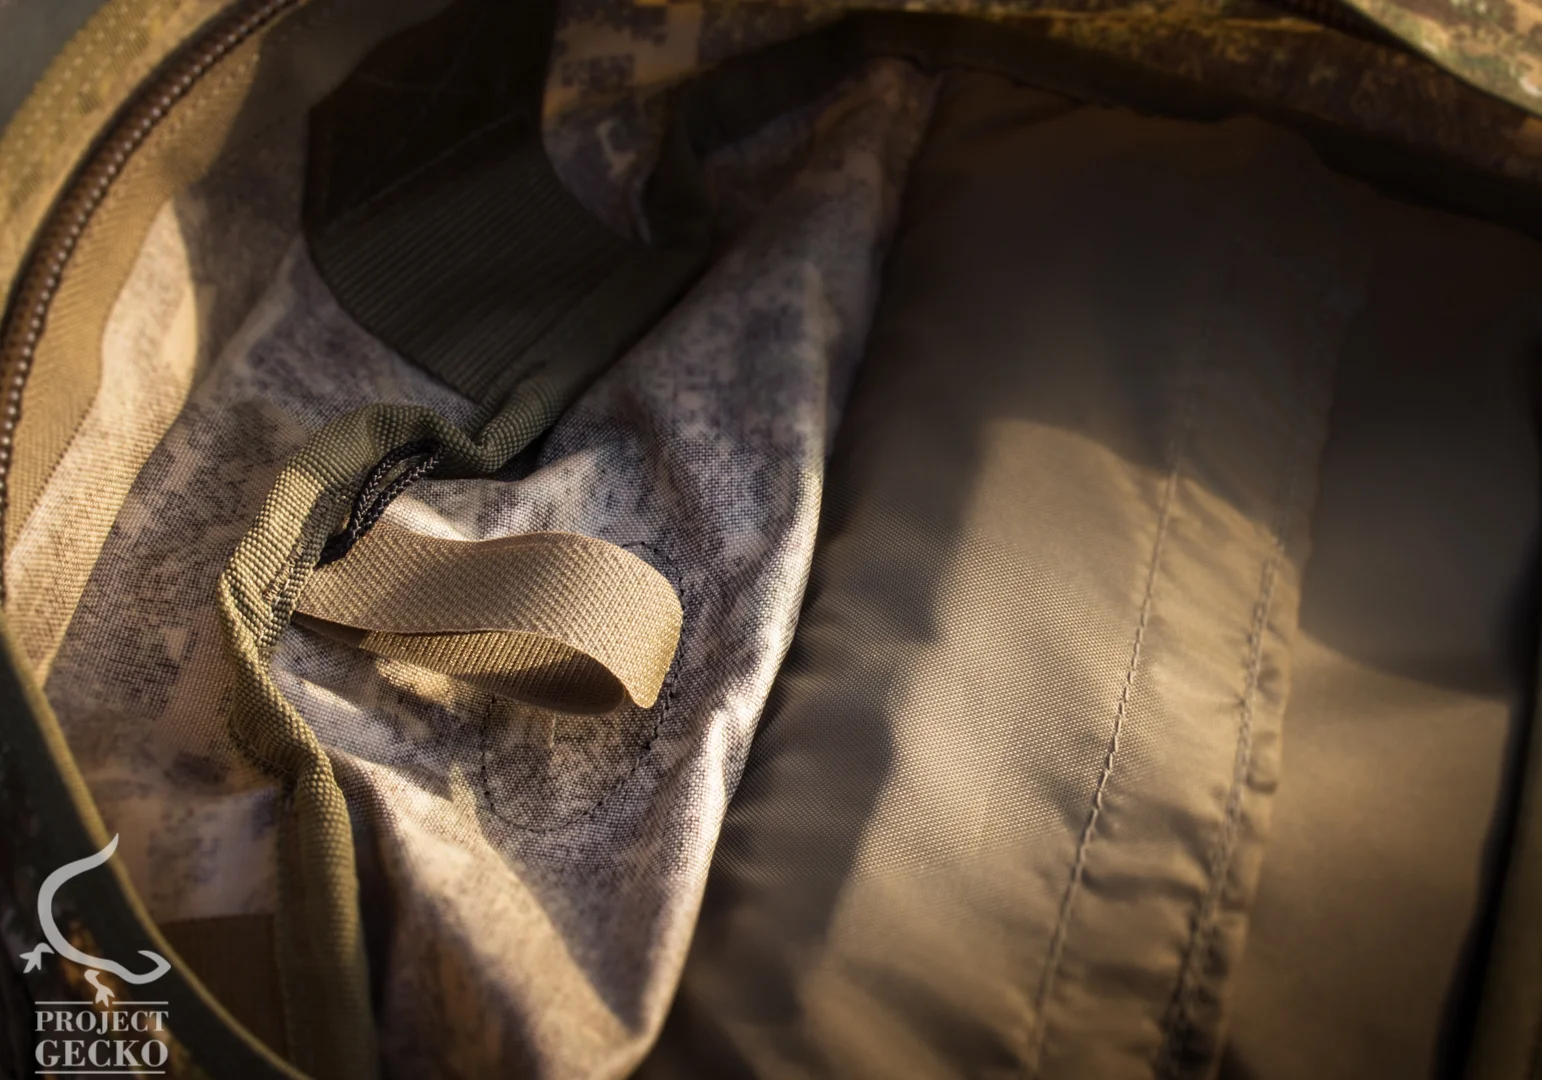
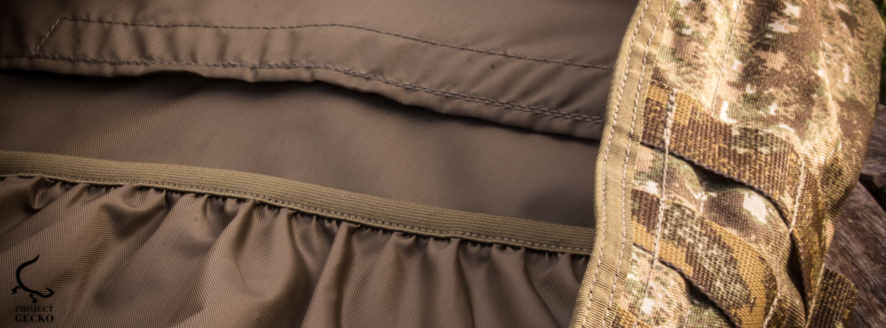
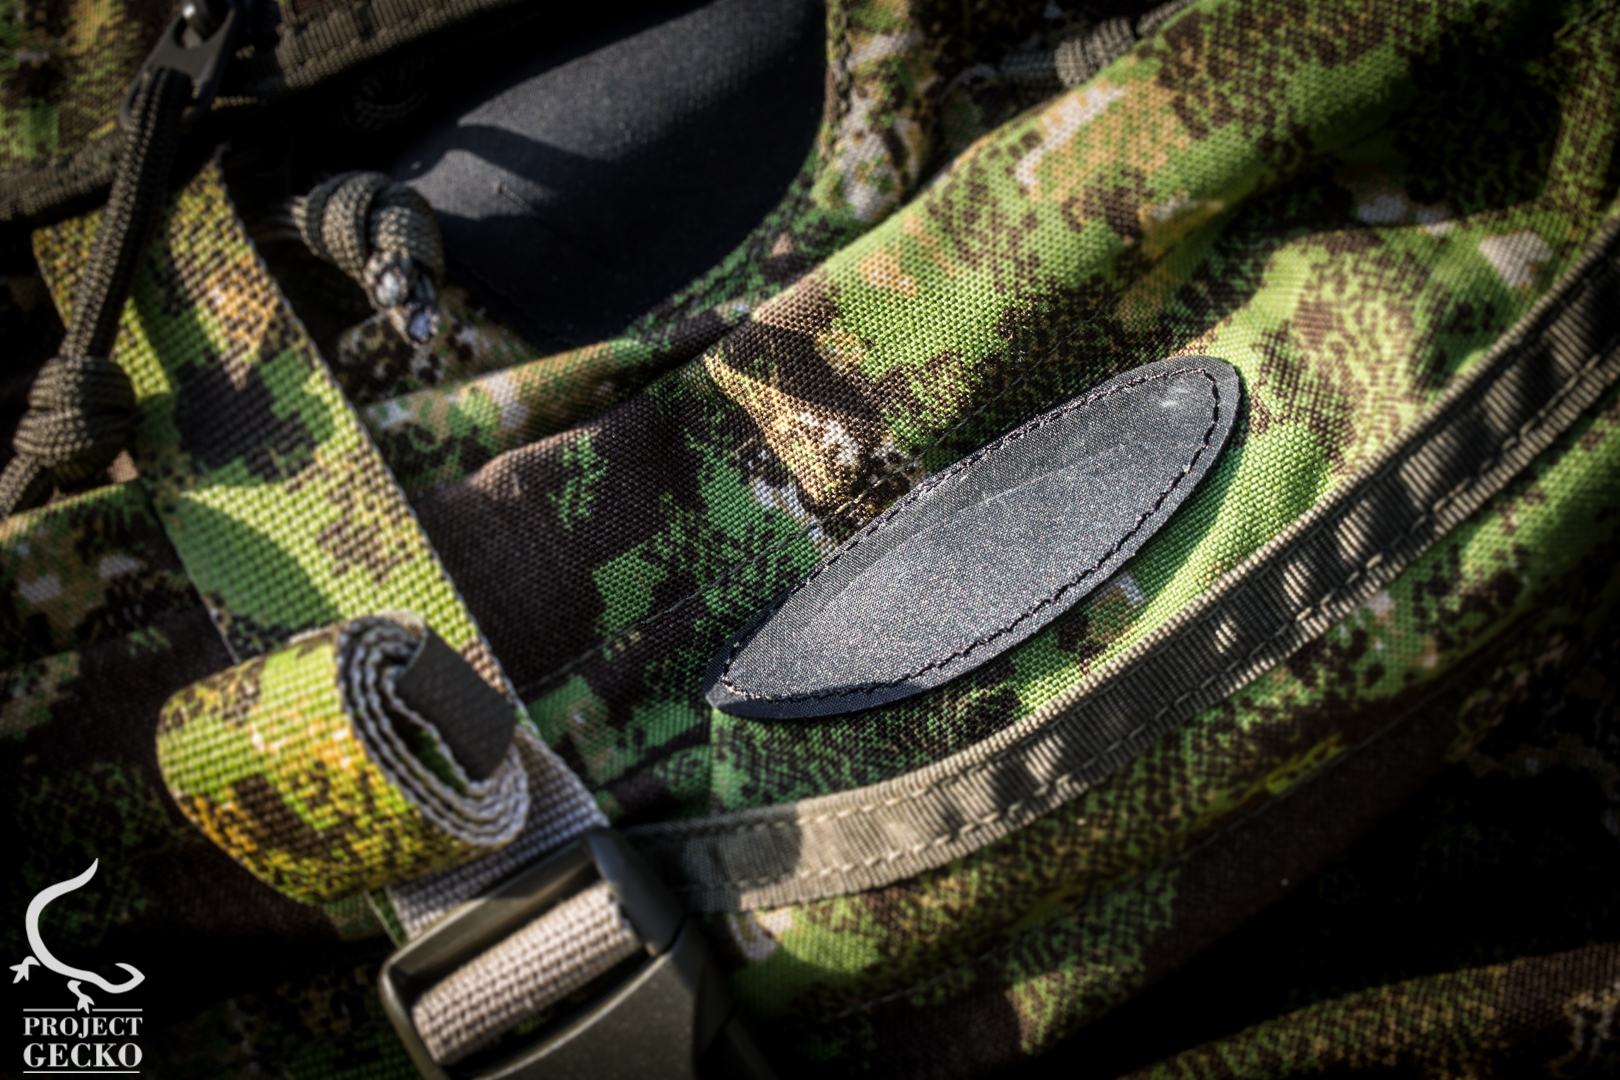
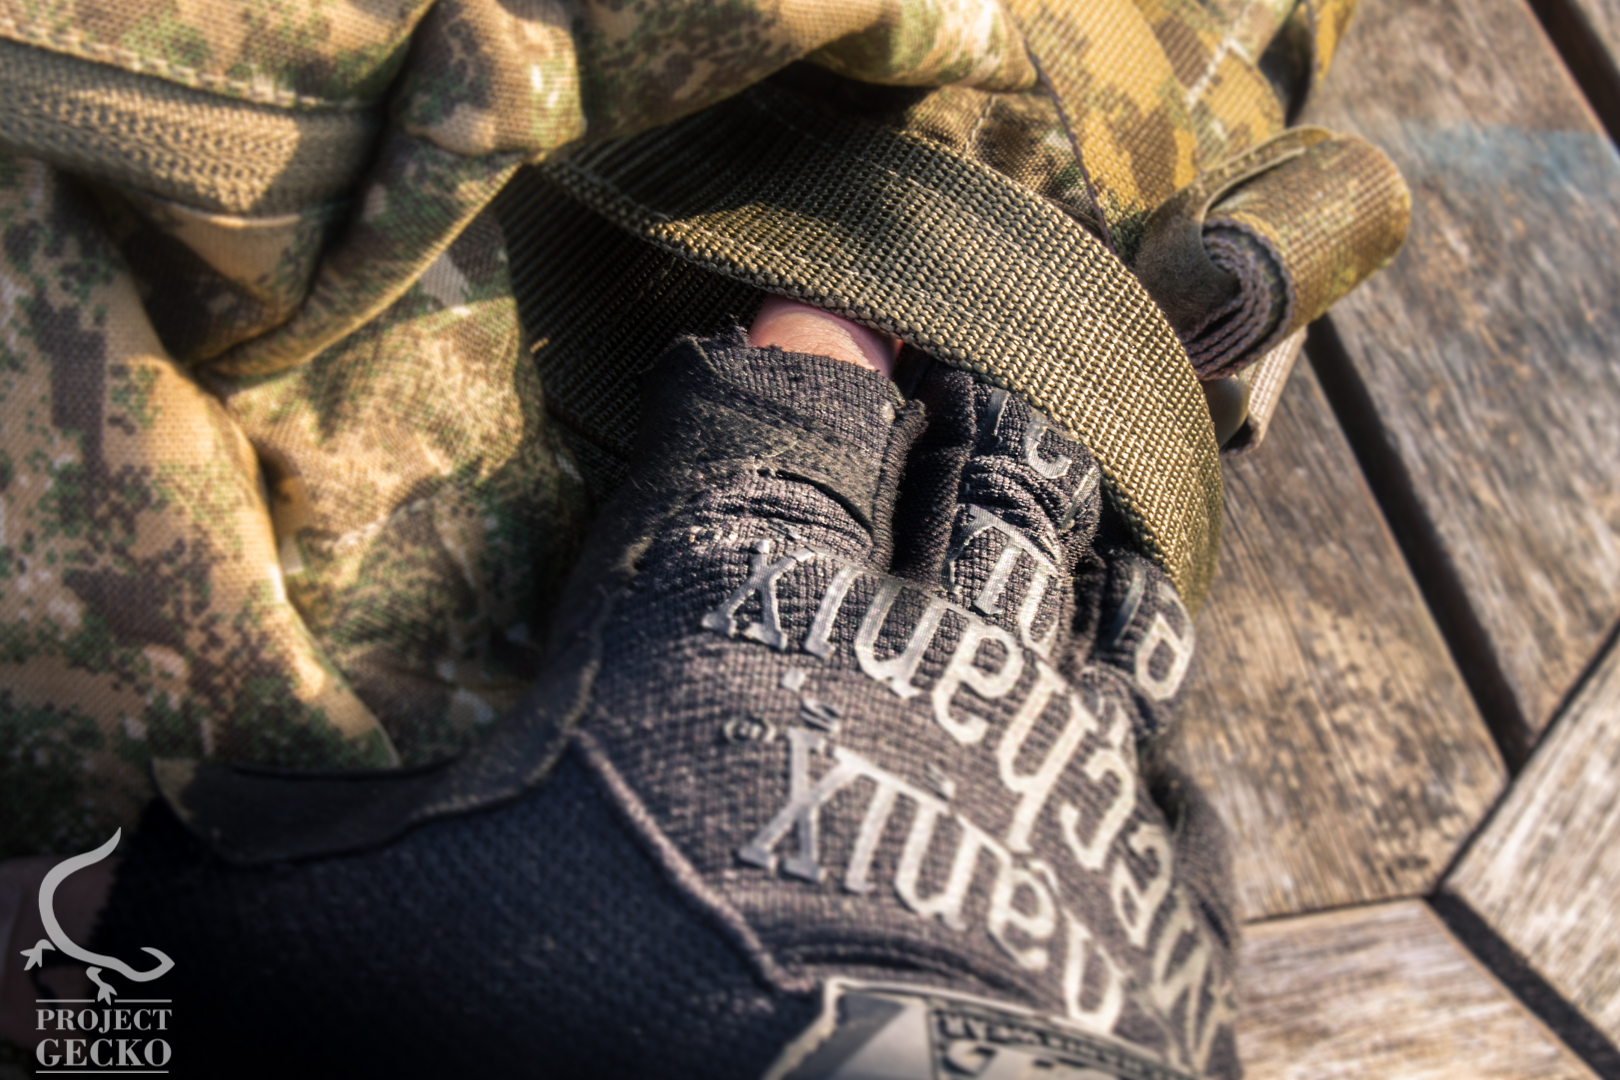
Wrist

The wrist piece of each sleeve has an elastic finish, which ensures that, despite the rain or constant use, the sleeve would remain and offer a circle like structure, which perfectly isolates the end of the sleeve from any leak. There are also extra buttons, made to ensure comfort.
I find it most important since obviously in reality we tend to climb,crawl and move in different manner. The wrist and its adjustment allows us to ensure comfort but above all the ability to isolate & prevent any possible leak of water.
Arms
Comfortable. In fact I´m not sure, but it felt like the sleeves were little bit longer than a normal jacket on purpose. The material was most friendly, and not so tight. I could easily stretch, flex or band my arms in most directions, without having that annoying tight \ rubber feeling.

Shoulders \ Chest
Of course that during a 3 Hours repeating movement and stress, those areas tend to get ridiculously warm, and they did! But compared to those cheap jackets \ IDF standard issue – the Monsoon jacket appears to be less warm, and most comfortable. Thanks to a particularly long zipper, you could open and ventilate your suit (somewhat) despite the use of a plate carrier.

Lower back

This is extremely important and was actually one of the first things I looked into. My suit in the IDF (on its various issued versions) had one problem – the lower piece \ lower back had normally no shock cord, or a way to close basically the layer from its bottom. By its ability to be isolated from the outside – every time we went prone or just crouch, the lower back piece would sort of 'climb up' and expose your back, unless you take on purpose a jacket, which is twice your size (and then you got thousand more problems).
See, in longer static positions (especially as a sniper \ spotter) this proved to be a significant problem as at some point, after a 5 hours observation, the water made its way down to my ass – and that sucks, really.

Summary
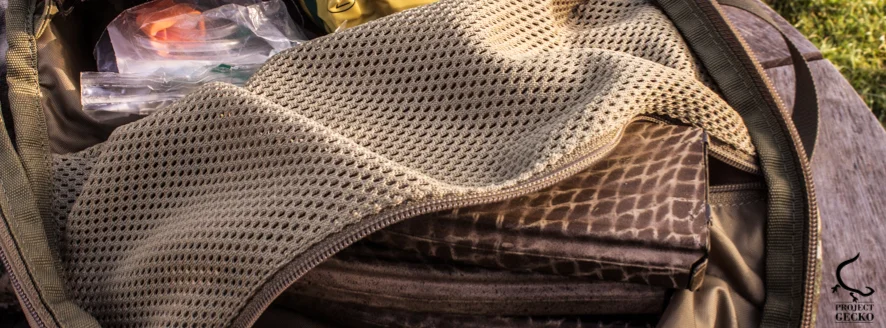
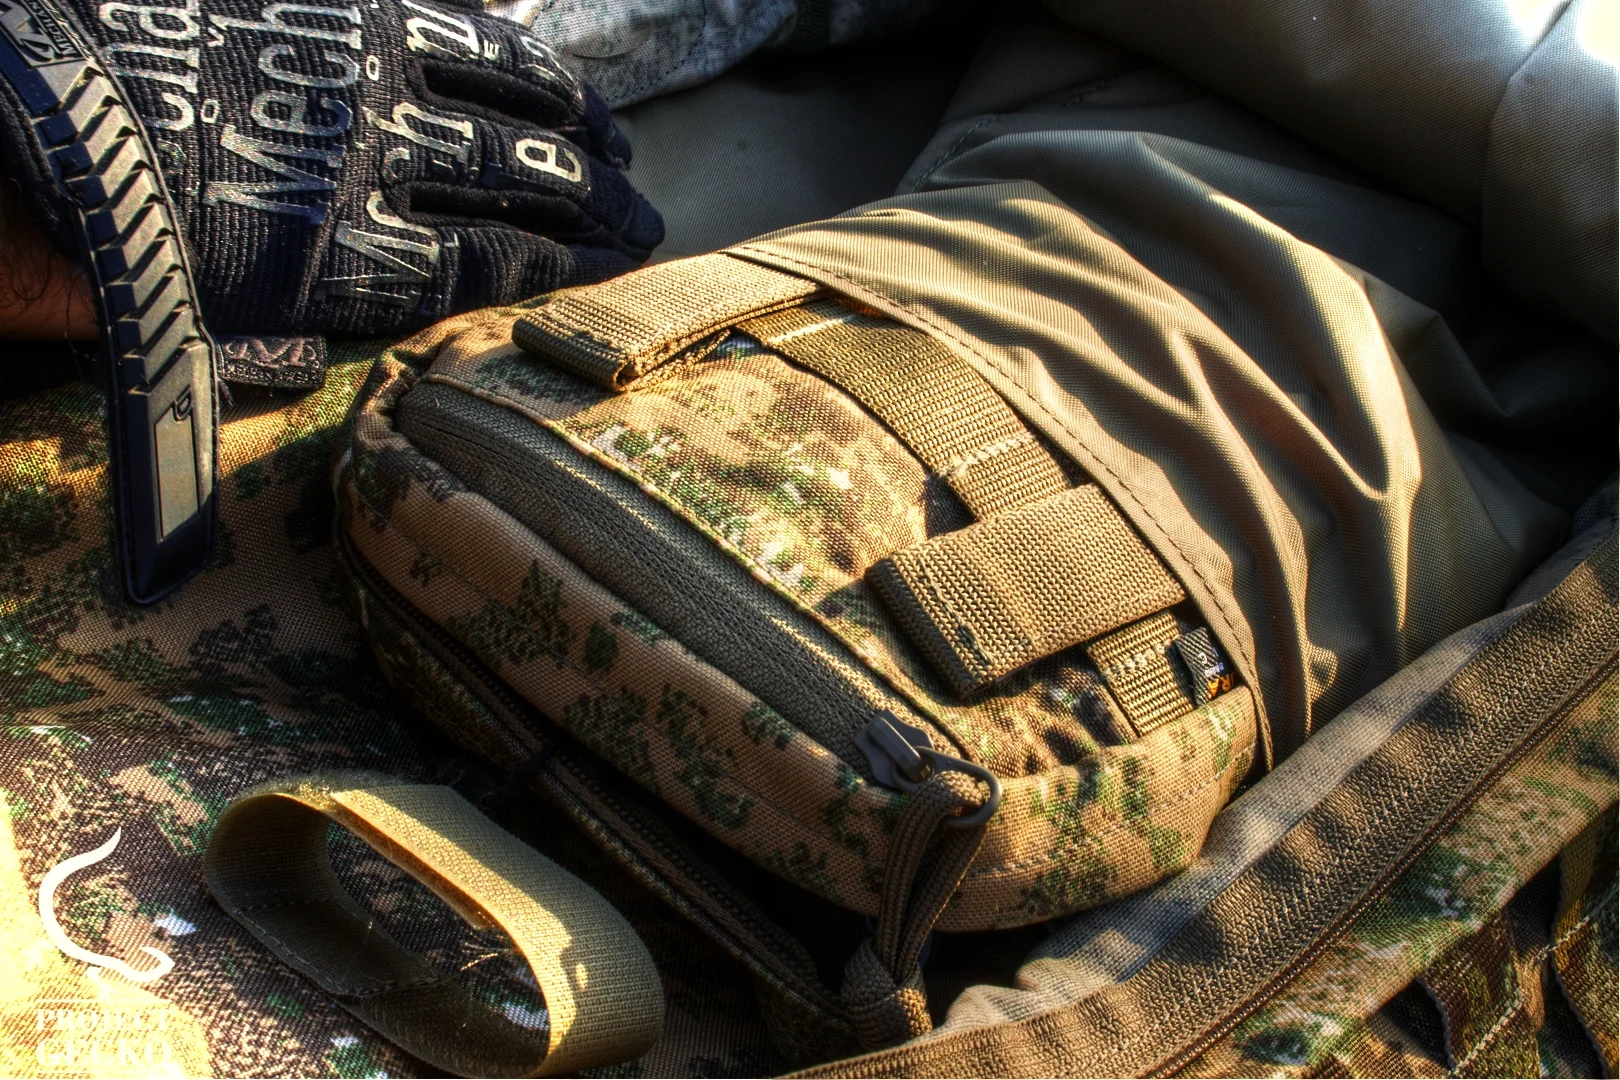
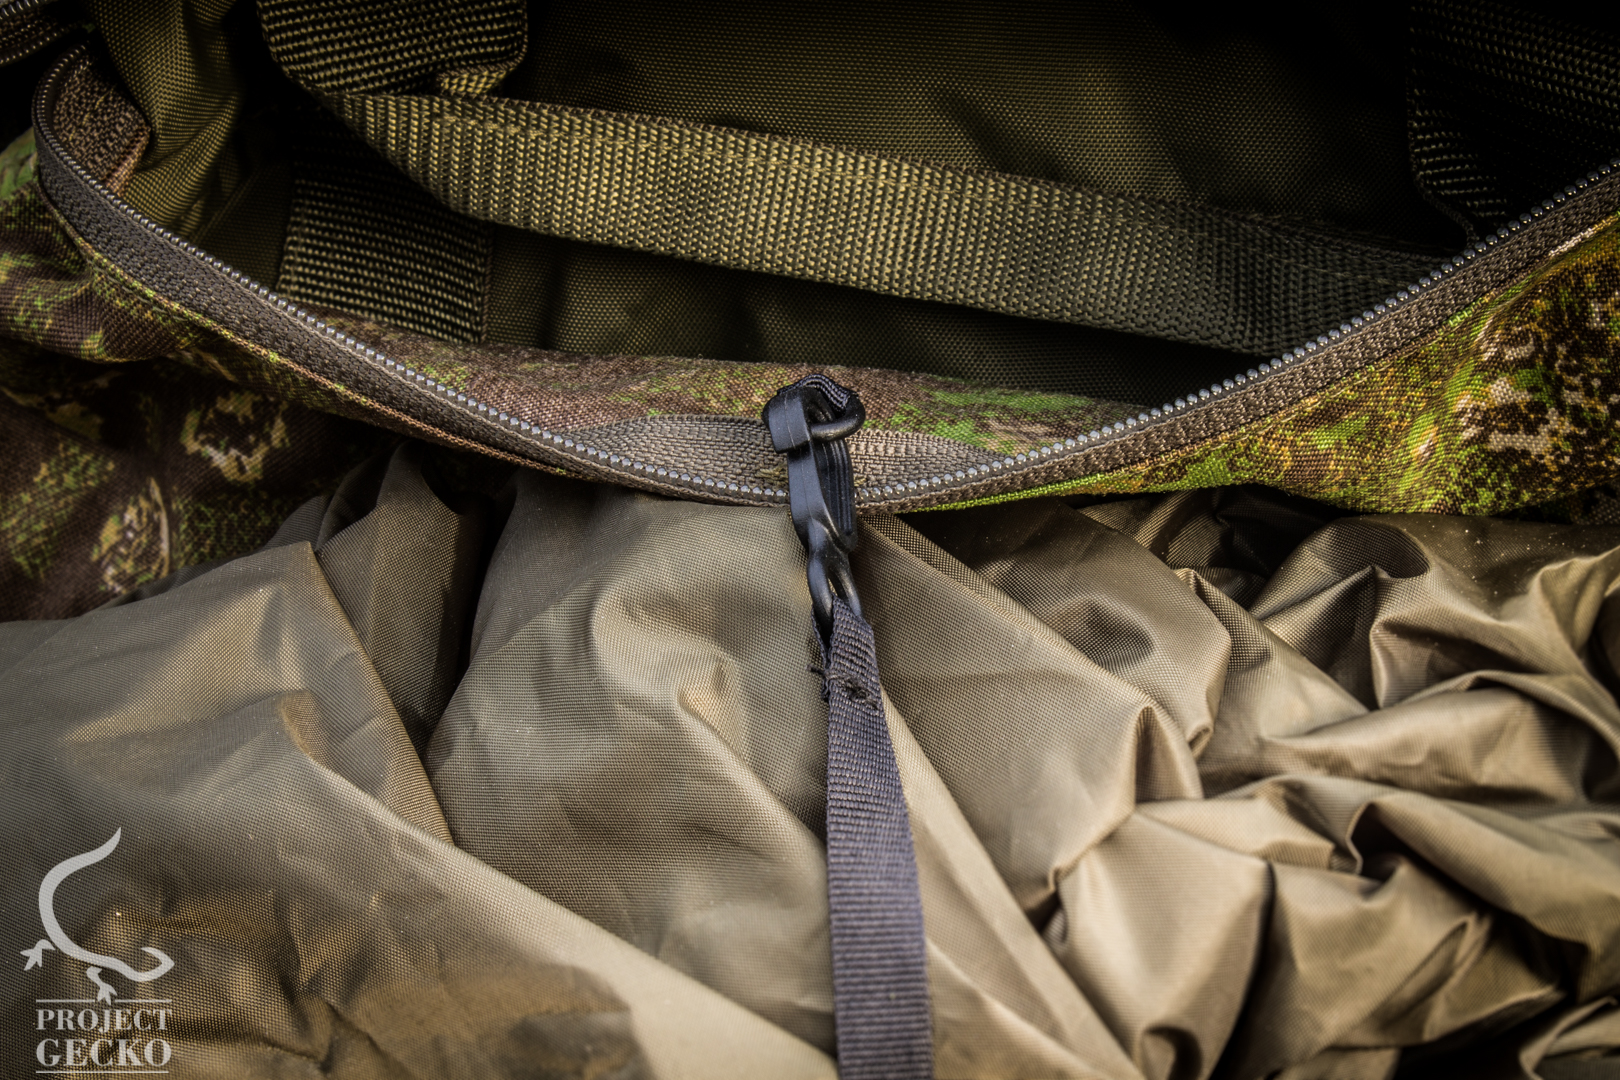
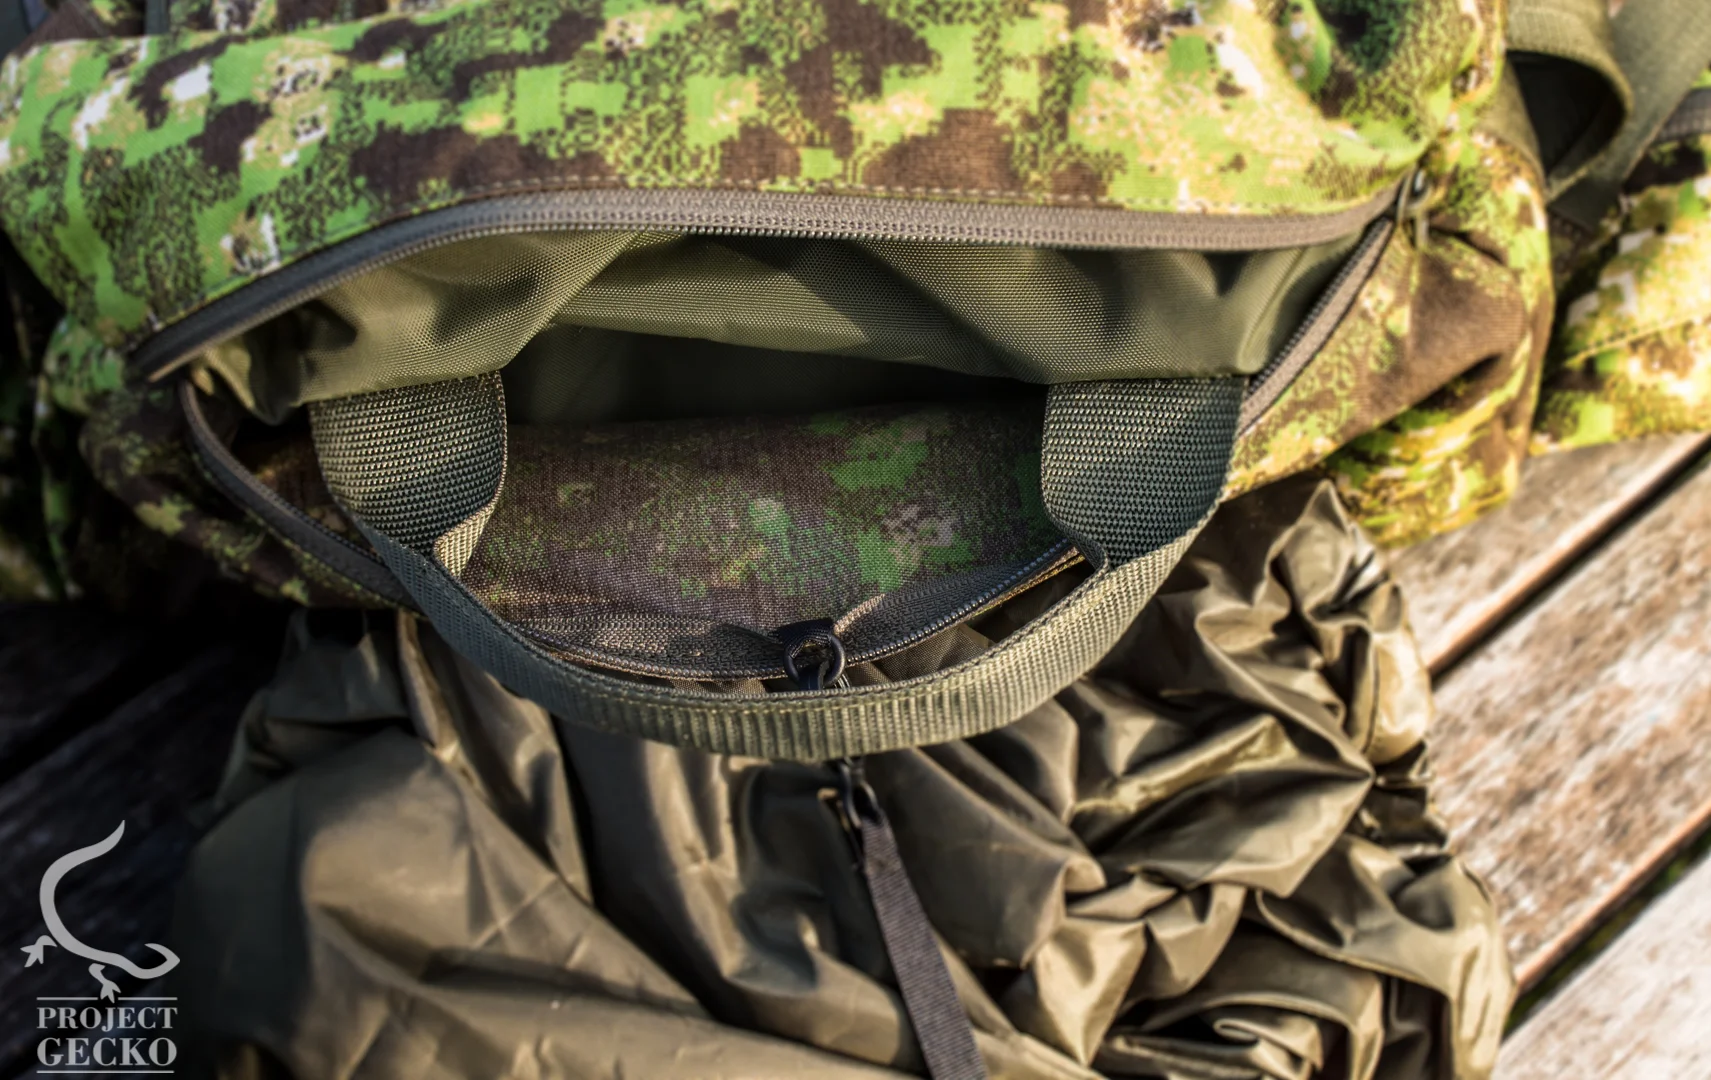
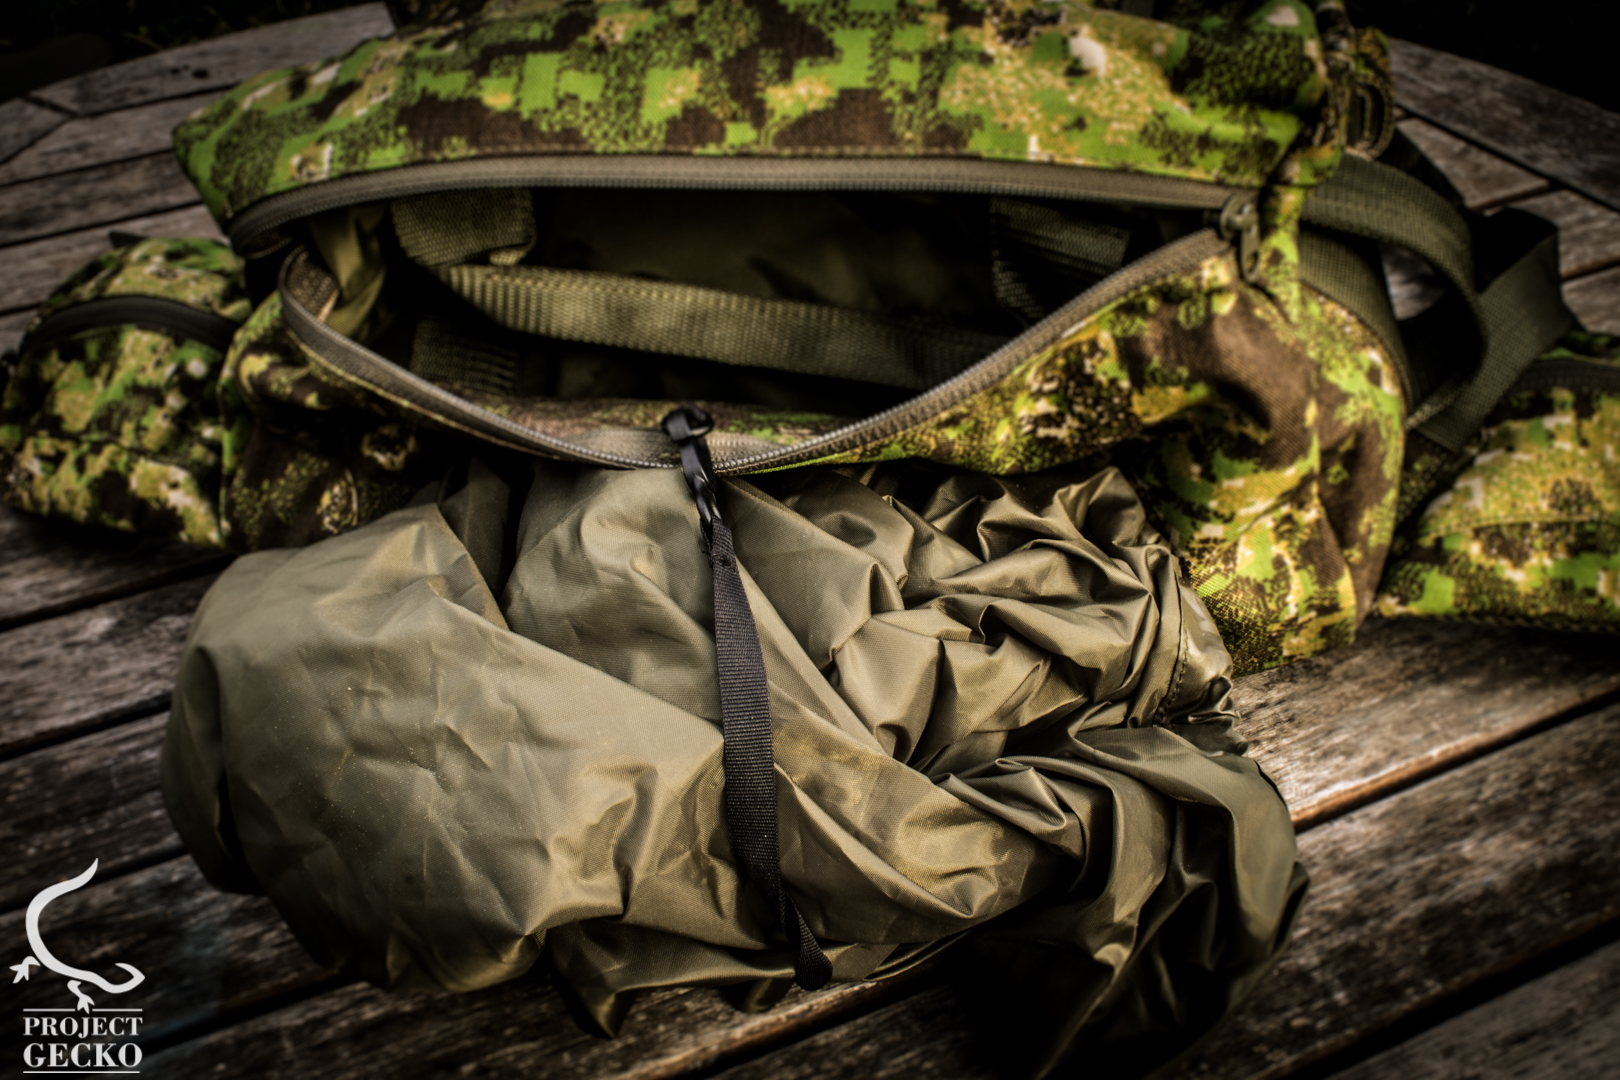
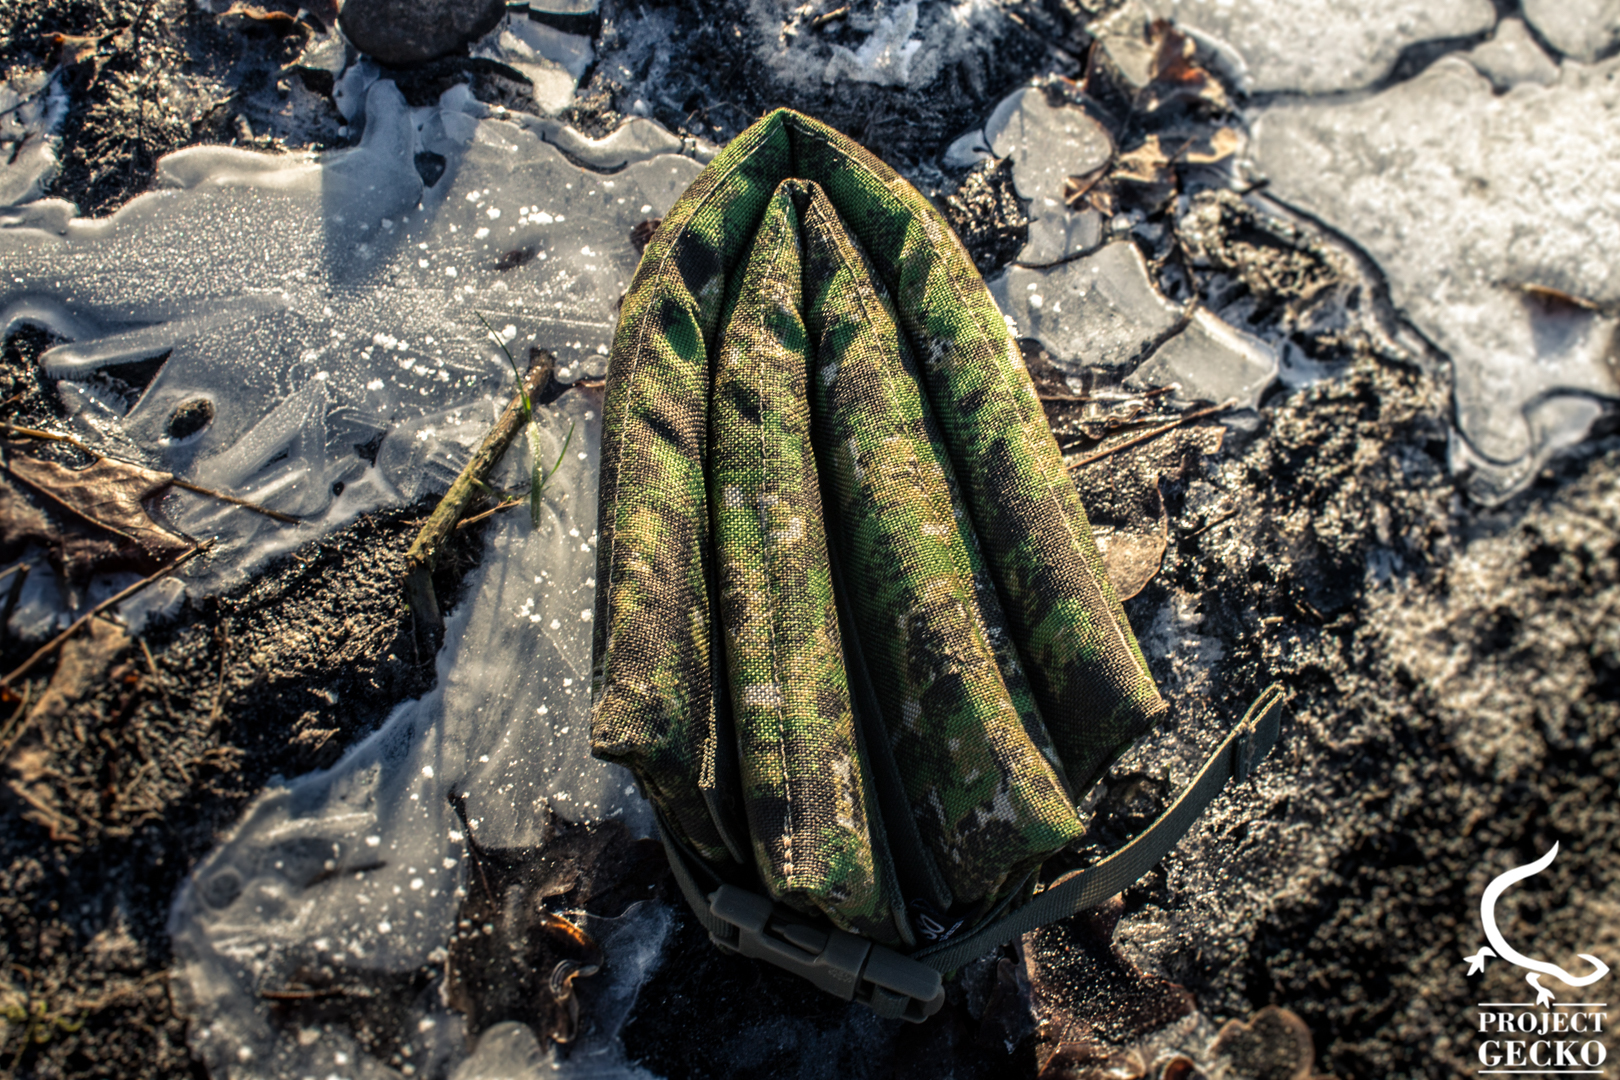
The jacket is simple to use, and durable. I'm pretty sure that this product life span is longer than a typical low \ mid budget solutions. Its weight and recent new camo application (Pencott, GreenZone) makes this rain suit more relevant than ever for any person who spend a significant time in the wilderness. While we will keep the packing \ storage to the next article – It is still important for me to remark that it is extremely easy & simple to store the suit back in its designated pouches.
Further more it is important to remind you that while this review was particularly aimed towards rainy weather - This suit suitable for wind.
Next part – We will talk over the pants, packing solutions weight mobility and few other cool functions.
Thank you for reading,
Eli